Working with text values
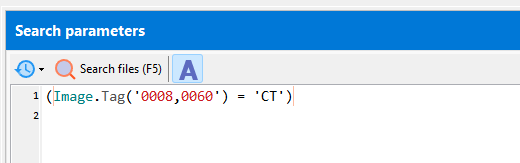
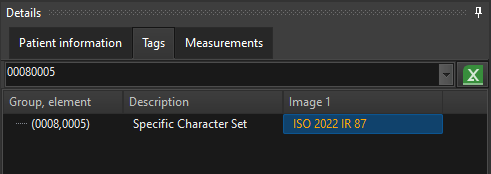
Search for exact text:
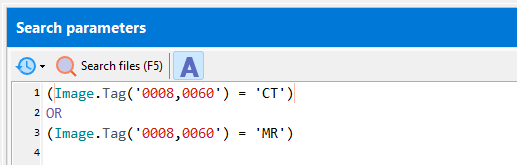
(Image.Tag('0008,0060') = 'CT')
matches CT but not ct, Ct, cT.
Search for multiple exact text:
(Image.Tag('0008,0060') In ['CT', 'MR'])
matches CT and MR, but not ct, Ct, cT, mr, Mr, mR.
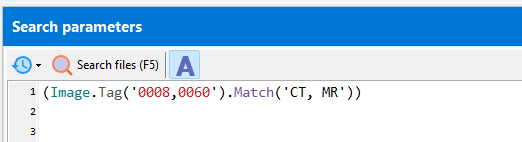
Search for multiple text values (case-insensitive):
(Image.Tag('0008,0060').Match('CT, MR'))
matches CT, MR, ct, Ct, cT, mr, Mr, mR.
Search for multiple text values (case-insensitive):
(Image.Tag('0008,0060').Match('CT, MR'))
matches CT, MR, ct, Ct, cT, mr, Mr, mR.
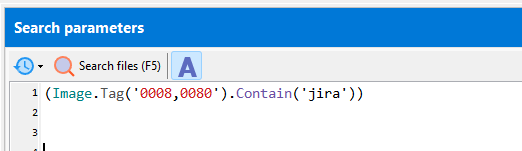
Search for partial text matches (case-insensitive):
(Image.Tag('0008,0080').Contain('hospital'))
matches ‘Hospital of Columbia’, ‘Columbia Hospital’
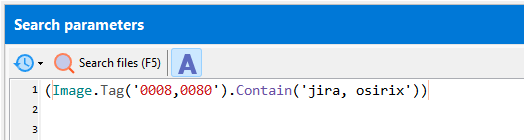
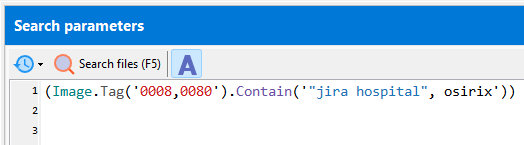
Search for multiple partial text matches (case-insensitive):
(Image.Tag('0008,0080').Contain('hospital, research'))
matches ‘Hospital of Columbia’, ‘Columbia Hospital’, ‘Columbia Research Institute’, ‘Research Institute of Columbia’
Search for values starting with a specific text (case-insensitive):
(Image.Tag('0008,0080').StartWith('hospital'))
matches ‘Hospital of Columbia’ but not ‘Columbia Hospital’.
Search for values starting with multiple specific text (case-insensitive):
(Image.Tag('0008,0080').StartWith('hospital, research'))
matches ‘Hospital of Columbia’, ‘Research Institute of Columbia’, but not ‘Columbia Hospital’, ‘Columbia Research Institute’.
Search for values ending with a specific text (case-insensitive):
(Image.Tag('0008,0080').EndWith('hospital'))
matches ‘Columbia Hospital’ but not ‘Hospital of Columbia’.
Search for values ending with multiple specific text (case-insensitive):
(Image.Tag('0008,0080').EndWith('hospital, research'))
matches ‘Columbia Hospital’, ‘Columbia Research Institute’ but not ‘Hospital of Columbia’, ‘Research Institute of Columbia’.
Search for inequality values:
(Image.Tag('0008,0060') <> 'CT')
matches any value but CT.
Reverse the results of the ‘inner’ parameters:
(NOT (Image.Tag('0008,0060') = 'CT'))
Working with numbers
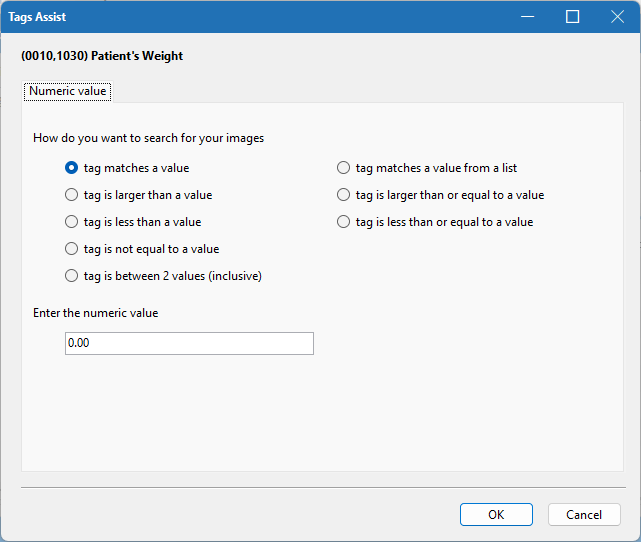
Match a specific value:
(Image.Tag('0010,1030') = 50)
Match one value from a list of values:
(Image.Tag('0010,1030') IN [30,33,36,39])
Match value using comparison operators:
(Image.Tag('0010,1030') > 50)
(Image.Tag('0010,1030') >= 50)
(Image.Tag('0010,1030') < 50)
(Image.Tag('0010,1030') <= 50)
(Image.Tag('0010,1030') <> 50)
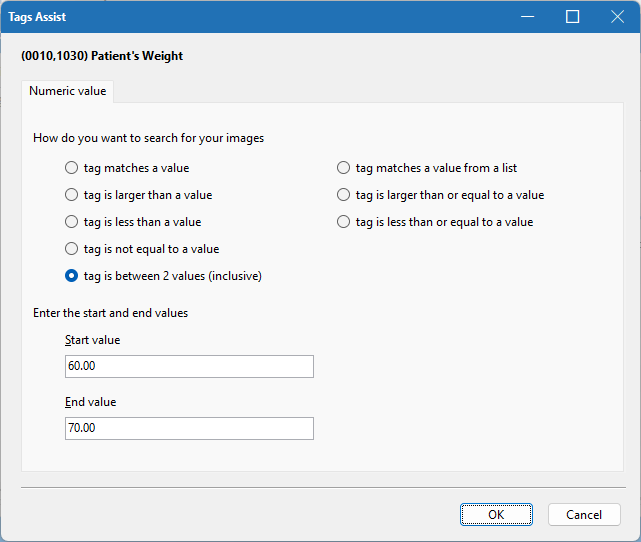
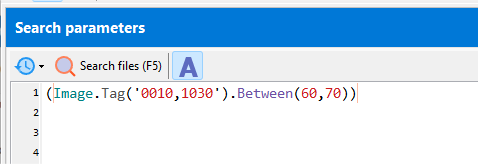
Match a range of values:
(Image.Tag('0010,1030').BETWEEN(30, 60))
Reverse the results of the ‘inner’ parameters.
(NOT (Image.Tag('0010,1030').BETWEEN(30, 60)))
Working with date and time values
Dates are represented in the [year][month][day] format, so February 14, 2024 is represented as 20240214. You then write your search parameters the same way as you would for numbers e.g.
(Image.Tag('0008,0020') = 20240214)
(Image.Tag('0008,0020') > 20240214)
(Image.Tag('0008,0020') >= 20240214)
(Image.Tag('0008,0020') < 20240214)
(Image.Tag('0008,0020') <= 20240214)
(Image.Tag('0008,0020') <> 20240214)
(Image.Tag('0008,0020') IN [20240214, 20241108]
(Image.Tag('0008,0020').BETWEEN(20240214, 20250214))
Similarly, time is represented in the [hour][minutes][second] format, so 10:30.24 PM is represented as 223024. You then write your search parameters the same way as you would for numbers.
Working with patient age (AS-type)
Patient age can be returned in a variety of values.
Image.PatientAge – returns the age in years
Image.PatientAgeInDays – returns the age in years
Image.PatientAgeInWeeks – returns the age in weeks
Image.PatientAgeInMonths – returns the age in months
The returned values are number values, and you can then use the same search parameters for numbers e.g.
(Image.PatientAge = 50)
(Image.PatientAgeInDays >= 180)
(Image.PatientAgeInWeeks.BETWEEN(15, 30)
(Image.PatientAgeInMonths < 10)
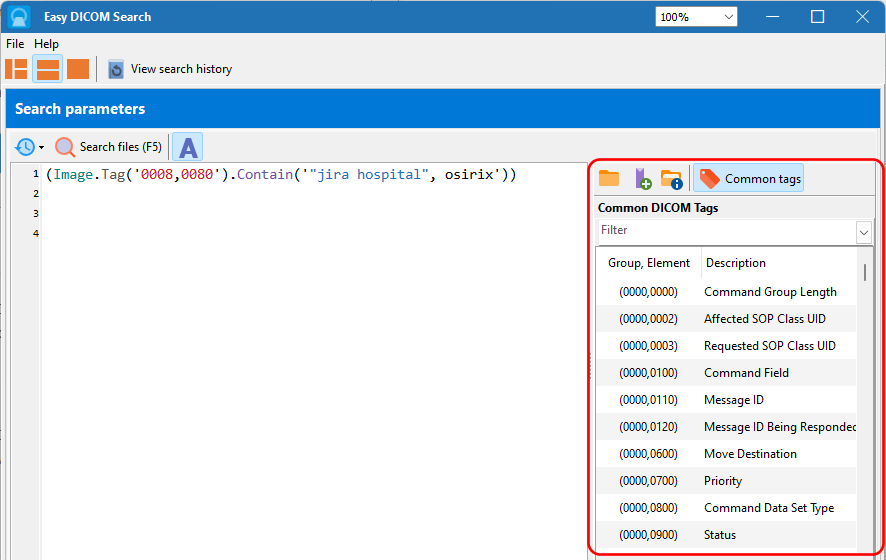
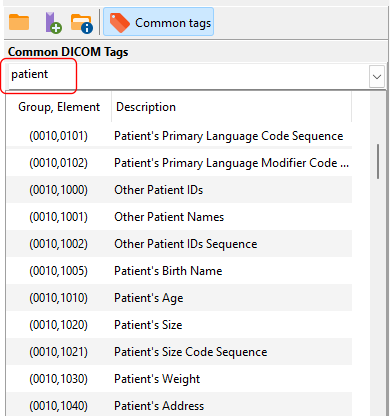
Easy DICOM Search is the easiest tool you can use to search your DICOM image collection, and the most flexible in how you can work with the search results.
Download a 14-day trial of Easy DICOM Search now. A 12-months license costs USD 45, and includes 12 months of support and updates.
See also: