|
Introduction |
|
|
Using SQL File Import |
|
|
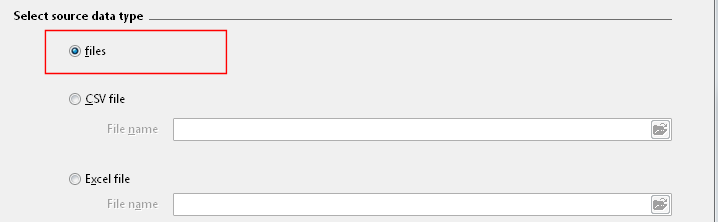
Files as source data
If you
want to import only files and related file metadata information
into your database, you can simply select the Files
item
as the source data type. You do not need to create a CSV or Excel
source data file.
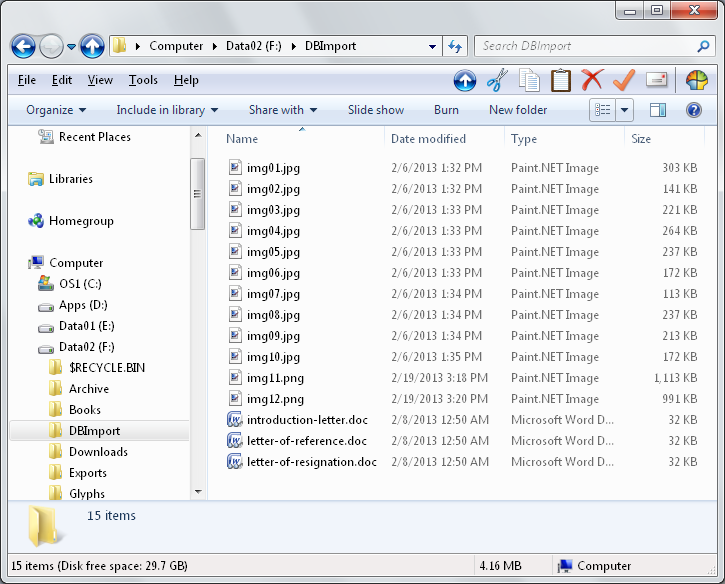
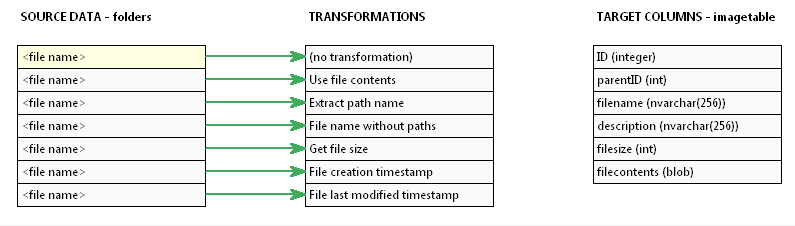
E.g. you want to upload the following files:
In the Select
source data page,
select the Files
item.
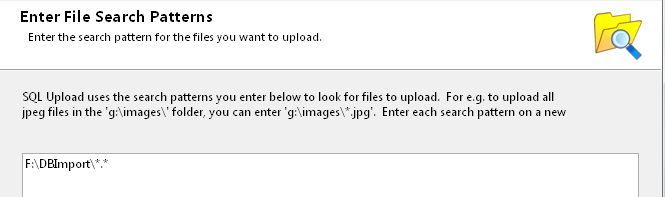
On the next page, enter the file search patterns for the files. In
this case, you could use a single wildcard search, which will
upload all files in the folder,
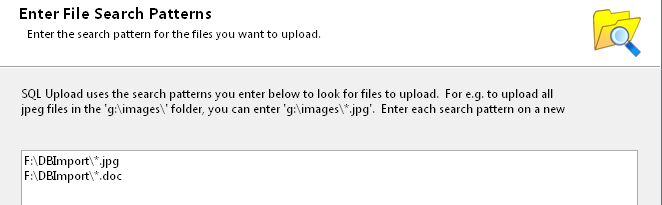
or you could be more specific and use the file extension as a
filter, in case you may have other types of files contained in that
folder e.g. the system generated thumbnail files.
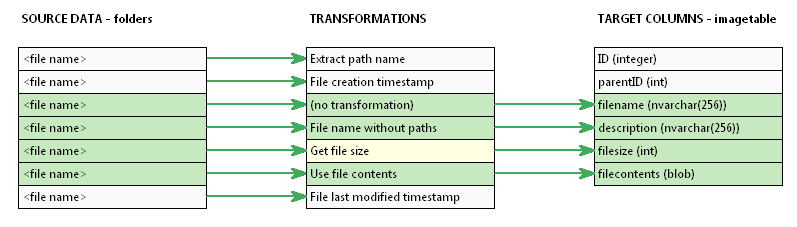
In the
data mapping screen, SQL File Import automatically sets up some
default transformations for you.
You
can see that using just the file name, you can extract quite a bit
of details using scripts. In this example, we want to map 4 values
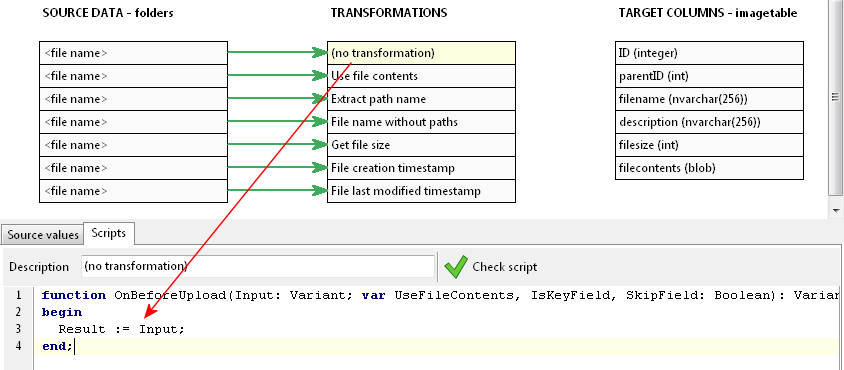
to our target table. First is the fully qualified file name
itself:
Since
we want to take the complete value, the script just assigns the
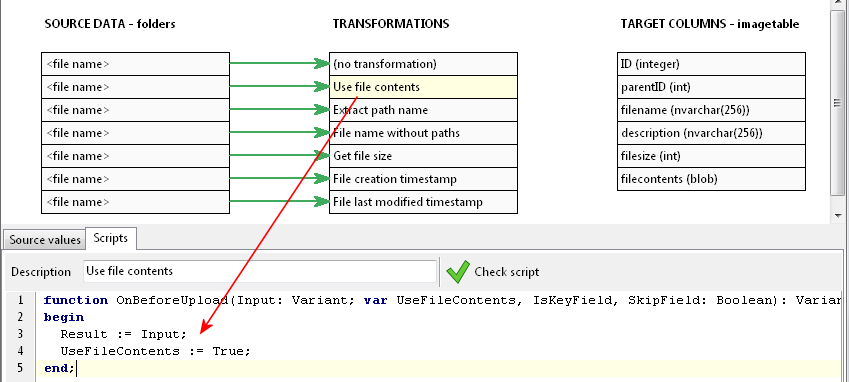
input value to the output (result) value. Next is the file
contents.
Here,
our output (result) value is also the fully qualified file name,
but now, we are setting the UseFileContents
value
to true. This makes SQL File Import upload the contents of the file
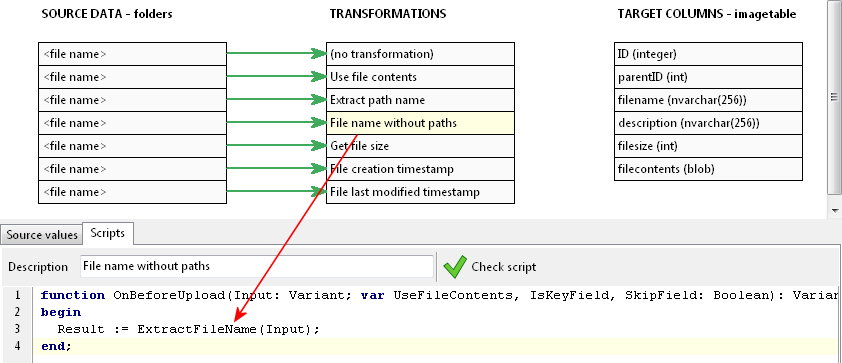
itself, instead of the file name. Next, we want to upload just the
file name itself.
This
is done by using the ExtractFileName
function,
and assigning the result to the output (result) value. Lastly, we
want to upload the file size.
This is done by using the FileSize
function.
After that, we just map the columns to the target columns.
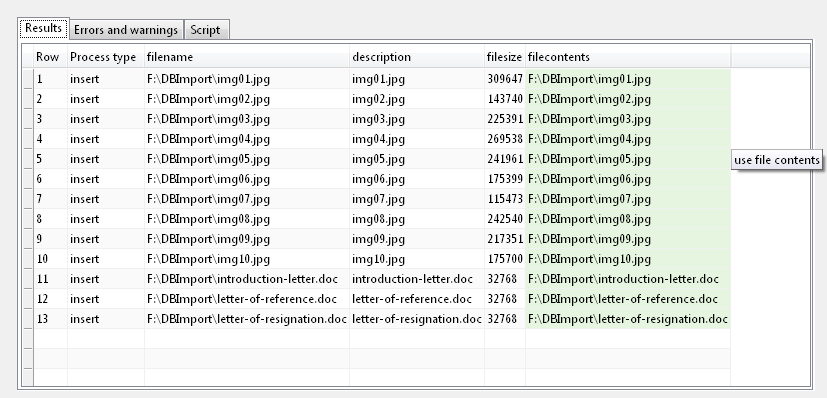
On the
next page, SQL File Import will run the upload script, and you can
check how the values have mapped to the target columns.
The
filecontents
column
is displayed with a green background to indicate that the contents
of the file in that column will be imported, and not the value
itself.
For a
list of all file-related functions, see this topic.
|