We’ll do a walk-through on how to index your DICOM files and how to retrieve and display the images you need.
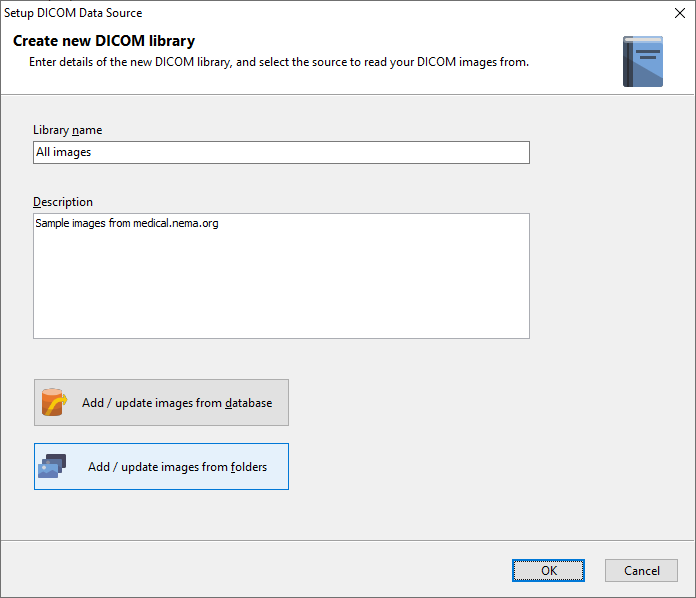
We start by first creating a library in DICOM Search, and selecting the Add/update images from folders option.
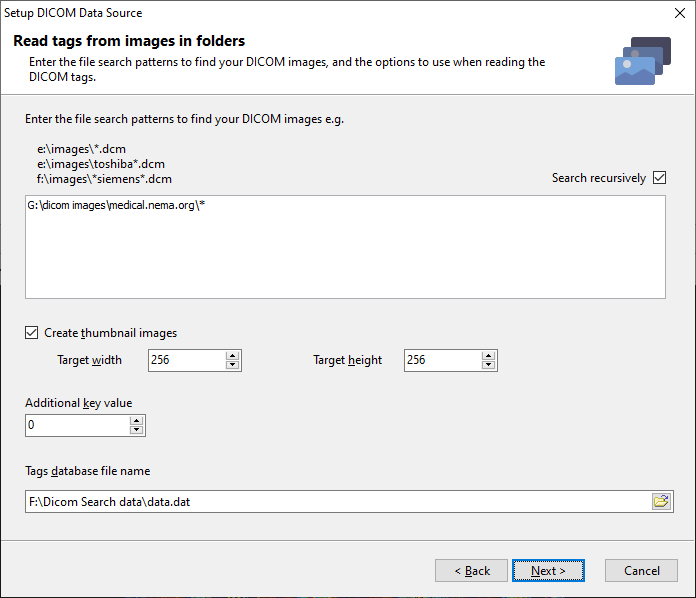
We then enter the file search pattern which will be used to locate our DICOM files. Here, we’ll create thumbnails of our files, and enter the database file name to store the tag values and thumbnails in.
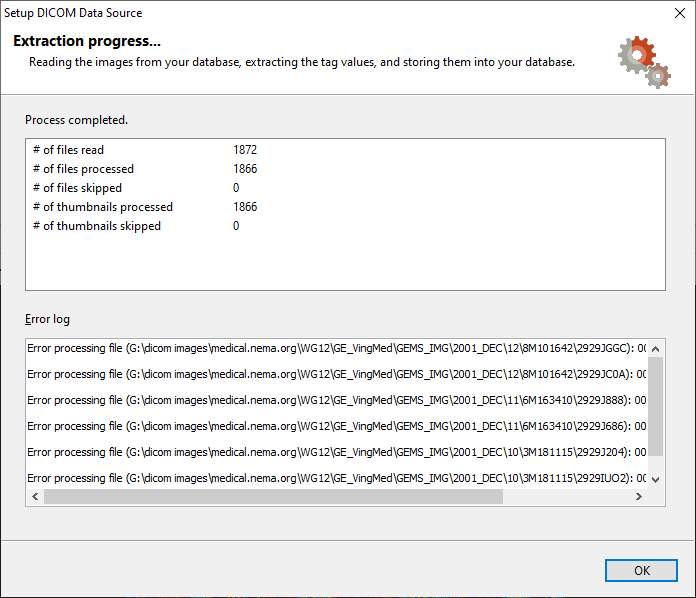
DICOM Search will then start processing the files and report the status as it goes along.
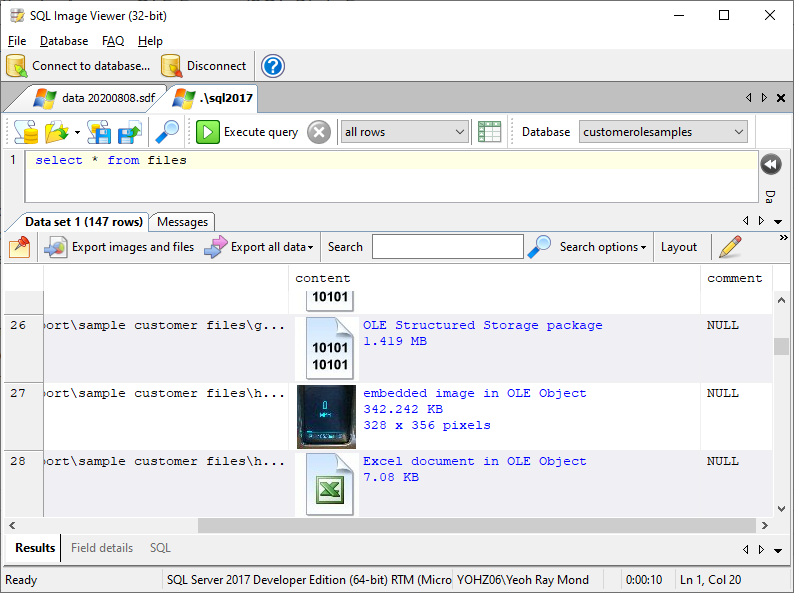
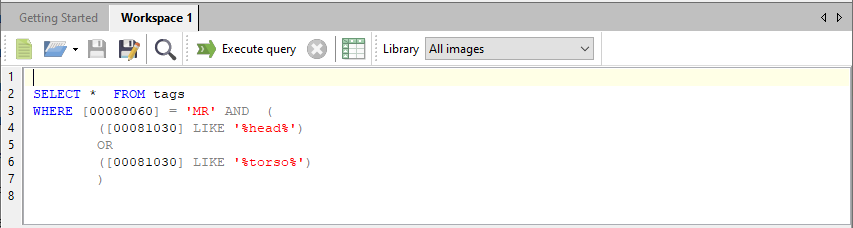
Once done, we can now run queries on the database. In this example, we want to retrieve all MRI images where the study description contains the word head or torso.
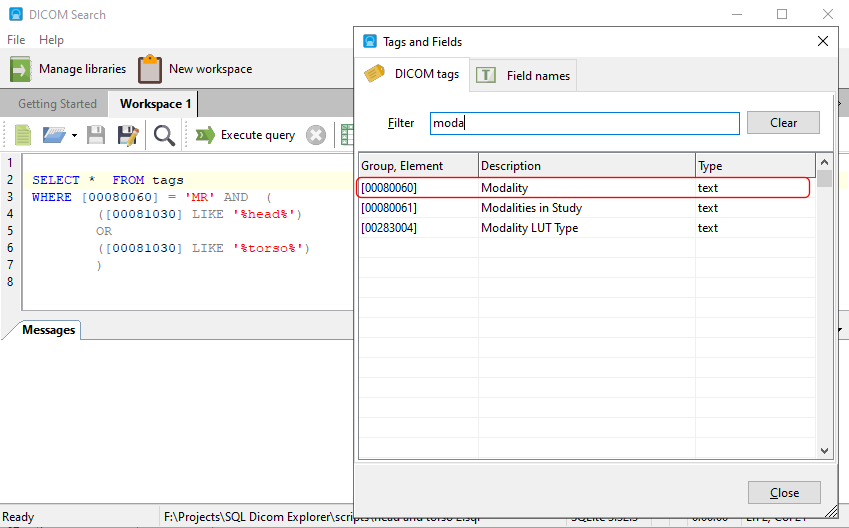
At this point, you must be wondering how are we to remember the group and element values for each of the tags we want to search on. You don’t have to remember those values. Pressing F2 will bring up a tags window where you can search for any tag values by description.
E.g. if we search for modal, we can see all the tag values for modality.
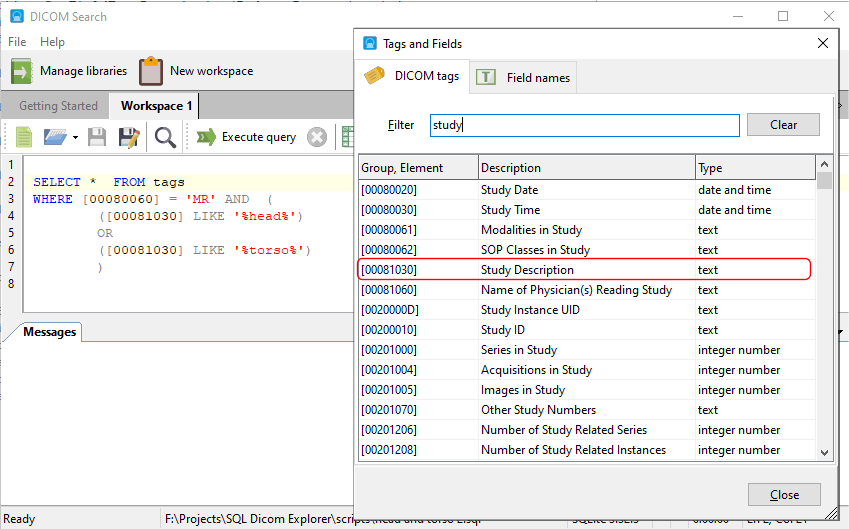
Likewise, if we search for study, we can see the tags containing the word study.
When we run our query, all images matching our search criteria are returned.
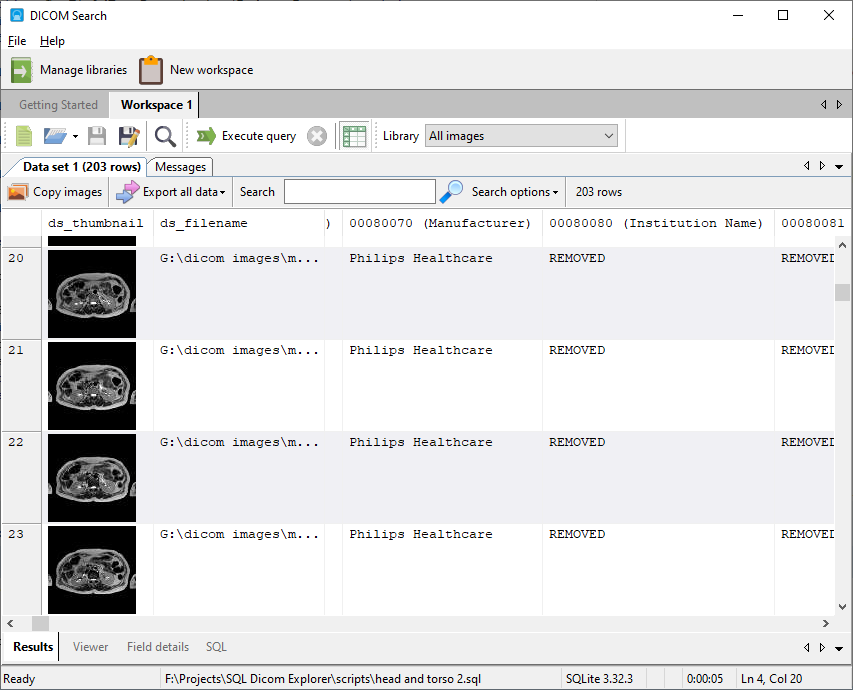
Depending on our query, we may choose to return only the tag values we are interested in seeing, or in our example. all of the tag values because we entered
SELECT * …
DICOM Search offers an alternative view to display the images returned by your query. This is the DICOM results viewer.
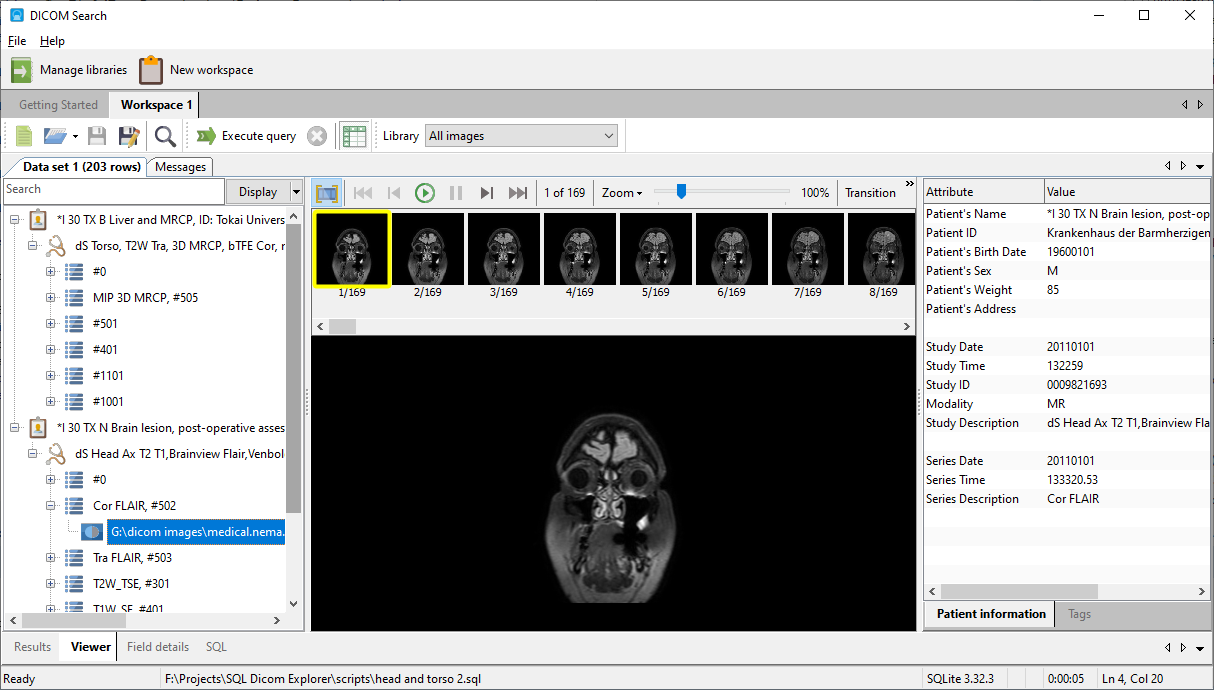
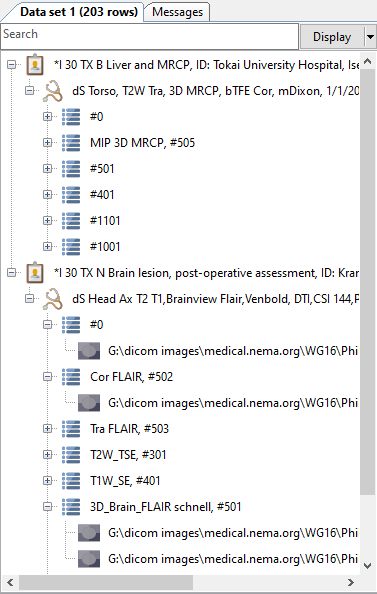
On the left, the query results are grouped by patient, study, series, and and related images.
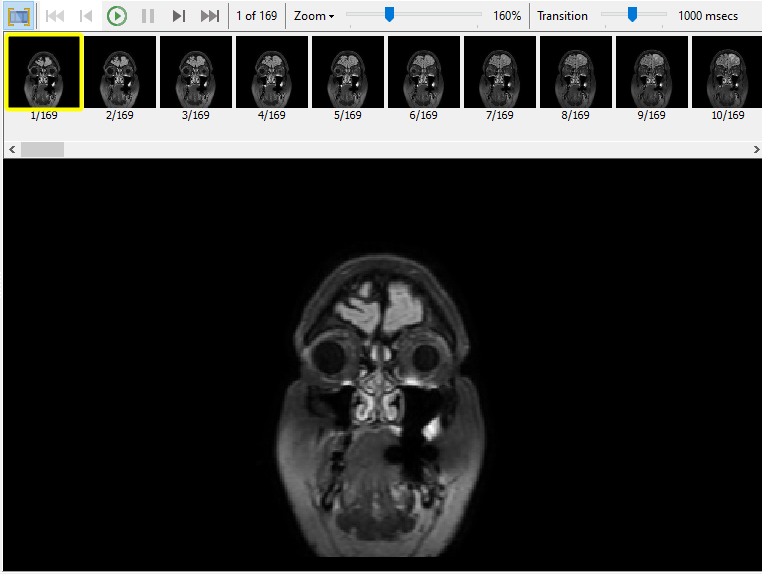
You can display any of the image file in the main area simply by selecting it here. DICOM Search will display the frames of the images at the top, and the selected frame in the main area. You can play the sequence of images, display a single frame, view the transition from one frame to another and more in this area.
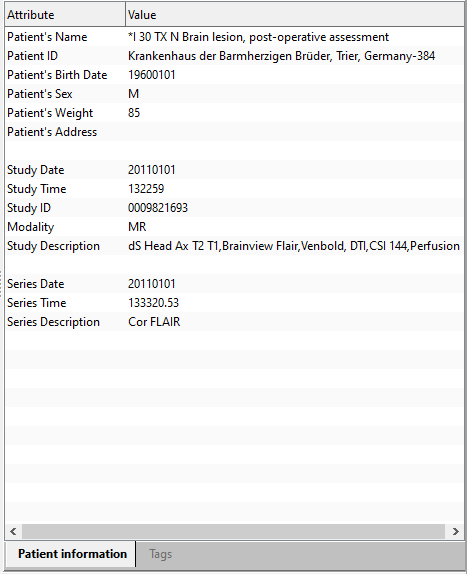
On the right, the values of the DiCOM tags are listed. There is a patient specific tab that displays the patient data together with some image context tags
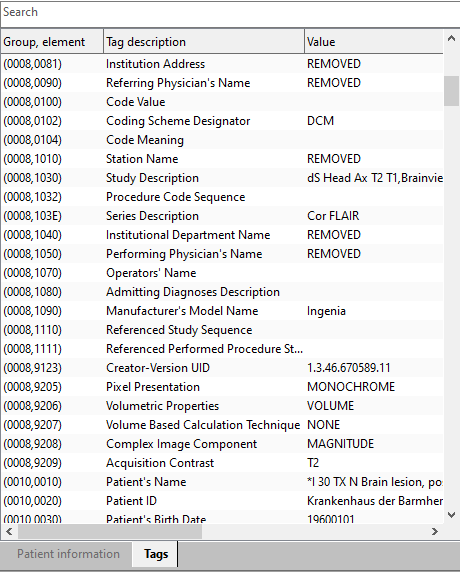
and a Tags tab that displays all the tag values found in the image.
If you have any suggestions on how we can improve on this new view, please do drop us a line at support@yohz.com. Thank you.
See also: