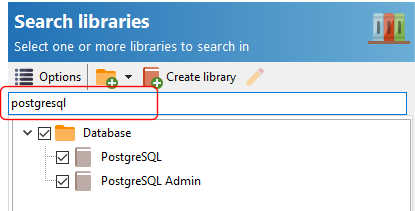
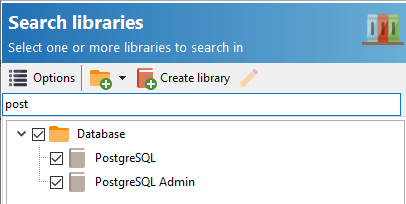
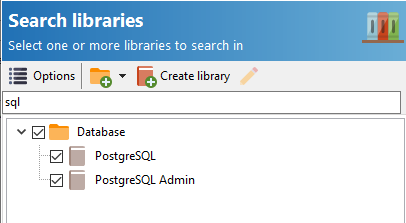
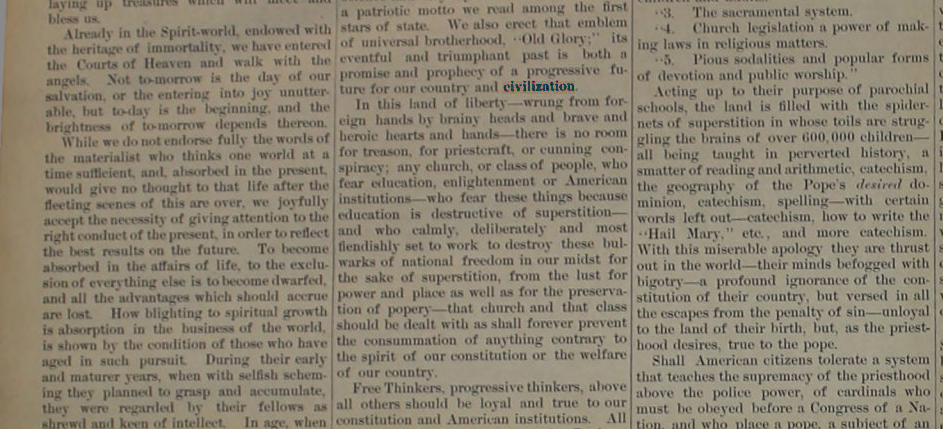
Easy PDF Search by default searches for complete words/phrases in your PDF files. For example, if we search for the word like, only files containing that exact word are returned and highlighted in the search results.
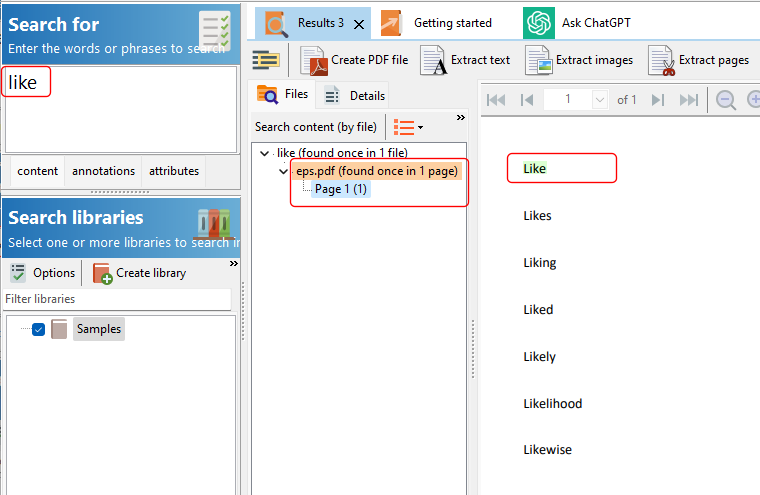
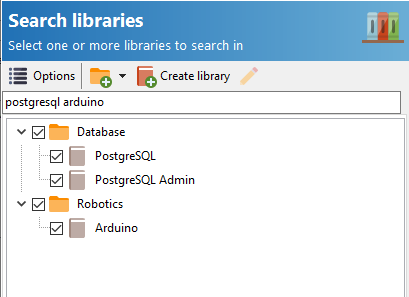
If we wanted to search for words starting with the word like, we can perform a prefix search using the * character e.g. like*
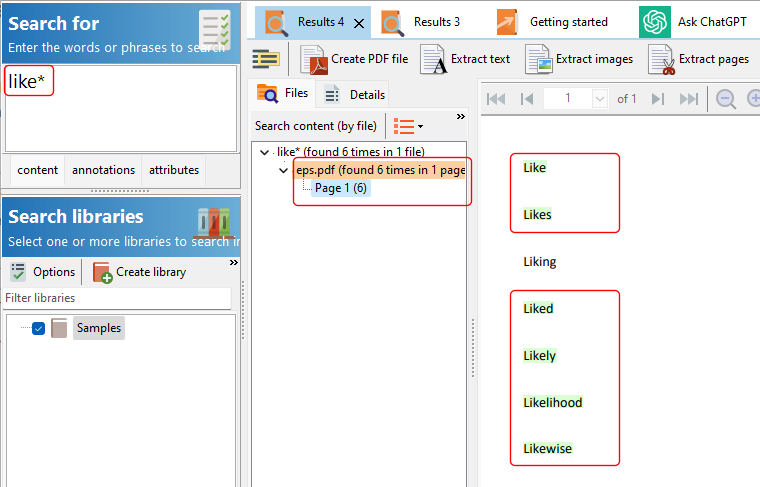
This returns all words with the prefix like. Unrelated words (from a grammar perspective) like likelihood and likewise, will be returned, while a related noun like liking will not be returned.
Stemmed words
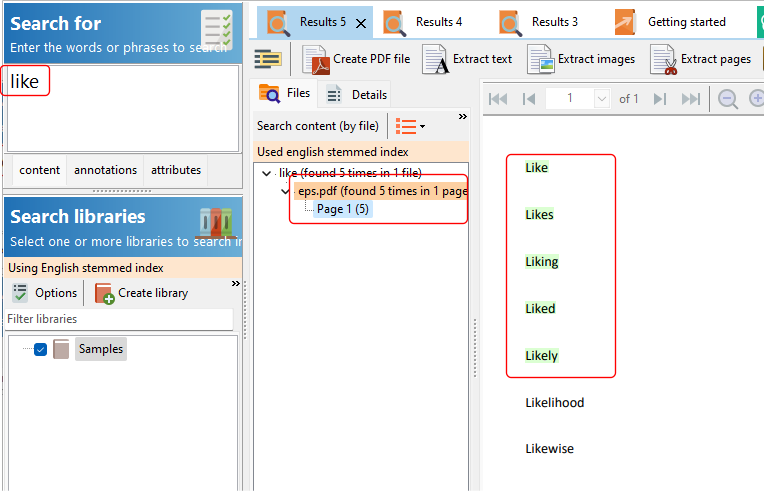
Stemming is the process of removing a part of a word, or reducing a word to its stem or root. In the example above, the words like, likes, liking, liked, and likely all share the same root word i.e. like.
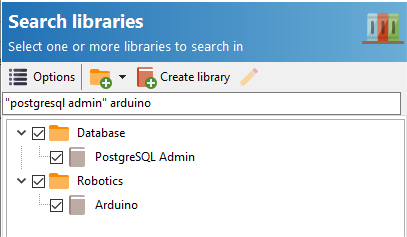
When we want Easy PDF Search to use stem words when searching e.g.
we need to first create a stem database, then search that stem database.
Creating a stem database
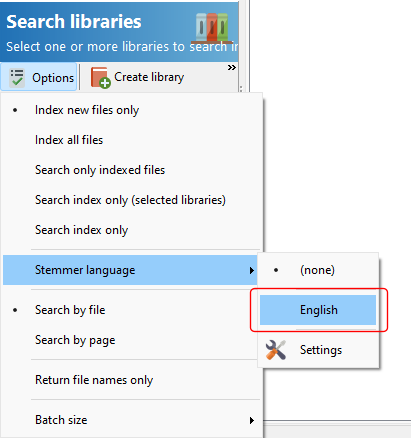
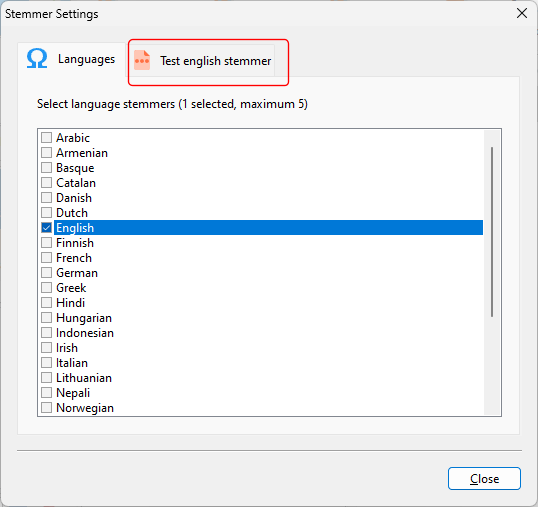
To create a stem database, click on the Options > Stemmer language > Settings item.

In the Stemmer Settings window, select up to 5 languages to create a stem database for.
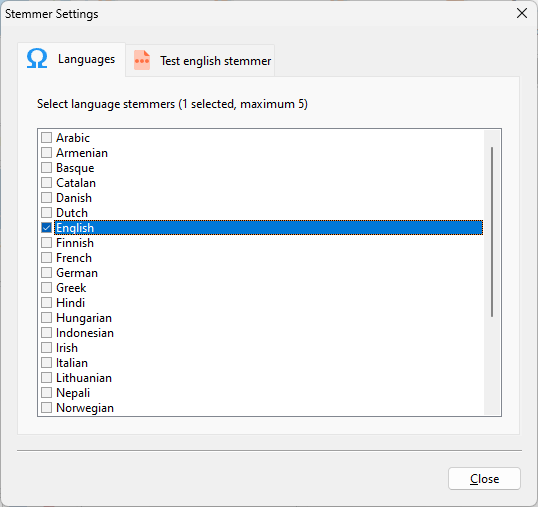
You can create stem databases for the following 27 languages:
- Armenian
- Basque
- Catalan
- Danish
- Dutch
- English
- Finnish
- French
- German
- Greek
- Hindi
- Hungarian
- Indonesian
- Irish
- Italian
- Lithuanian
- Nepali
- Norwegian
- Portuguese
- Romanian
- Russian
- Serbian
- Spanish
- Swedish
- Tamil
- Turkish
- Yiddish
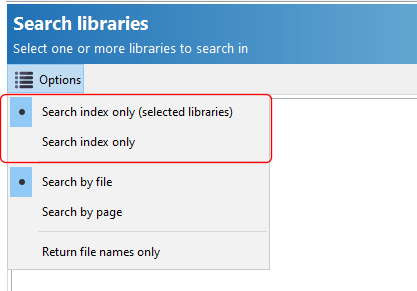
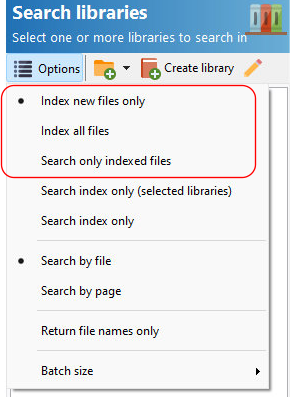
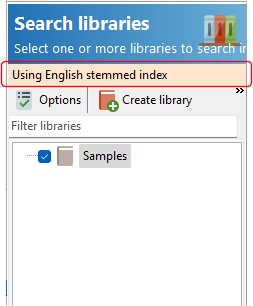
When you want to search the stem database, select the stem language you want to search in from the Options menu.
Easy PDF Search then displays the stem language database that the search will be performed in.
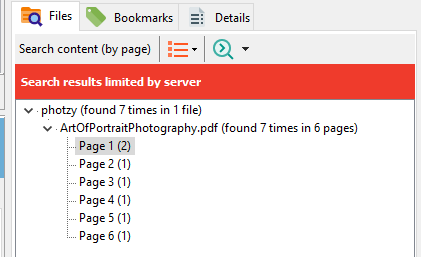
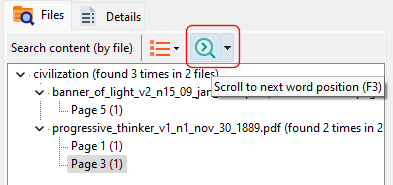
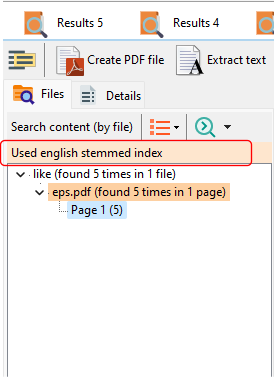
In the search results, the stem database that was searched will also be displayed.
Testing the stemmers
To test which words stem to the same root word, you can use the test utility in the Stemmer Settings window. Select the language you want to test, then click on the Test … stemmer tab.
Enter the search word, then a list of words you want to check if the root word matches the search word.
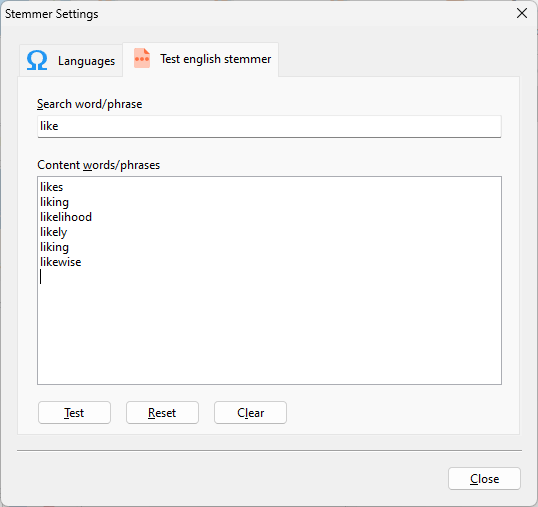
Next, click on the Test button. Non-matches will be displayed in a strike-out manner.

Download a 14-day trial of Easy PDF Search now and experience how easy and fast it is to search your PDF files collection, now with the ability to perform stem word searches.