Once you have adjusted the display of your data in your analysis table, you can print its contents by clicking on the Print preview button.
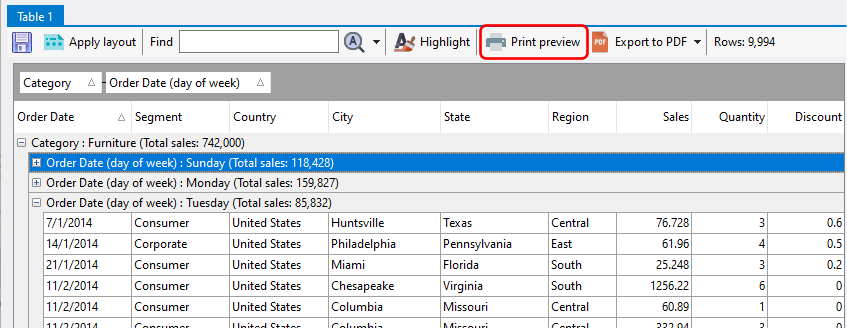
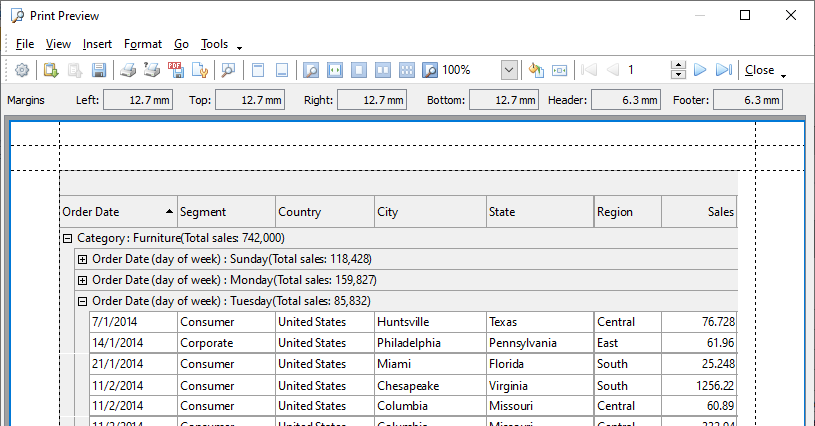
A print preview window will be displayed, and you can make further adjustments to the output before printing.
Common tasks
Setting |
Description |
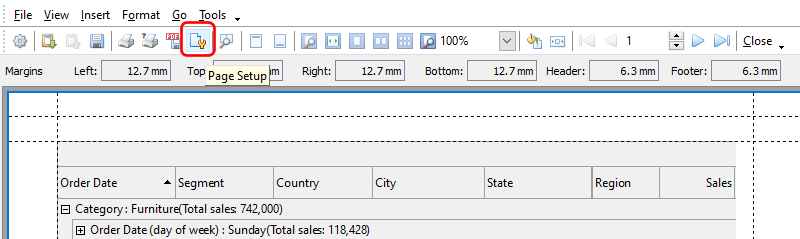
Adjust paper size, orientation, margins, and printing order |
Click on the Page Setup button to make the necessary adjustments.
|
Add a title |
Click on the Format Report Title button to add a title to the printed output.
|
Add a footnote |
Click on the Format Report Footnotes button to add footnotes to the printed output.
|


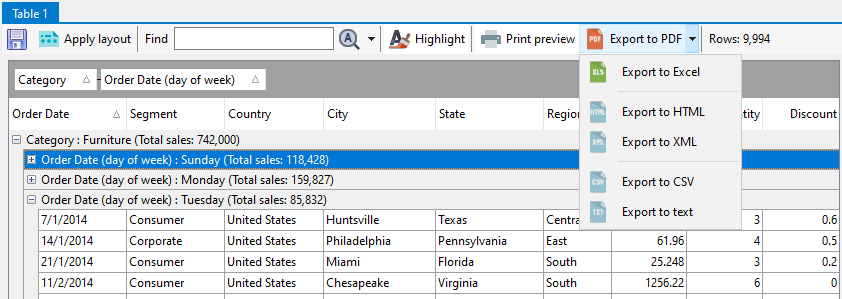
To export your analysis table to a PDF file, click on the Export to PDF button.
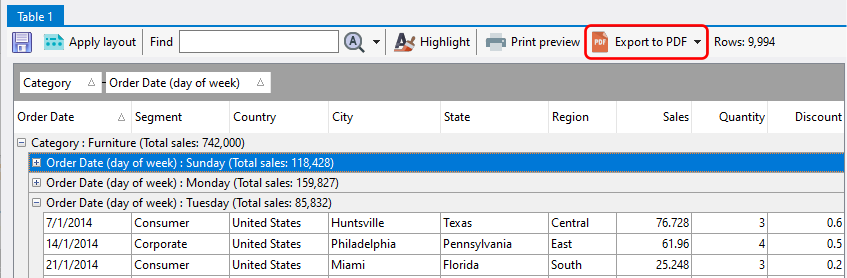
To export to another format, click on the drop down arrow on the Export to PDF button, and select the format you want to export to.
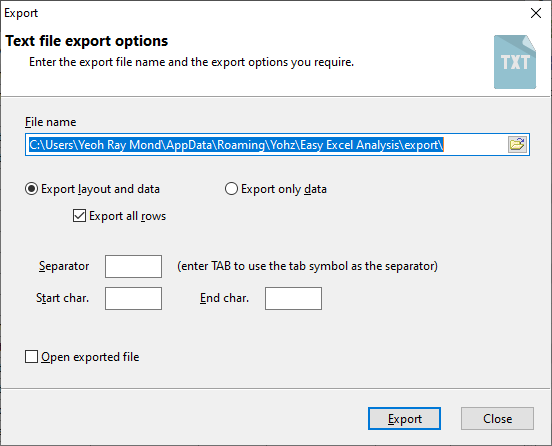
Export settings
Setting |
Description |
File name |
The name of the exported file. |
Export layout and data |
Select this option to export both the layout and the data rows. |
Export all rows |
Select this option to export all rows regardless of whether they are displayed in the current layout. |
Export only data |
Export only the data from the current layout. |
Separator |
The character used to separate fields and values.
Applicable only when exporting to CSV and text files.
|
Start char. |
The character to denote the beginning of a field.
Applicable only when exporting to text files.
|
End char. |
The character to denote the end of a field.
Applicable only when exporting to text files.
|
Open exported file |
Select this option if you want to open the exported file once the export has completed.
|