On the page, link the source columns to the table columns. SQL File Import will then upload the values of the source columns into the selected table's columns. You link the columns by first clicking on the source column, and then clicking on one of the target columns. Linked columns are displayed in green. Unlinked columns are displayed in gray.

To remove a link, click on the Unmap selected item button.
![]()
To remove all mappings, click on the Unmap all items button.
![]()
If the order in which the scripts are ran is important, you can reorder the target columns by clicking on the Move target column up or Move target column down buttons, when a target column is selected.
![]()
If you are uploading files from a folder, you can add additional source columns by clicking on the Add source item button.
![]()
You can also delete a source item by clicking on the Delete source item button.
![]()
If you are uploading data from a CSV or Excel file, you can also use the Map columns button to try to automatically map columns with similar names.
![]()
For each linked column, you can apply transformations using scripts on the input value. To edit the scripts, click on the transformation item. The bottom half of the page will display the Scripts tab.
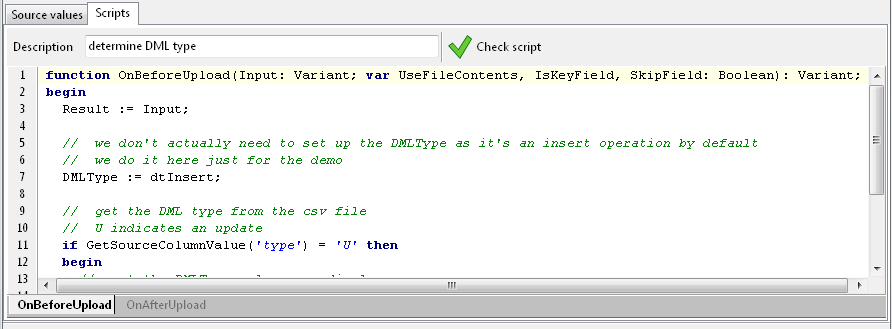
You can enter a description for the transformation to make it clear what action it is performing. For each column, you can enter a script prior to the import, on the OnBeforeUpload tab, and a script after the import, on the OnAfterUpload tab.

See this section on Scripting for further details on the scripting language.