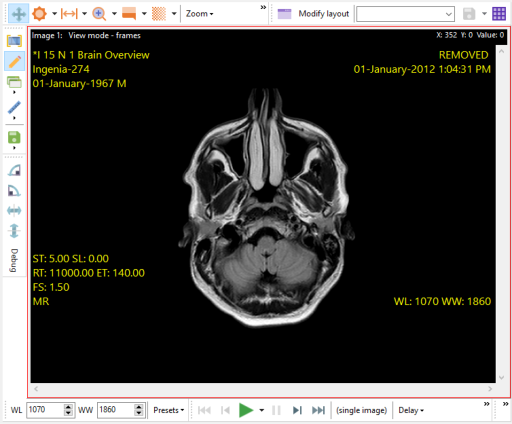
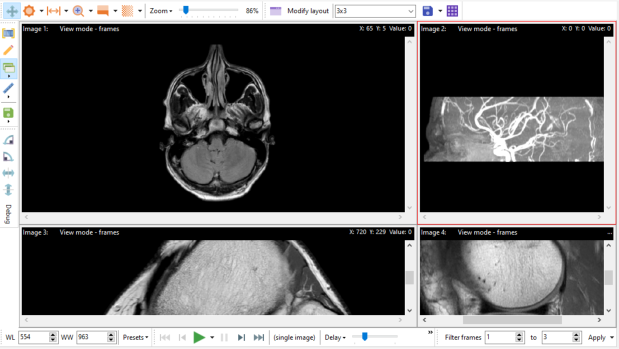
By default, Easy DICOM Viewer displays a single image in a workspace.
Creating a table layout
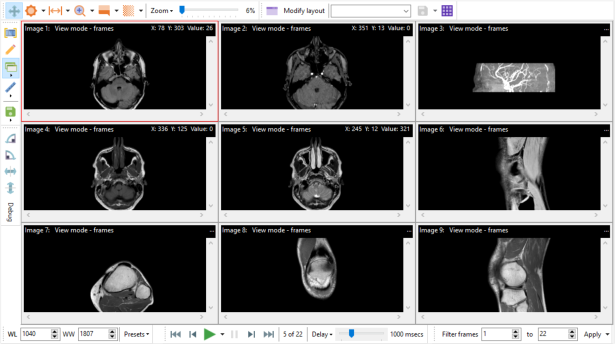
You can display images in a table with multiple rows and columns by selecting the Create a table layout button, entering the number of rows and columns you want to see, and click on the Create button.

The table is then created and your images are displayed in each cell.
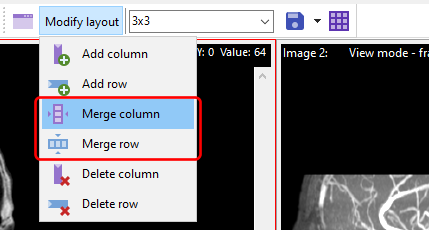
You can also add/delete rows and columns from the current layout by clicking on the Modify layout button, then selecting the action you want to perform.
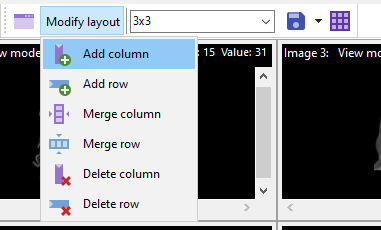
You can also merge columns and rows to create cells of different sizes e.g.
You merge columns/rows by selecting the Merge column and Merge row actions from the Modify layout options.
Saving your layout
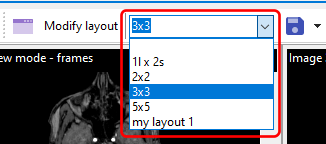
You can save your layout by entering a name for the layout, then click on the Save layout button.
![]()
You can then use this layout at a later time by selecting it from the list of saved layouts.
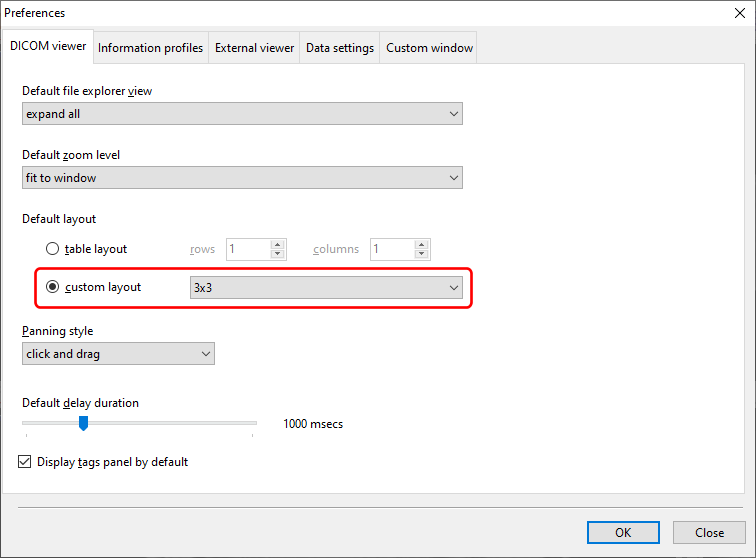
You can also use your custom layout as the default layout in Easy DICOM Viewer. Click on the Preferences item on the main menu:
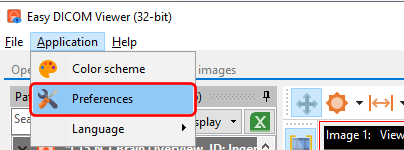
and on the DICOM viewer page, select your layout to use as the default layout.