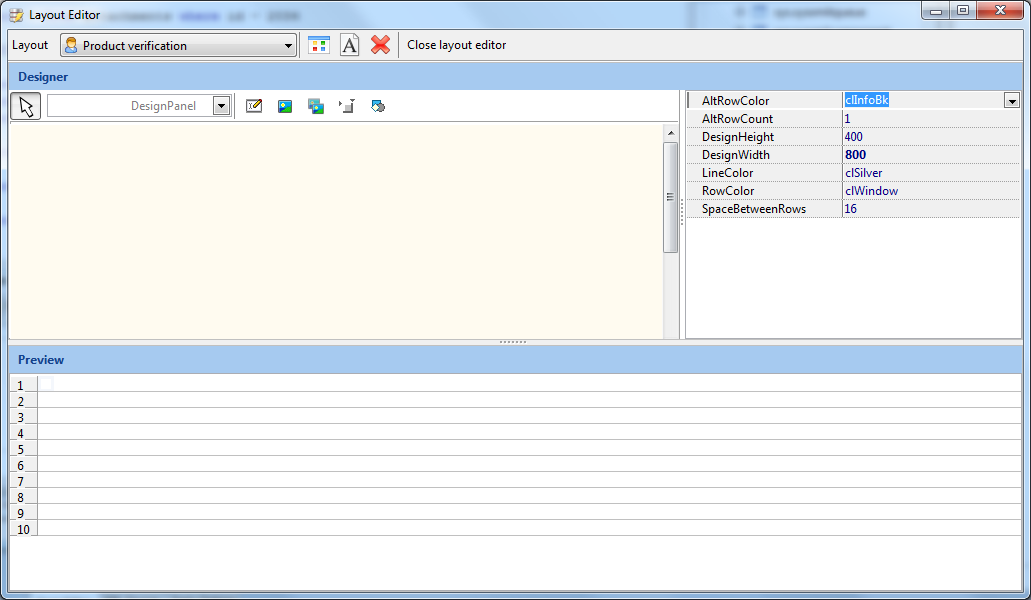
In the Layout Editor, you place widgets on the design panel and link them to the appropriate fields to display your data. A blank design panel is displayed in the Designer window, and how the data will be displayed is shown in the Preview window.
There are 5 types of widgets you can use to display your data:
|
Text item
This element displays text only. You can display values from database field(s), your own text, or a combination of both.
|
|
Image item
This element displays images stored in a database field. Please see here for the list of supported image formats.
|
|
Multi-frame image item
This element displays multiple frames from a single image field. Supported image formats are GIF, DICOM, and TIFF.
|
|
Bevel item
This element draws line or boxes to help organize and highlight items in your layout.
|
|
Shape item
This element draws various shapes in different colors to help organize or highlight items in your layout.
|
To add a widget, first click on the widget's icon on the designer toolbar, then click on the area in the design panel you want to place the widget. For example, to add a text item widget, click on the text item icon so that it's pressed:

Then click on the design panel to add that widget:
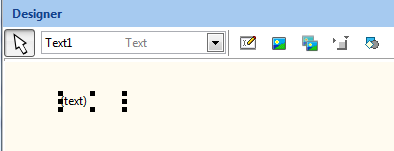
To change the position on the widget, click on the widget on the design panel, hold down the mouse button, and move the item using your mouse.
To remove the widget, click on the widget on the design panel, and press the Delete key on your keyboard.
To resize the widget, click on the widget on the design panel, and drag any one of the six handles to expand or shrink the widget's size.