|
Introduction |
|
|
Using SQL Spreadsheets |
|
|
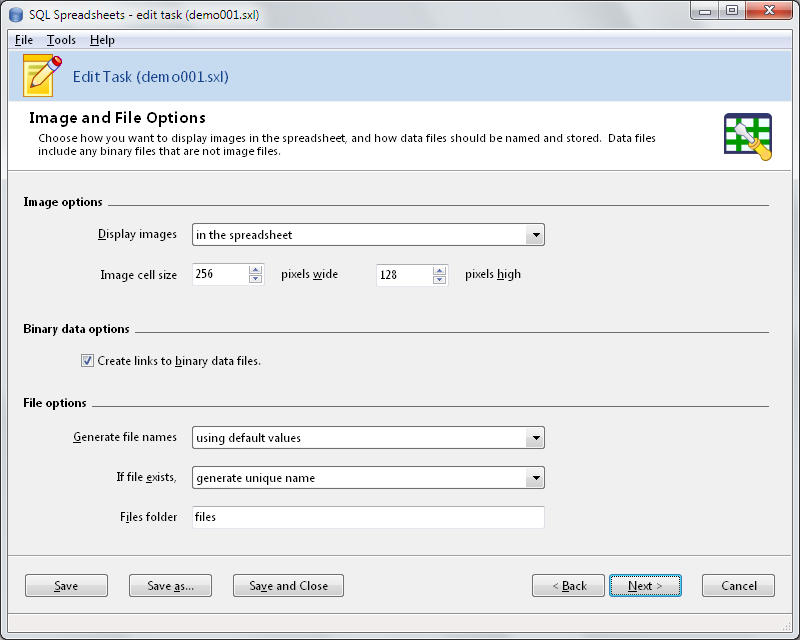
Image and file options
Select
how images and binary data should be exported on this page.
You
can choose to display images in the spreadsheet itself by selecting
the in the
spreadsheet item.
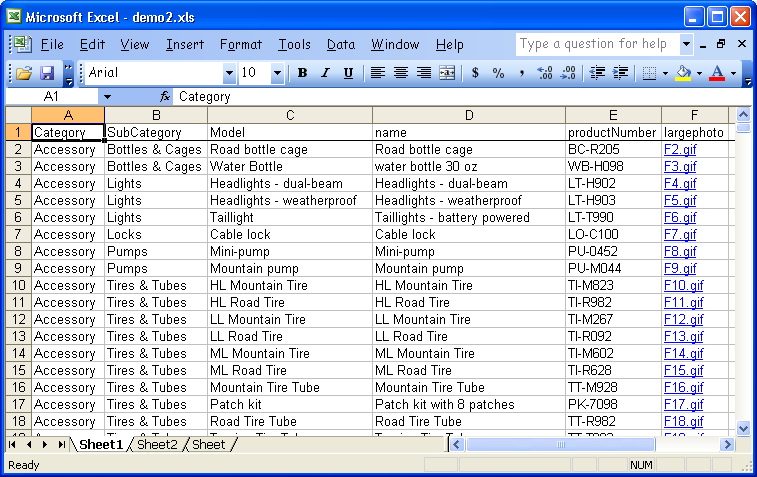
You can choose to display images as links in the spreadsheet by
selecting the as a
link in the spreadsheet item.
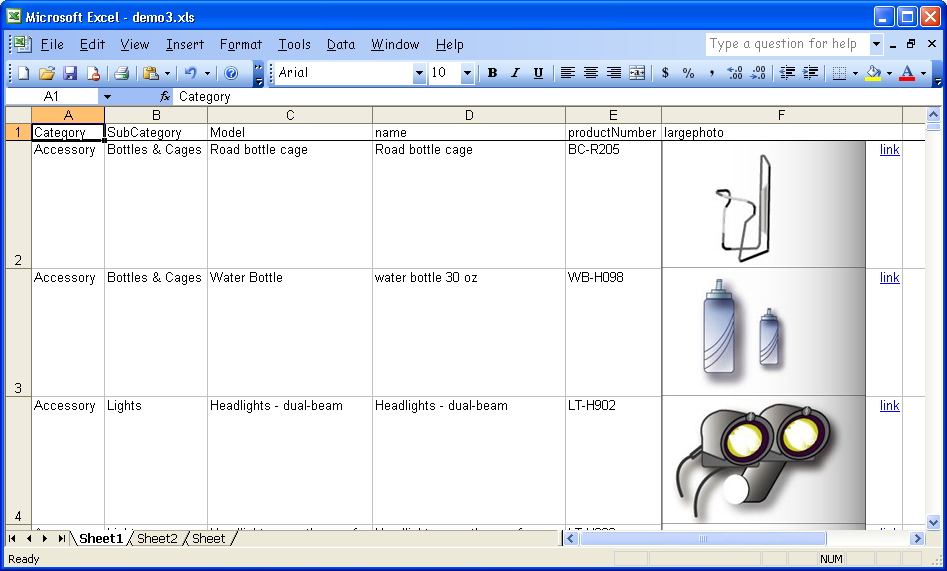
You can also choose to display images in the spreadsheet itself,
and also as a link to the full sized image image, by selecting the
in the
spreadsheet and also as a link item.
The size of the image in the spreadsheet is determined by the cell
size you enter.
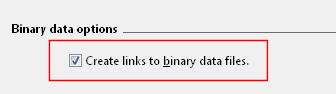
For binary data that are not images, you can choose to export them
to disk by selecting the Create
links to binary data files option.
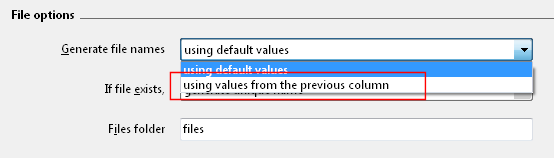
For
image and binary that are saved to disk, you can select how the
exported files will be named. By default, they will be named using
the cell reference e.g.
You
can also provide the file name to save the file in, by selecting
the using
values from the previous column item.
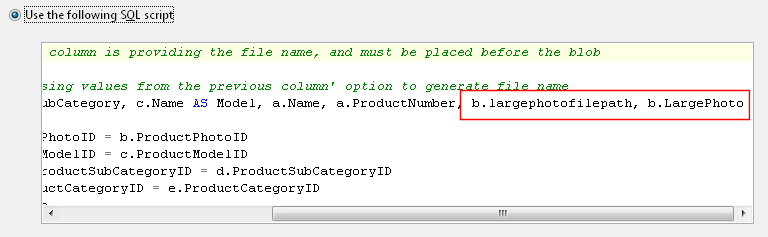
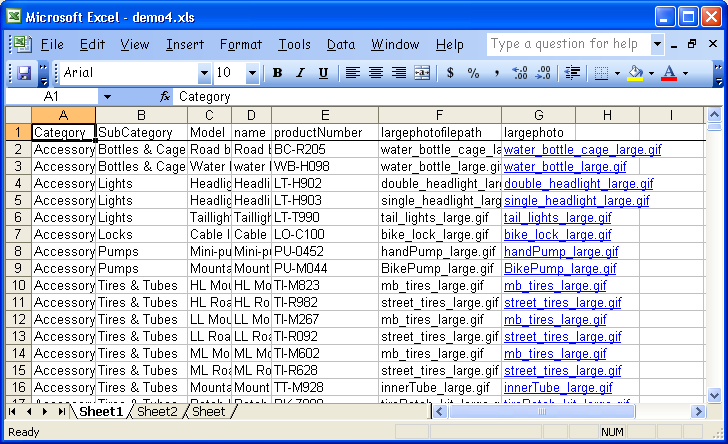
When
you select this item, the column prior to the binary data column
must contain a file name. If you look at Demo 4, you will see that
the SQL query retrieves the file name column prior to the binary
data column:
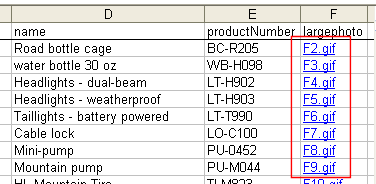
In the
exported spreadsheet, the link description uses the file name:
When
another file of the same name as the exported file exists, you have
3 options. You can choose to make each exported file have a unique
name by selecting the generate
unique name item.
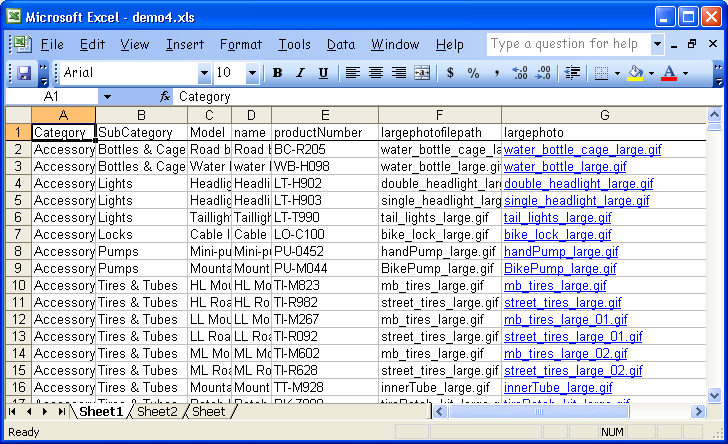
In the screenshot above, rows 10, 12 and 14 actually referenced the
same image in the database, but SQL Spreadsheets saved the files
using unique file names.
If you choose the generate
unique name only if file was not created for this
spreadsheet item,
SQL Spreadsheets will not save duplicate files for the current
spreadsheet. In the example below, rows 10, 12, and 14 now
reference the same image.
Finally,
you can choose to overwrite any existing files of the same name by
selecting the overwrite
existing file item.
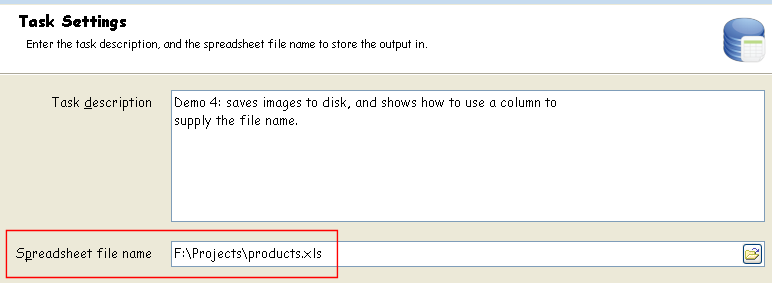
All external files will be saved in the same folder as the exported
spreadsheet. If you want the files to be saved in a subfolder,
enter the name of the subfolder in the Files
folder area.
In the example below, the spreadsheet file is saved in the folder
F:\Projects\.
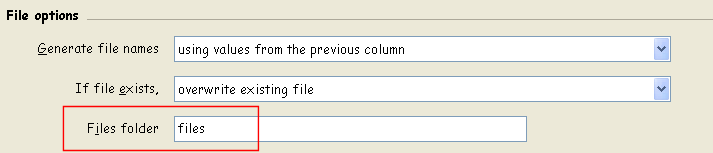
If we
now enter the value files
as
below in the Files
folder, all
exported files will be stored in the F:\Projects\files
folder.
|