We had a user who recently asked if SQL Blob Export is able to merge or combine the extracted single-page TIFF files from her database into multi-page TIFF files. This feature isn’t built-in, but we have provided an external command line application (MergeTiff) that you can freely use to perform the same task.
You can use MergeTiff on any tif files, including those extracted using SQL Image Viewer, SQL Blob Export, and Access OLE Export. It is important that the extracted files use names that group the pages into the right order.
For e.g. the default naming convention for exported files in SQL Image Viewer is row and column index, so assuming each row in your result set only had 1 blob column, your exported files would be named this way:
0001_0001.tif
0002_0001.tif
0003_0001.tif
…
This isn’t going to help MergeTiff determine how to group the files. What you need is a ‘grouping’ value e.g. say a CustomerID column that identifies the customer each image belongs to. We then use this naming convention in SQL Image Viewer/ SQL Blob Export/ Access OLE Export:
<CustomerID>_<%row:0000%>
and our exported files may be named this way:
A00123_0001.tif
A00123_0002.tif
A00123_0003.tif
C72186_0006.tif
D12472_0007.tif
E88822_0004.tif
E88822_0005.tif
In this way, we know that for customer A00123, we need to merge 3 files, for customer E88822, we need to merge 2 files, and so on.
To use MergeTiff, you need to provide at least 1 parameter:
- the search pattern for the files to process using the -i parameter e.g.
MergeTiff.exe -i “g:\exported images\*.tif”
Other parameters supported by MergeTiff:
-o
this is the output folder to store the merged files. If not provided, the merged files will be stored in the same folder as the source files. If you want to store the merged files in a different folder, you would need to provide the -o parameter e.g.
MergeTiff.exe -i “g:\exported images\*.tif” -o “g:\exported images\merged\”
-d
this is the delimiter that the source file name uses to separate elements, default value is _
In our example, our file name elements use the underscore character e.g. _. You might use another symbol e.g.
A00123-0001.tif
A00123-0002.tif
A00123-0003.tif
E88822-0004.tif
In this case, you need to provide the -d parameter and the delimiter character e.g.
MergeTiff.exe -i “g:\exported images\*.tif” -o “g:\exported images\merged\” -d “-“
-g
this is the grouping element index, default value is 1. In our example, the grouping element is the first element i.e. all the characters before the first delimiter i.e.
A00123
E88822
C72186
D12472
E88822
If instead our file named had been named this way:
scanneddocsA00123_invoice1005_A00123_0001.tif
scanneddocsA00123_invoice1005_A00123_0002.tif
scanneddocsA00123_invoice1006_A00123_0003.tif
scanneddocsC72186_invoice1008_C72186_0006.tif
scanneddocsD12472_invoice2010_D12472_0007.tif
and we still wanted to merge all documents belonging to the same customer, then our grouping element is the 3rd element, and we would need to use the -g parameter e.g.
MergeTiff.exe -i “g:\exported images\*.tif” -o “g:\exported images\merged\” -g 3
-n
this is the naming element index, default value is 1. Following on from the above example, supposing we merge our files by invoice number instead of customer code, we would need to use both the -g and -n parameters e.g.
MergeTiff.exe -i “g:\exported images\*.tif” -o “g:\exported images\merged\” -g 2 -n 2
-ow
use this parameter to overwrite any existing files of the same name
If you want MergeTiff to overwrite any existing files, use the -ow parameter e.g.
MergeTiff.exe -i “g:\exported images\*.tif” -ow
-r
use this parameter to also process files in the input path subfolders
To process files recursively beneath the input path, use the -r parameter e.g.
MergeTiff.exe -i “g:\exported images\*.tif” -r
You can download MergeTiff from here.
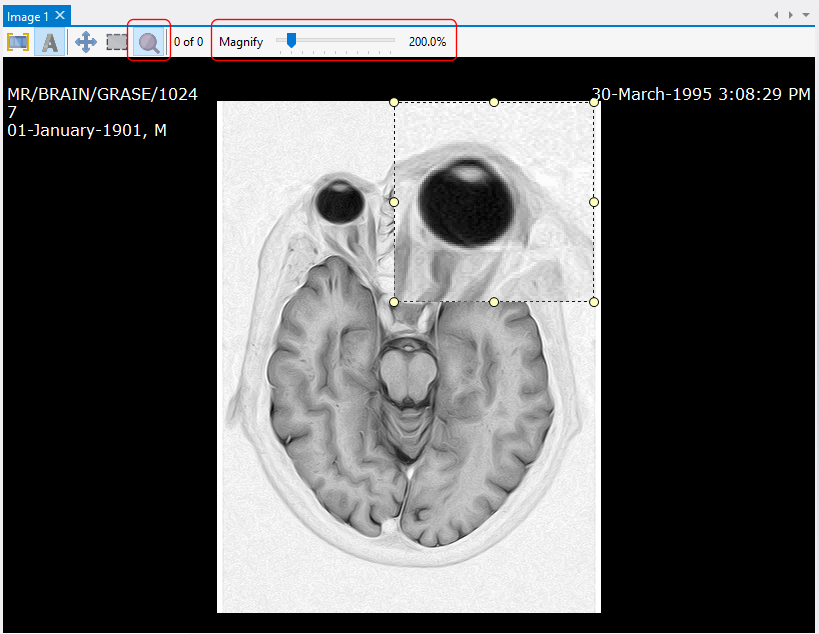
 This allows you to easily view the image without having to open it in the main viewing area.