Tag Archives: PDF

Searching PDF content using Easy PDF Search

When using Easy PDF Search to search for words or phrases, here are a few pointers.

When you enter a single word to search, Easy PDF Search will return all pages containing one or more occurrences of that word.

If you enter two words on different lines e.g.

Easy PDF Search will return all files containing the words monitoring or quality.

Likewise, if you enter multiple words e.g.

all files containing any of the entered words will be returned.

If you enter two words on the same line e.g.

only files containing the first and second words will be returned.

If you enter two lines of two words each e.g.

then only files containing monitoring and sensors or arduino and quality are returned.

You can also search for phrases in place of words.  To search for phrases, enclose the words in double quotes e.g.

This will then return only files containing the phrase monitoring quality.  The rules for words described above apply to phrases too.  E.g.

will return all files containing the phrase monitoring quality and the word arduino.

Refining your search using AND, OR, NOT

When you enter two words on a line to search for e.g.

there’s an implicit AND operator added i.e.

You can use the OR operator if you want the search results to return files containing either of the two words e.g.

You can also use the NOT operator to exclude files containing specific words.  E.g.

will return all files containing the phrase monitoring quality and do not contain the word  arduino.

You can combine multiple operators and words to refine your search e.g.

Use parentheses to make it clear the order in which to apply the search operators and words e.g.

Note that the AND, OR, NOT operators must always be written in uppercase.

Prefix search

Instead of complete words, you can also use prefix searches e.g.

This will then return all files containing words starting with monitor e.g. monitoring, monitored, monitors, etc.

Proximity searches

Proximity searches allow you to search for 2 or more words based on their proximity, using the NEAR operator.  E.g.

will return all files containing the words monitoring and performance when they appear within 20 words of each other.  If you omit the distance value e.g.

a default distance value of 10 words is used.  Note that common words like the, and, it etc are ignored when determining proximity.

Searching by file and by page

By default, Easy PDF Search will treat the entire PDF file as one single page.  Instead of applying the search criteria on the entire file, you can choose to search by individual pages.  For e.g. entering this

will return all files containing the word performance but not optimization.  If however you choose to search by page

then only individual pages containing the word performance but not optimization are returned.

Searching PDF attributes and date values

Each PDF file has a set of common attributes, like author, creator, title, subject, producer etc.  Using Easy PDF Search, you can easily search for PDF files with attributes matching one or more values.

If you want to see which of your PDF files contain attributes, just enter a wildcard search value and select the attributes you’re interested to see.

Easy PDF Search will then return all files containing values for the attribute types you selected.

You can also search on the PDF creation and modification date.  All dates are stored in the format |year|month|date|hour|minute|second

For e.g. July 27, 2010 9:30 PM will be stored as 20100727093000

To search for files created or modified on a specific date, we enter the date elements and use a wildcard for the time elements.  For e.g. to search for files created on March 23, 2009, we would enter the following:

Easy PDF Search will then return all files created on that date, regardless of the time value.


SQL Image Viewer 9.1 and PDF files

SQL Image Viewer 9.1 can now display thumbnails of PDF files in your result sets.  You do not need to change or add your configuration – simply run your query and if any PDF files are detected, a thumbnail of the first page is displayed in the results area.

Using custom layouts (available only in the Professional Edition), you can display additional pages from your PDF files.

As of now, SQL Image Viewer can only display thumbnails of your PDF files if they are stored as-is in your database.  Thumbnails cannot be displayed for PDFs that are stored in OLE-Object containers, zip archives, or any other format that embeds the PDF file in it.


Compressing PDFs in your database

→ This article refers to SQL Blob Viewer, which has now been renamed to SQL Image Viewer.  The techniques described in this blog is still applicable, as the functionality of the product remains the same.  Only the name has changed.

Recently, a user wanted to compress PDFs stored in his database, in order to reduce the overall size of the database.  He asked if we had any application that could do this.  Unfortunately, we don’t, but it got me to exploring the available options.

Turns out that PDF software development kits aren’t cheap at all.  Licensing can run into thousands of dollars, which isn’t feasible for us.  Open-source software is another option, which is what I finally went with.  In this case, I used Ghostscript, an all-purpose PDF toolkit, available at https://www.ghostscript.com/.

There are 3 steps to compressing PDFs in your database – extracting the PDFs, compressing or optimizing them, and finally uploading them back into the database.  We will use SQL Blob Viewer to first extract the PDFs, then Ghostscript to reduce the PDF size, and finally SQL File Import to upload the PDFs back into the database.  For reference purposes, these PDFs were created from document scans, so they have a 600 dpi resolution and are not optimized for PDF storage.  We’re running this example on Windows, but there is also a Linux version of Ghostscript, and both SQL Blob Viewer and SQL File Import will run on Linux using Wine.


Extracting the PDFs

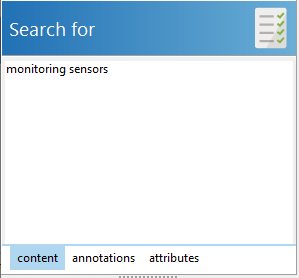
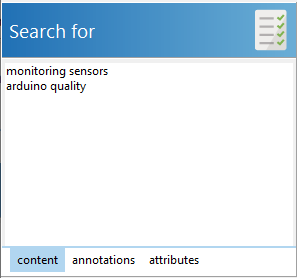
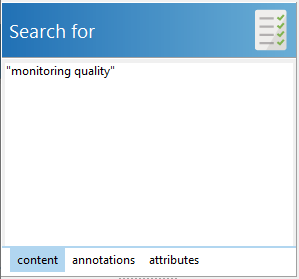
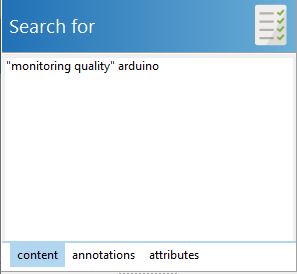
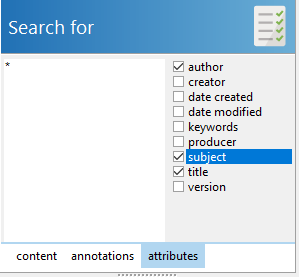
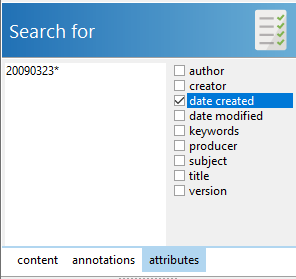
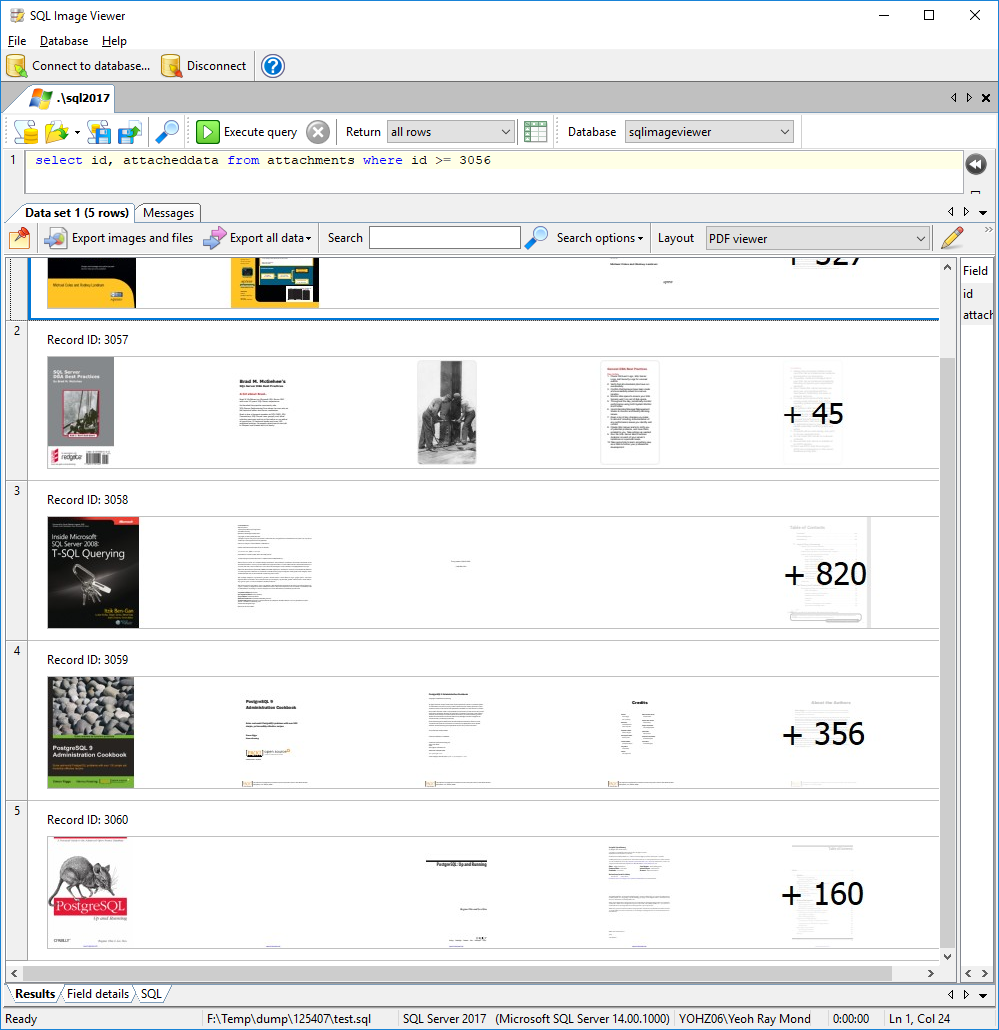
Extracting PDFs from your database using SQL Blob Viewer is very simple – first write the SQL command to retrieve the PDFs.

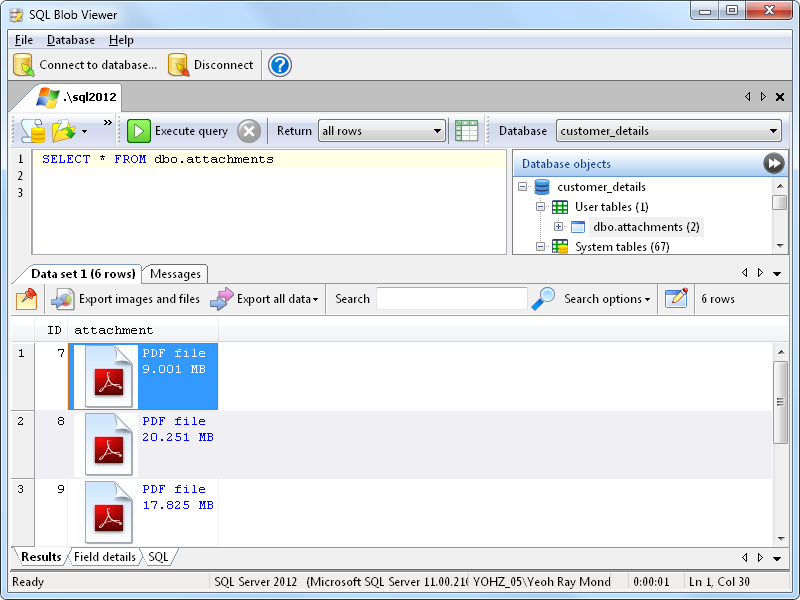
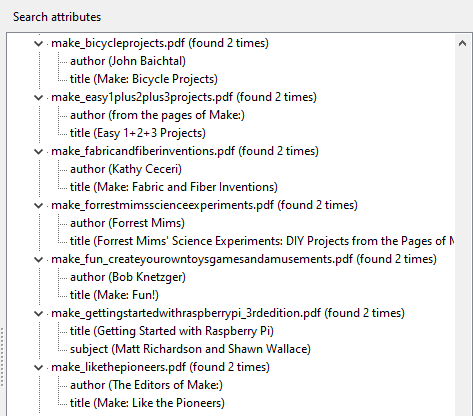
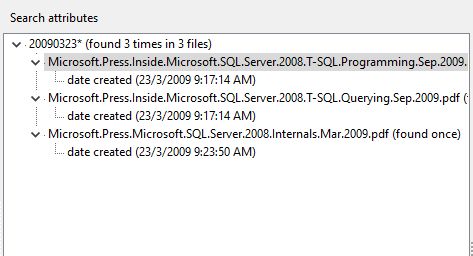
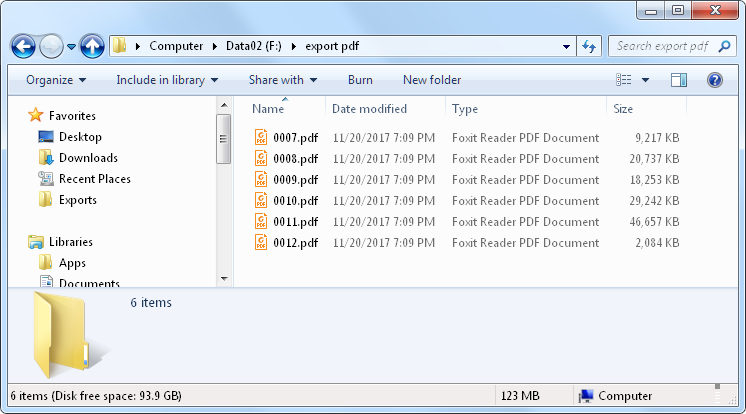
We then export the PDF files to disk, using the primary key value in the ID field to name the exported files.  We do this so that when we upload the compressed files, we can use the ID value to update the correct rows.

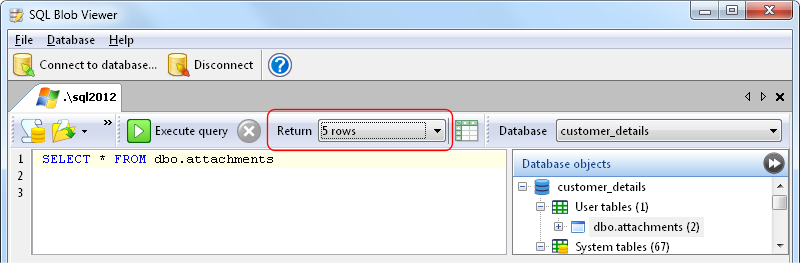
If you have a lot of PDFs to export, you should choose to retrieve only the first few rows, to avoid loading the entire data set into memory.  After that, when you export the result set, the entire result set will be exported.  See this page for details on how to export large result sets with SQL Blob Viewer.


Compressing the PDFs

Now that we’ve exported the files, it’s time to use Ghostscript to compress the images found in those PDFs.

The easiest way to do this is to reduce the resolution of the images.  You can do this using the PDFSETTINGS option.  The possible values are:

  • /screen – converts to 72 dpi
  • /ebook – converts to 150 dpi
  • /printer – converts to 300 dpi
  • /prepress – converts to 300 dpi, color preserving

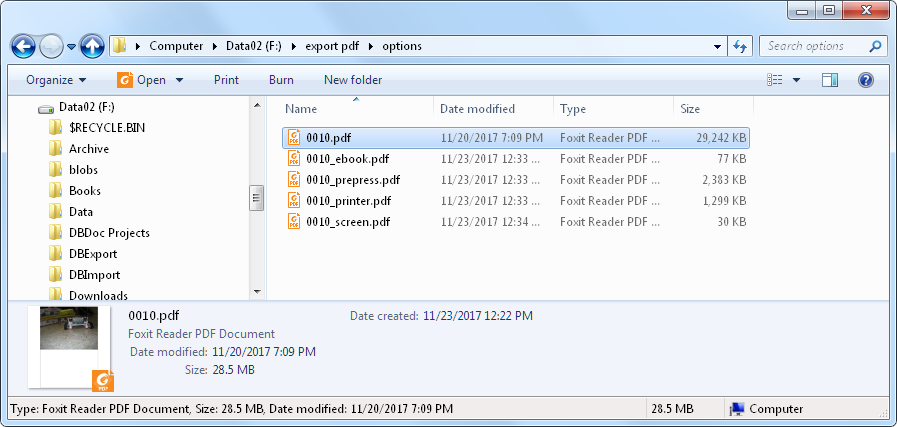
Depending on your requirements, you might want to test the various options to see which best suits your needs.  I took one of the exported PDFs, and converted them using each of the 4 options.  As you can see, the size of the PDF drops dramatically for all 4 options.

Here is the DOS batch script I used to convert the PDFs using the /prepress option (NOTE: Ghostscript options are case-sensitive, so you cannot for e.g write -PDFSETTINGS as -PDFSettings):

for %%x in (*.pdf)  do gswin64c.exe -sDEVICE=pdfwrite -dPDFSETTINGS=/prepress -dBATCH -dNOPAUSE -dQUIET -SOutputFile=”%%~nx_compressed.pdf” %%x

The options used are:

  • -sDEVICE=pdfwrite – this tells Ghostscript that we want to create a PDF file
  • dPDFSETTINGS=/prepress – this tells Ghostscript to convert all images found in the source PDF to 300 dpi resolution
  • -dBATCH -dNOPAUSE -dQUIET – these options indicate that the process should run non-interactively
  • -SOutputFile=’%%~nx_compressed.pdf’ – this tells Ghostscript how to name the output file.  Since we want to add a _compressed suffix, we first use the ~nx option to extract just the source file name without the extension, add the _compressed suffix, followed by the .pdf extension.
  • %%x – this is the source file name that matches the search pattern in the for %%x in (*.pdf) loop

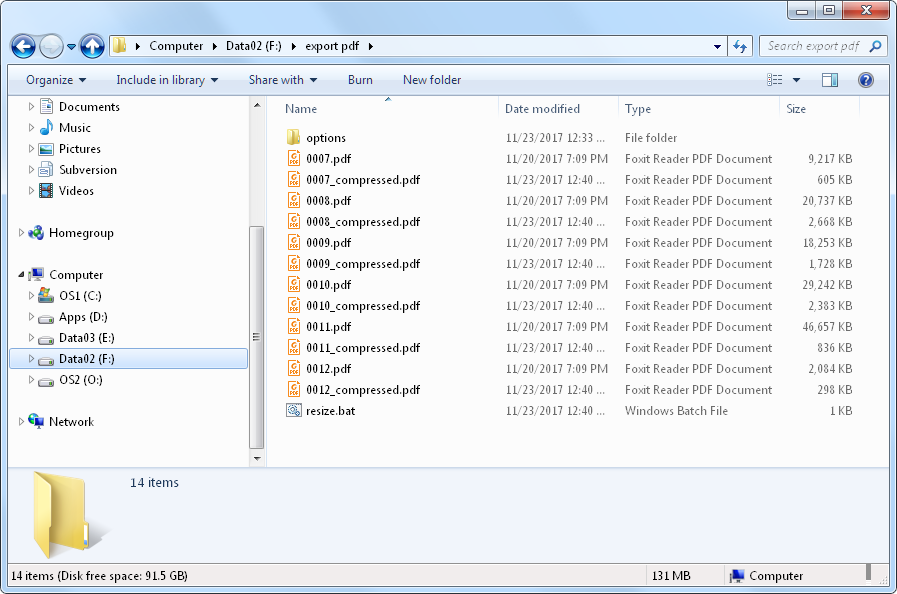
Basically, this loops through all the PDFs in the current folder, converts all images in each PDF to 300 dpi, and saves the PDF with the _compressed suffix.

As you can see, the new PDFs are significantly smaller than the original PDFs.


Updating the database

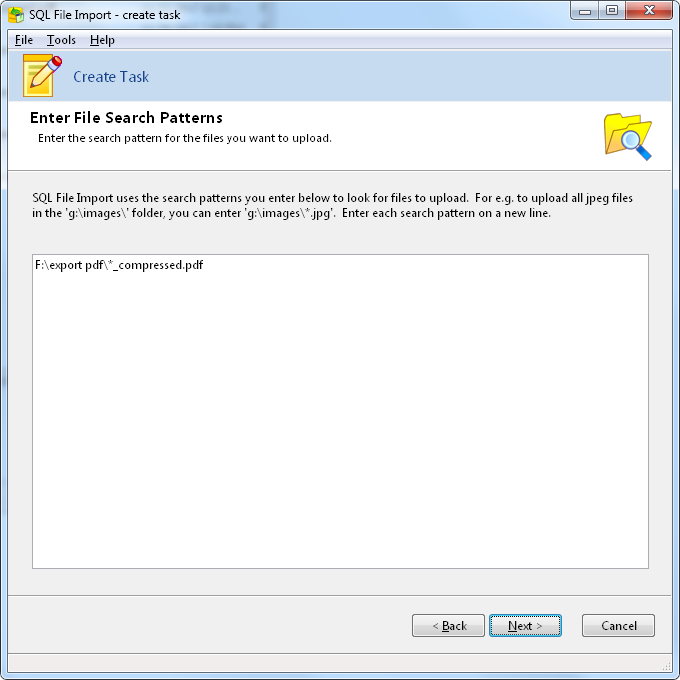
Now, we need to update the existing record with the optimized PDF file.  We can do this using SQL File Import.  First, we enter the search pattern for the files we want to use i.e. those with the _compressed suffix.

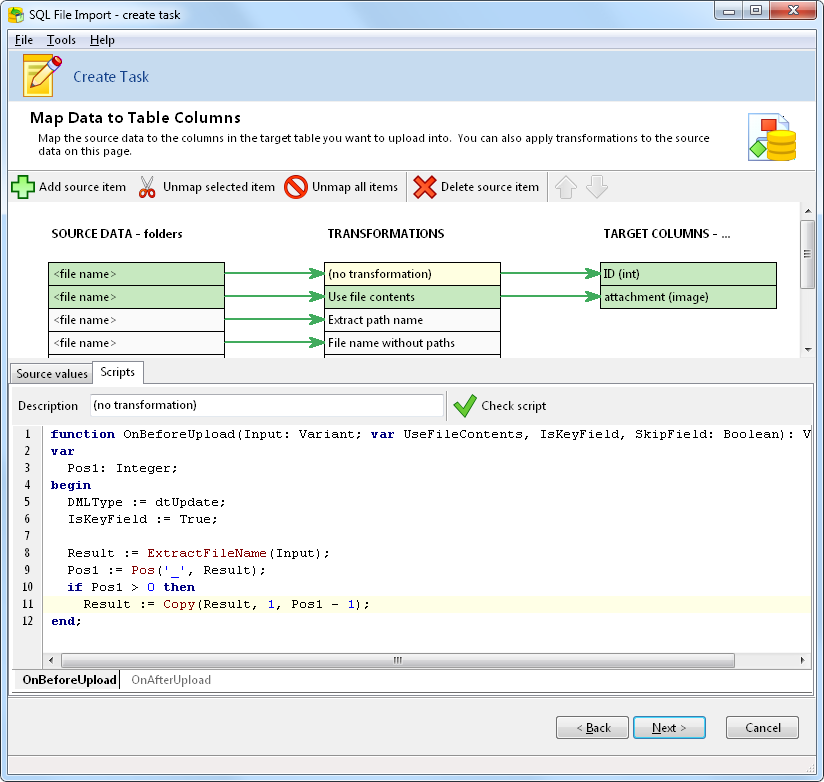
Next, we need to map the columns.  Using the file name as the input value for the ID column, we need to:

  • extract the ID value from the file name
  • indicate that this value is a key field
  • indicate that this is an update process

We do this via the following script:

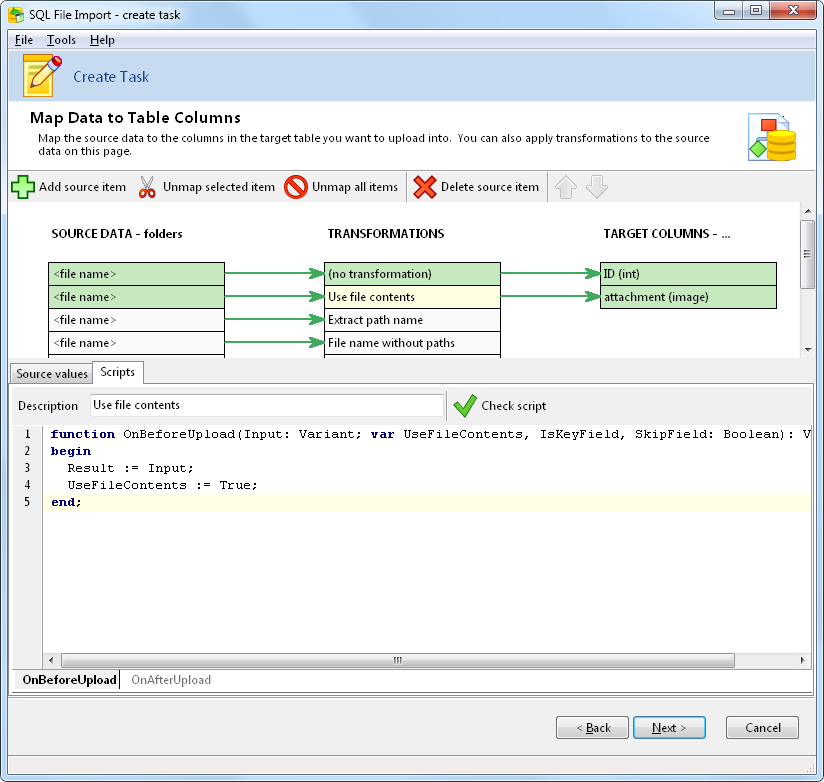
For the attachment column, we simply indicate to SQL File Import that we want to use the file contents.

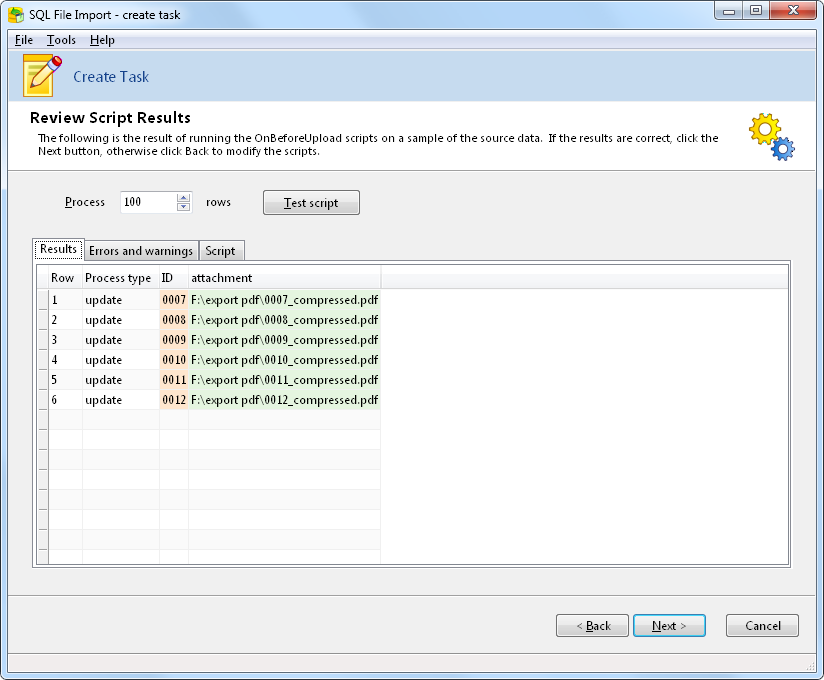
Internally, SQL File Import will form the following UPDATE statement based on our script as follows:

UPDATE attachments SET attachment = :attachment WHERE ID = :ID

The test script shows that we have extracted the ID value correctly, and that the attachment column will use the contents of the files.

Now, we just need to run the script in SQL File Import, and our records are updated with compressed versions of the PDF files.

That is basically all you need to do if you want to reduce the size of the PDFs in your database.  The steps are similar if you want to process any of your blob data and update them in your database e.g.

  • resize images
  • compress files into archive (zip) files
  • process images e.g. add watermarks, convert to grayscale etc

SQL Blob Viewer and SQL File Import will handle the extraction and update process respectively.  You are free to use any external tools to process your images/files.

Customizing the logo and copyright message in the DB Doc PDF and Word reports

In DB Doc, the PDF and Word reports share the same templates.  On the Create docs page, select the PDF settings tab, and click on the Edit button.

This brings up the report editor page.

Double click on the YOUR LOGO HERE image object to display the picture editor.  Click on the Load button to load your company logo.  You can load any jpeg, png, or bmp image.

Once loaded, click on the OK button.

Your log is now displayed on the report.  Resize the logo, or reposition the logo as per your requirements.

To modify the copyright message, scroll down the report until you see the footer.  Double click on the footer to bring up the memo editor.

Modify the text, and click on the OK button.

The modified text is now displayed in your report.

To make these changes permanent, save the report template, either using the existing name, or under a new name.  If you save the template under a new name, remember to select that template when you generate the PDF report.