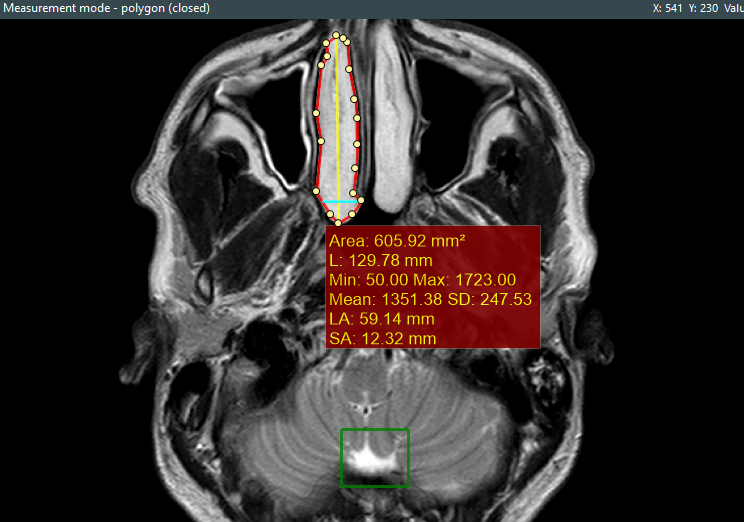
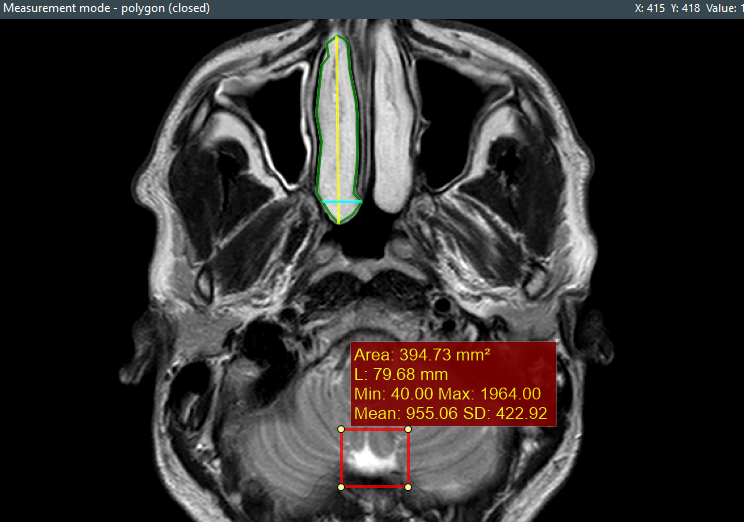
In Easy DICOM Viewer, you can create multiple measurements in your DICOM image. By default, only the label for the selected measurement is displayed, to make it obvious which measurement the label is referring to.
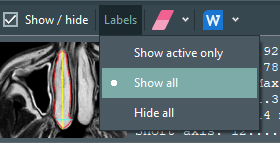
You can also choose to display all the measurement labels by selecting the Show all option on the Labels options.
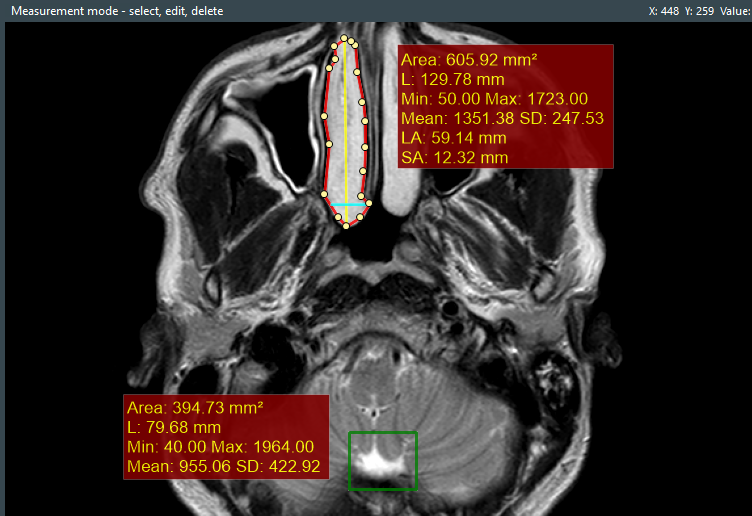
However, in this example, our labels overlap each other.
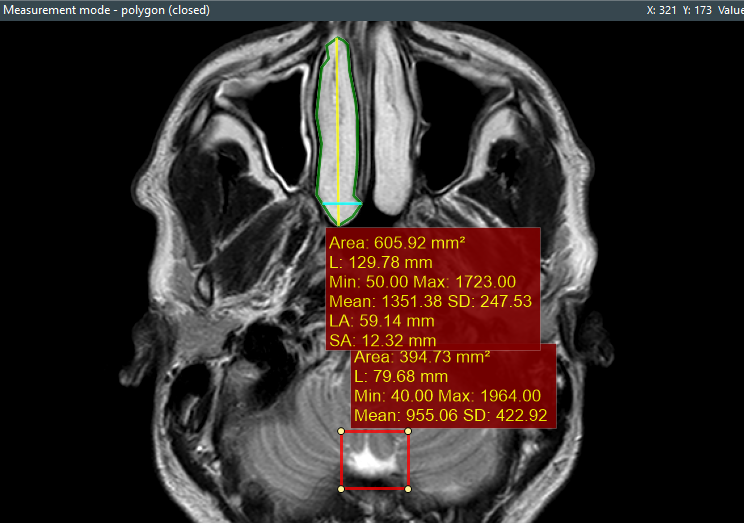
To reposition a label, first select the Move, edit, delete item from the measurements context menu.
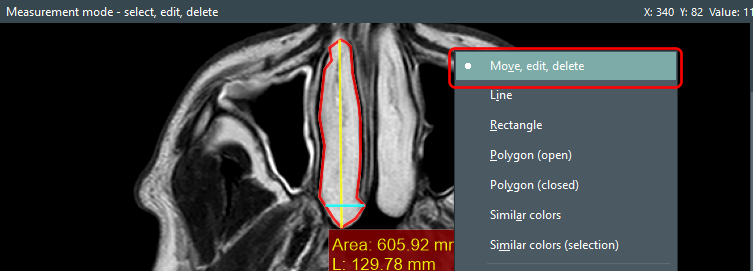
Then select the measurement area you want to reposition the label for. Press CONTROL and click on the new label position. Here, we have repositioned our 2 labels so that they no longer overlap when displayed simultaneously.
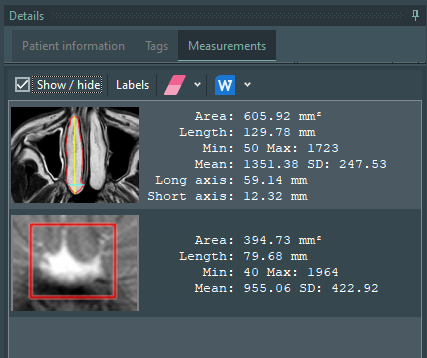
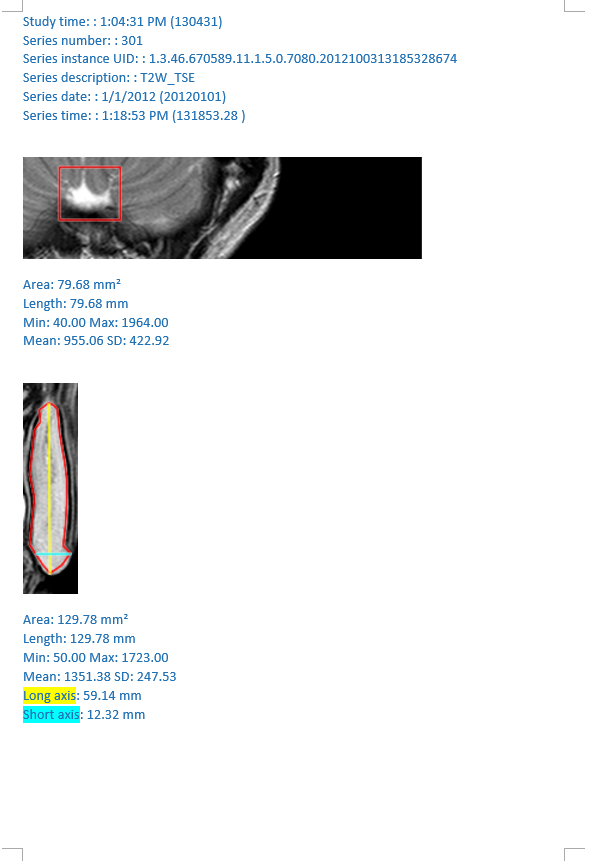
The measurements panel
All the measurements are also displayed on the measurements panel together with the measurement details.
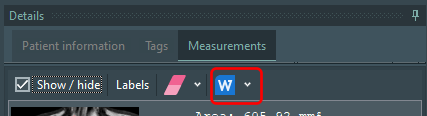
You can also perform various actions like hiding all the measurements on the images, applying the various label options, or deleting one or more measurements. You can also export details of your measurements to a Microsoft Word file. Just click on the Export image and measurements to Word button and enter the file name.
The exported Word file is automatically opened by default.

Download a 14-day trial now of Easy DICOM Viewer and experience for yourself how easy it is to create, edit, and share measurements in your DICOM images.
Easy DICOM Viewer is a collaborative effort between LISIT, Co., Ltd. and Yohz Software. To learn more about Easy DICOM Viewer or download a trial, please use this link. If you are in Japan, please use this link instead.