In DICOM Search 1.3, we added the option to create a HTML slideshow from the images in your search results. Click here to see a sample slideshow.
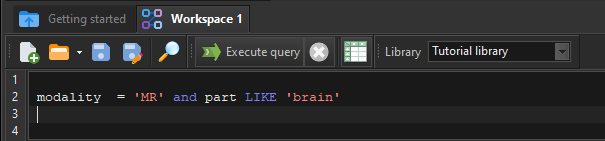
You need to first run a query to retrieve some images. Let’s search for all MR images for the brain, from the sample images used by our tutorial.
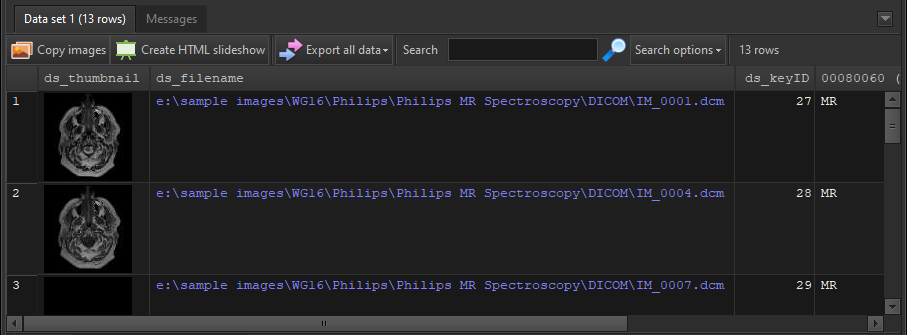
This returns 13 images.
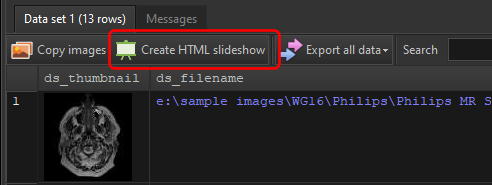
Let’s create a slideshow containing these 13 images. Click on the Create HTML slideshow button.
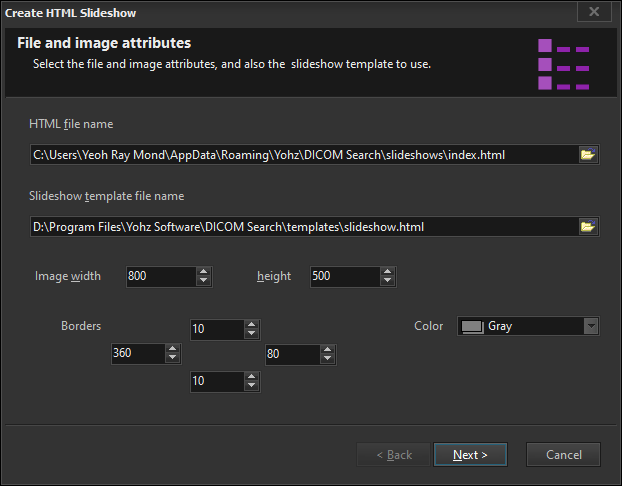
This brings up the Create HTML Slideshow options.
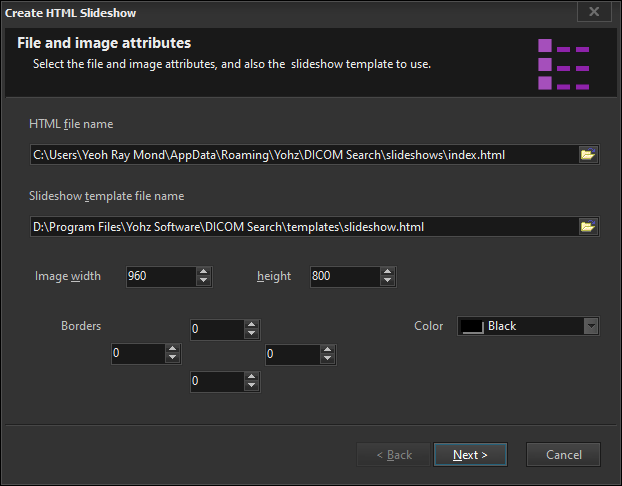
The HTML file name is the name of the html file you want to create. The Slideshow template file name is the slideshow template to use. DICOM Search ships with 2 templates, which you can easily customize to your needs.
You can also resize the images to fit a specific width and height in pixels. Additionally, you can also add a colored border around the image. This is useful when you want to display information profiles in the images.
For this example, we will create a gray border of 360 pixels on the left, 80 pixels on the right, and 10 pixels for top and bottom.
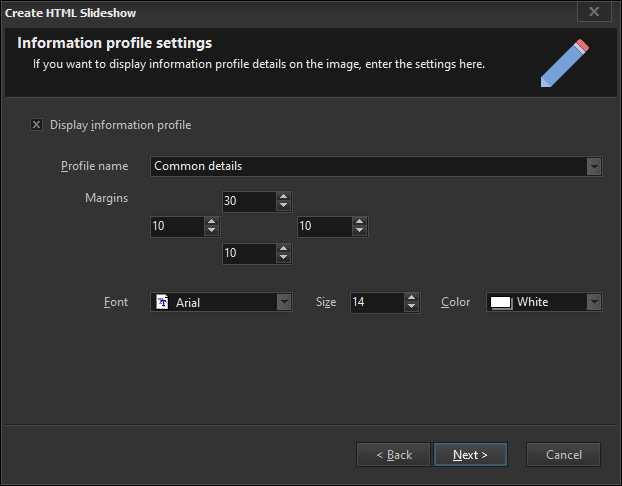
On the next page, you can choose to embed DICOM tag values in your images using information profiles. You can also set various attributes like margins and fonts. Here, we’ll just select the Common details information profile.
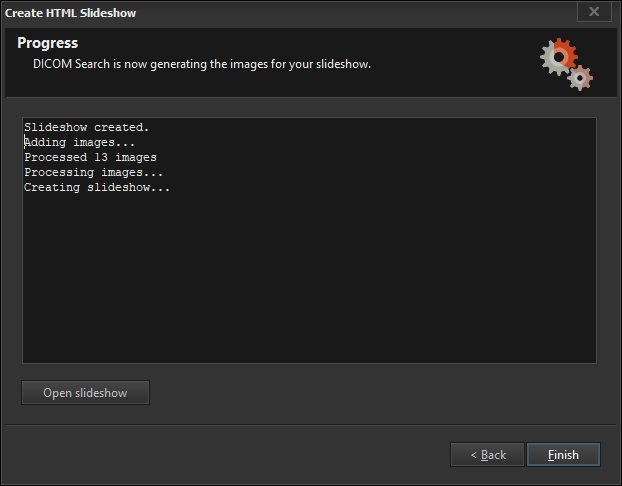
DICOM Search then creates your slideshow. When completed, click on the Open slideshow button.
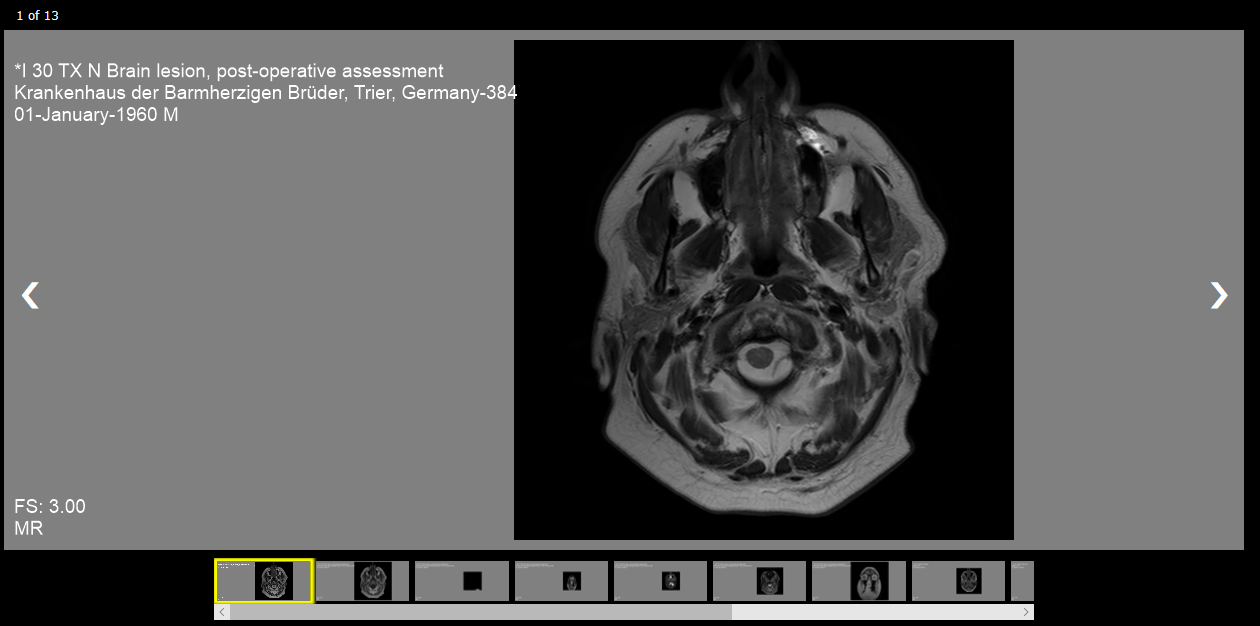
Windows should then open the slideshow file in your browser.
Note the following:
- you can customize the slideshow templates to change the appearance
- the DICOM tag values from the selected information profile are embedded in the image
- the margins are used so that the tag values do not cover the image
- you can easily create information profiles that display a lot more information to be embedded in the slideshow images