To create an analysis table from an Excel file using Easy Excel Analysis, here are the basic steps to follow:
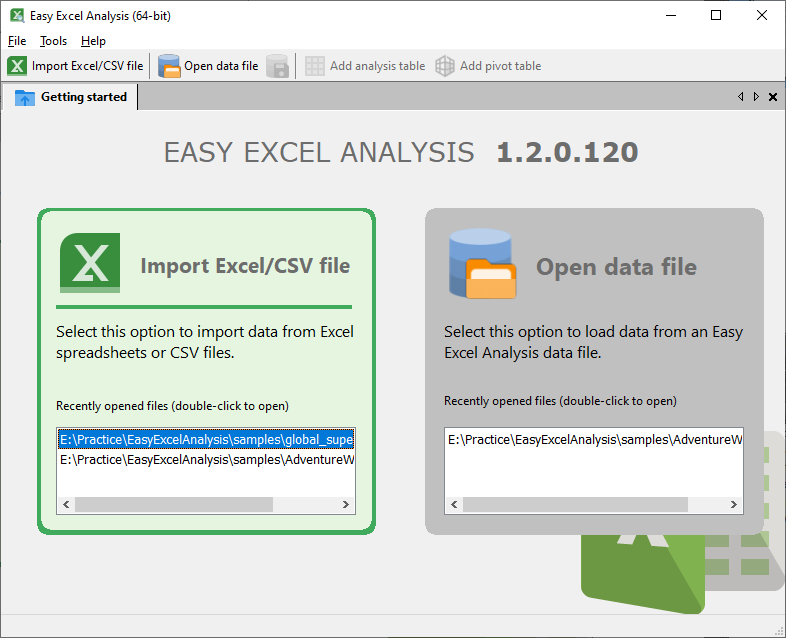
Importing your Excel file
Click on the Import Excel/CSV file item, and select the Excel file you want to import.
Select the worksheet you want to import data from.

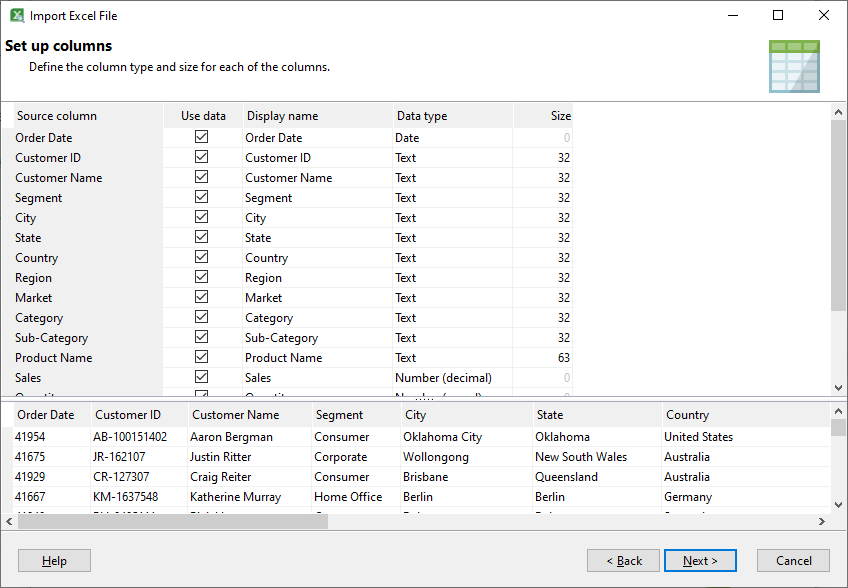
A preview of the selected worksheet is displayed on the right. Adjust the settings accordingly if your worksheet does not have a header, or has blank rows before the data rows. Click Next.
On the next page, adjust the column types where necessary. Check that the date and time columns are identified correctly. If the columns have been formatted as date and/or time columns in Excel, they will be identified correctly in Easy Excel Analysis. Click Next when done.
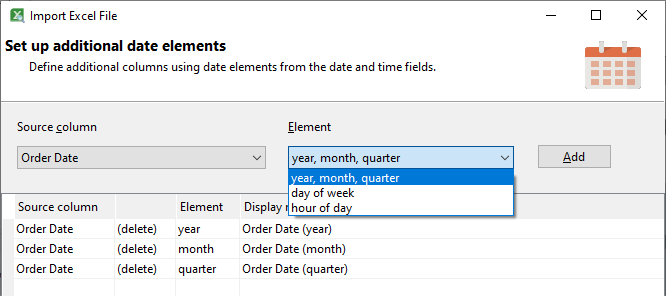
On this page, you can add additional columns that extract individual elements from date and time columns. In our example, we have chosen to add columns for the year, month, and quarter based on the Order Date column. Click Next after you have added the elements you require.
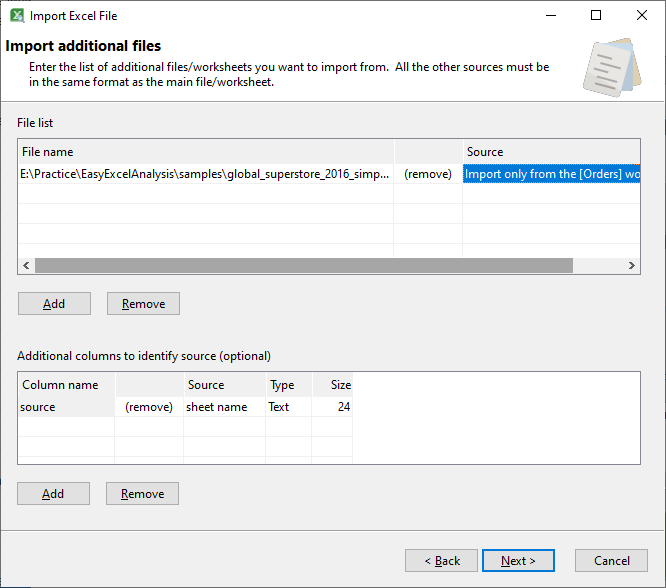
On this page, you can choose to import data from additional Excel files and/or worksheets. See this post for further details.
Click Next, and your Excel data will be imported into an analysis table.
Importing your CSV file
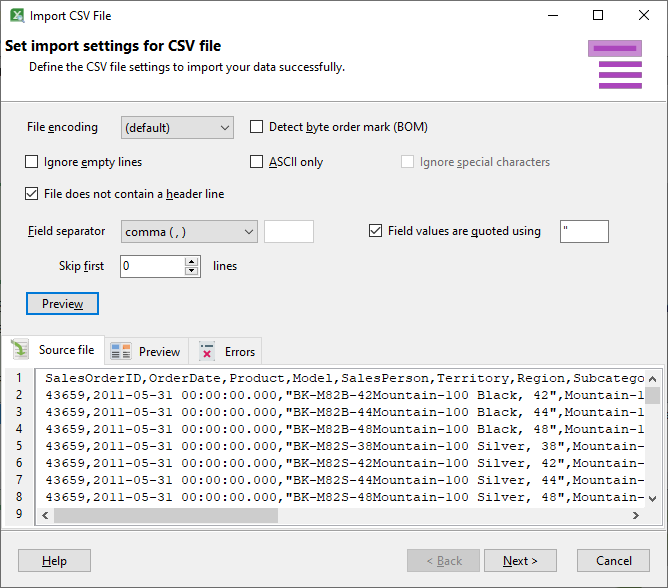
The steps to Import a CSV file is similar to importing an Excel file. When you select a CSV file, the Import CSV File wizard displays a preview of the file. You may need to adjust the settings to import your file correctly. To determine if the settings are correct, click on the Preview button.
In this example, we see a strange character next to the first column description.
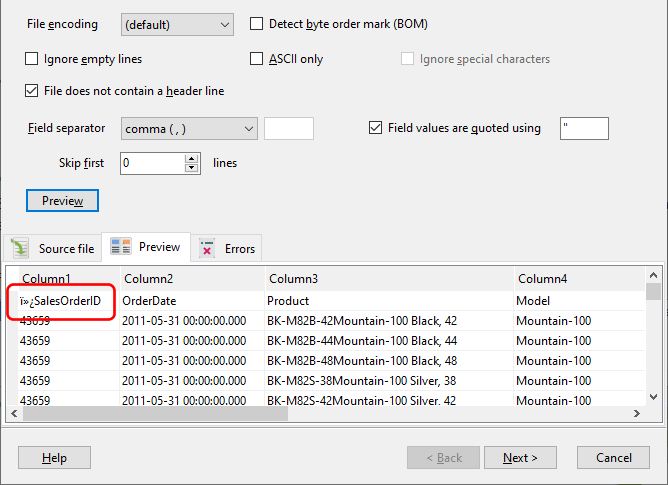
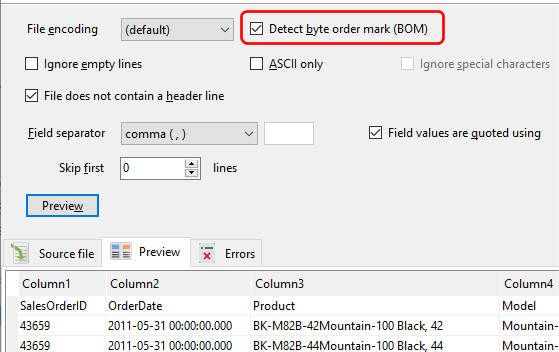
This is a common issue, and is fixed by selecting the Detect byte-order mark option. Easy Excel Analysis will try to set this option automatically depending on the CSV file format.
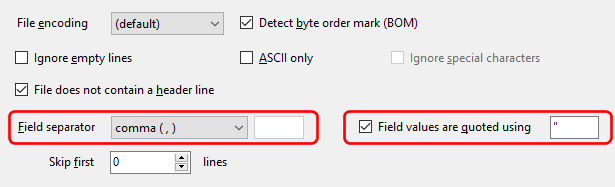
Other common settings to change include the Field separator symbol (default is the comma symbol), and the quote symbol.
To check if the CSV file will be imported correctly, click on the Preview button to check the lines that will be imported.
The rest of the steps is identical to that for importing Excel files described above.