In Easy PDF Search 5 (EPS), we added a highlighting function. This is to help users who need to highlight content in their PDF files after EPS has delivered the search results. Previously, we had to open the PDF file in another application like Acrobat Reader to highlight the content, thus losing the search results and navigation functions available in EPS.
IMPORTANT NOTE
DON”T use the highlighting function in EPS to redact your PDF content. The highlighted areas are path ‘objects’, which can be easily removed.
Getting started
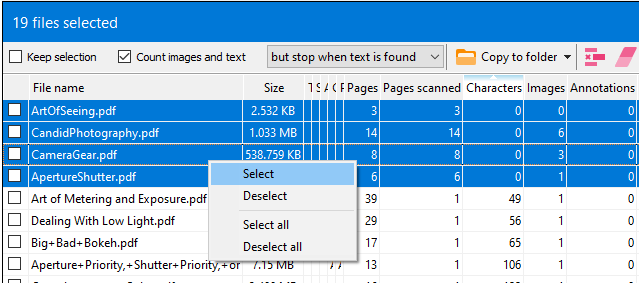
We will need to open the file we want to highlight in EPSs’ internal viewer. To do that, select the Open PDF file using internal viewer option from the context menu in the search tree.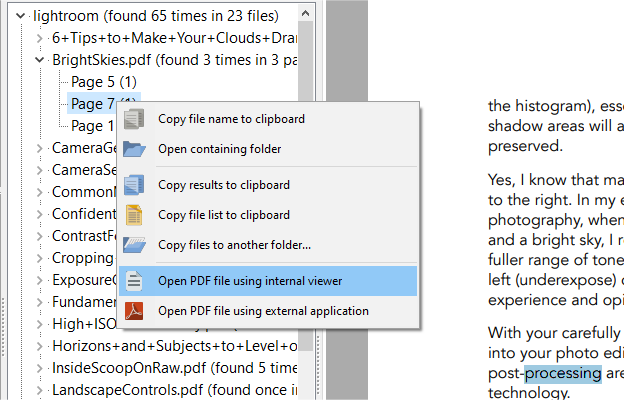
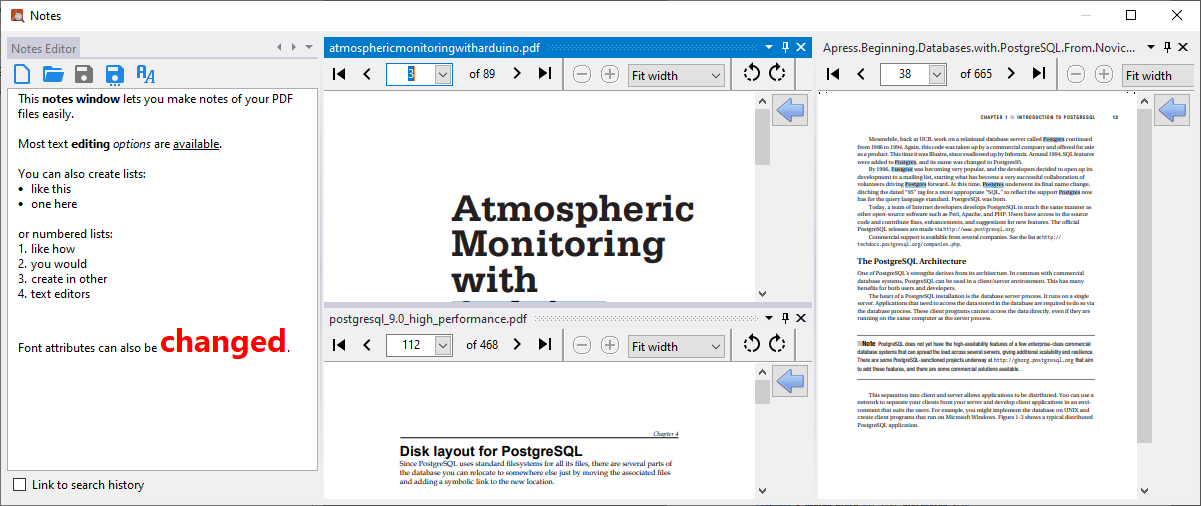
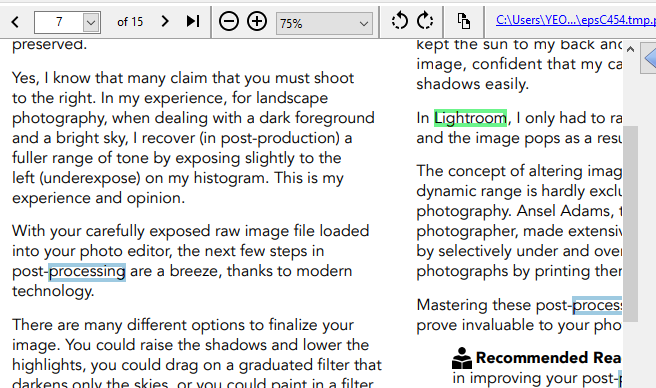
The file is then opened in its own tab.
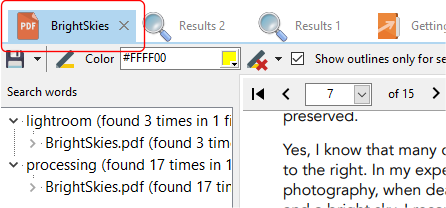
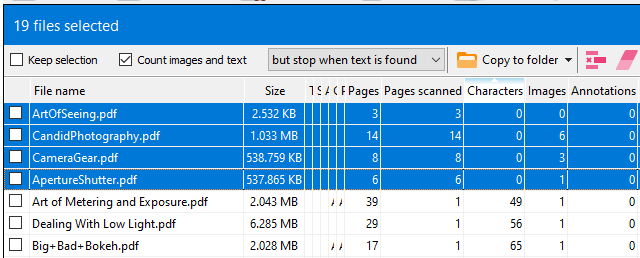
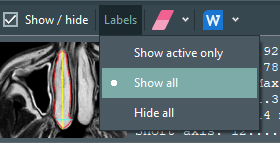
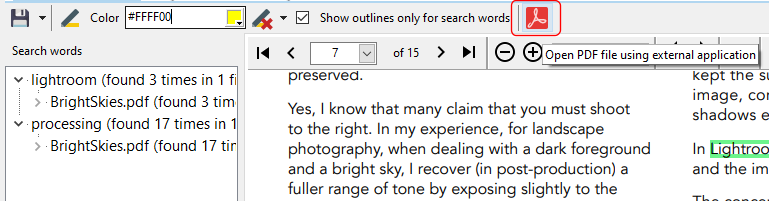
The search words are still highlighted, but using outlines instead of a solid color. Using a solid color is confusing as it becomes difficult to differentiate our own highlighted text and those highlighted by EPS for the search words.
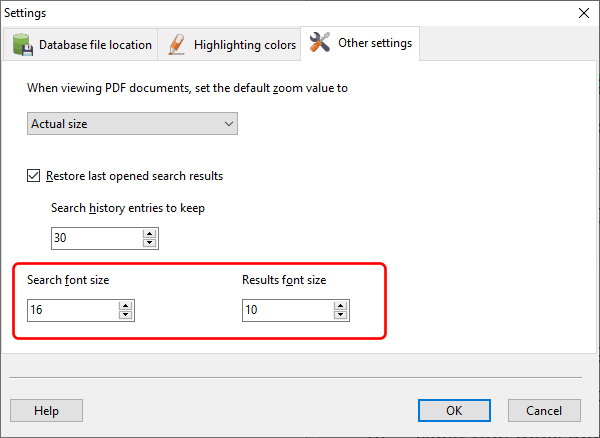
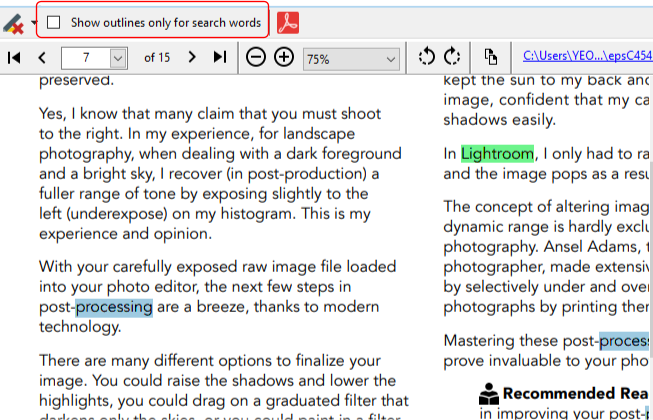
You can still highlight the search terms in solid color by deselecting the Show outlines only for search words option.
Highlighting content
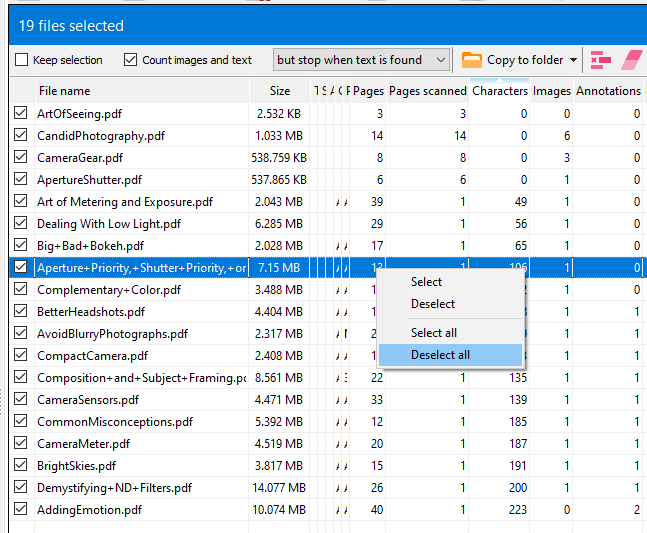
To highlight the content, or remove the highlighting, use these options on the toolbar.

Toggle the Highlight text button to enable and disable highlighting. When enabled, drag the mouse over the content you want to highlight. Release the mouse to apply the highlight.
TIP: You can also click on the right mouse button to toggle the Highlight text button.
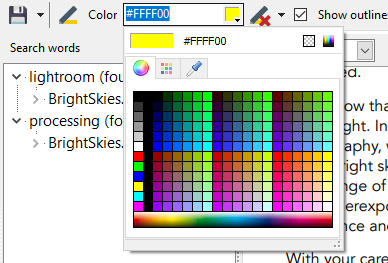
The color drop down allows you to select the highlighting color.
Click on the Remove highlight button to remove existing highlighted areas. When enabled, click on a highlighted area to remove the highlight. Note that EPS is unable to differentiate between highlights applied in EPS and by other applications. If it detects a path object on where you clicked on, it will simply attempt to remove it.
The Remove all highlights on current page button allows you to remove all highlighted areas on the current page. Again, EPS cannot differentiate between highlights it applied and existing highlights applied by another application. It will simply remove all PDF path objects it finds on the current page.

Saving the highlighted file
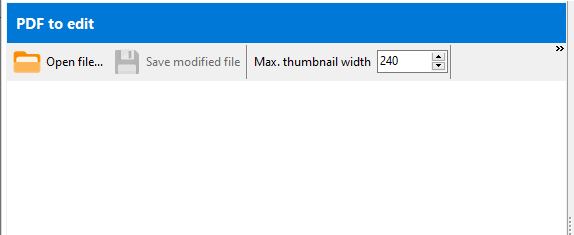
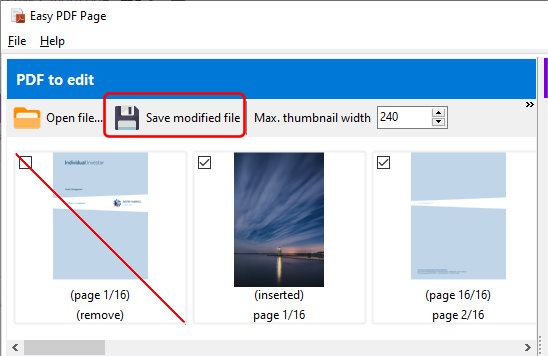
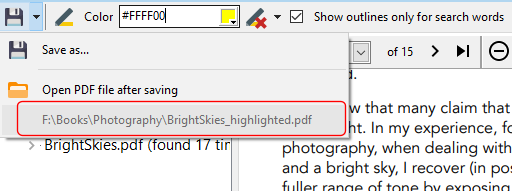
You must save the modified PDF file using a different name from the original file name. Click on the Save PDF file button to save your modified file.
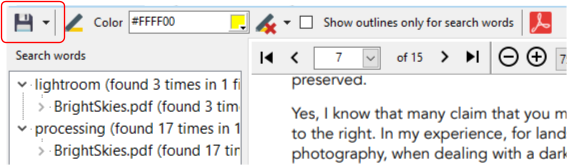
Once you have saved the file, the modified PDF file name is displayed in the drop down list under the Save button.
To open this file in an external viewer, click on the Open PDF file using external application button. Windows will then attempt to open the file using the registered PDF application.
Your PDF file is also automatically saved when you close EPS, but you need to have previously saved the file.
Persistence
When you close and reopen EPS, any files that were previously opened in the internal viewer will also be automatically loaded and displayed. This allows you to continue your work from where you last left off.
Next steps
Depending on user feedback and sales, the following items are currently considered for implementation:
- an option to remove all highlights from the entire file
- a function to extract all the highlighted text from a page/file
- make the highlighting function available to files opened outside of the search function
If you have any other suggestions, please drop us a line at support@yohz.com.