So you have a collection of thousands of PDF files. You use Easy PDF Search to create a full text database that you use to search your PDF collection. Now you want to allow other users to do the same. What are your options?
Easy PDF Search Basic Edition allows up to 2 other users to search your PDF database, while the Standard Edition allows as many users as your machine can support.
Configuration
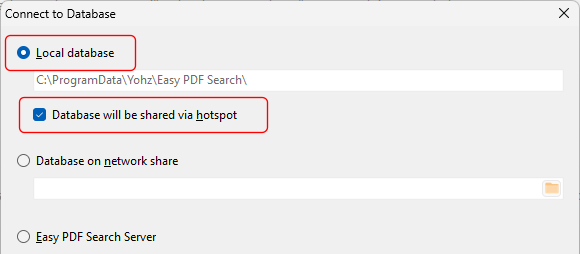
On the machine where the Easy PDF Search full text database database was created, in the Connect to Database window, select the Local database item and also the Database will be shared via hotspot item.
Starting the hotspot – Basic Edition
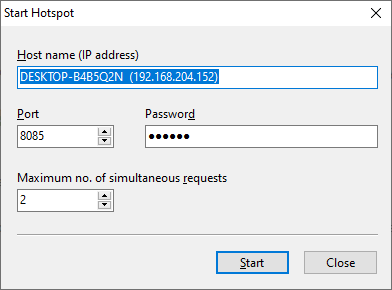
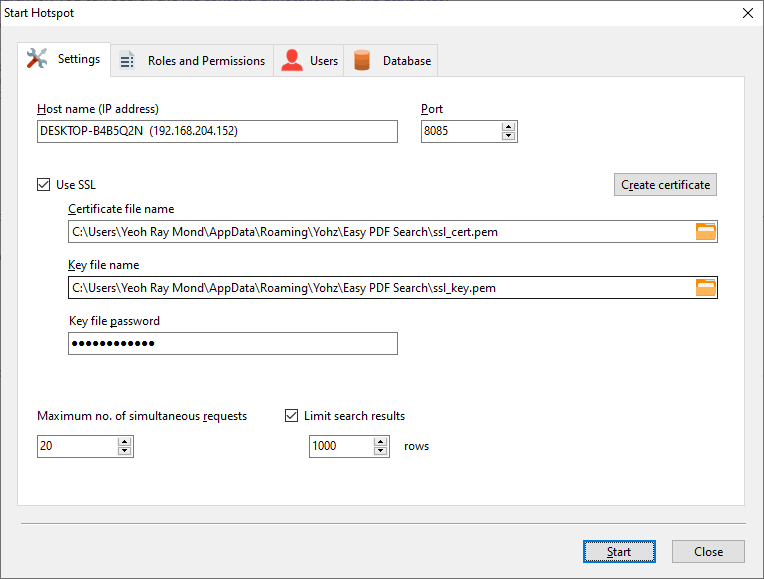
Click on the Start hotspot button on the toolbar.

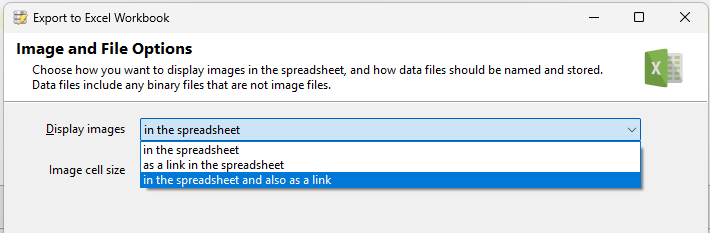
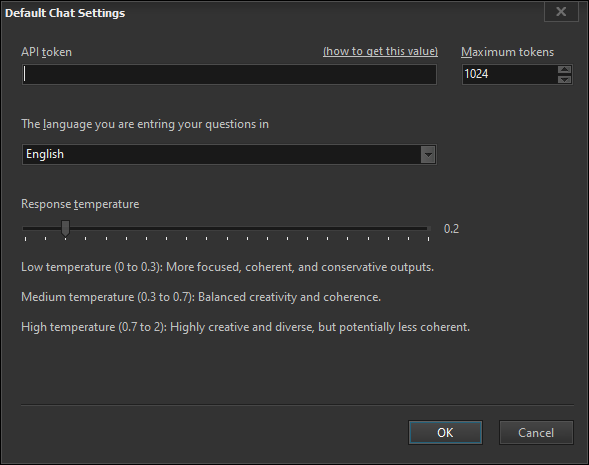
Enter the hotspot settings you want to apply.
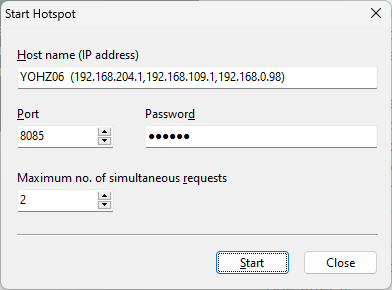
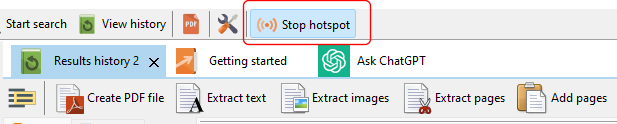
When you click the Start button, the hotspot will be active. On the toolbar, there is now a Stop hotspot button.
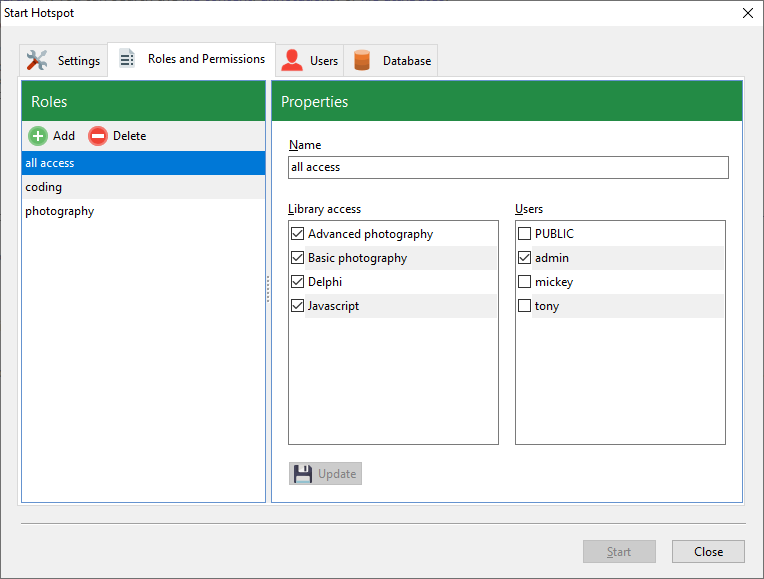
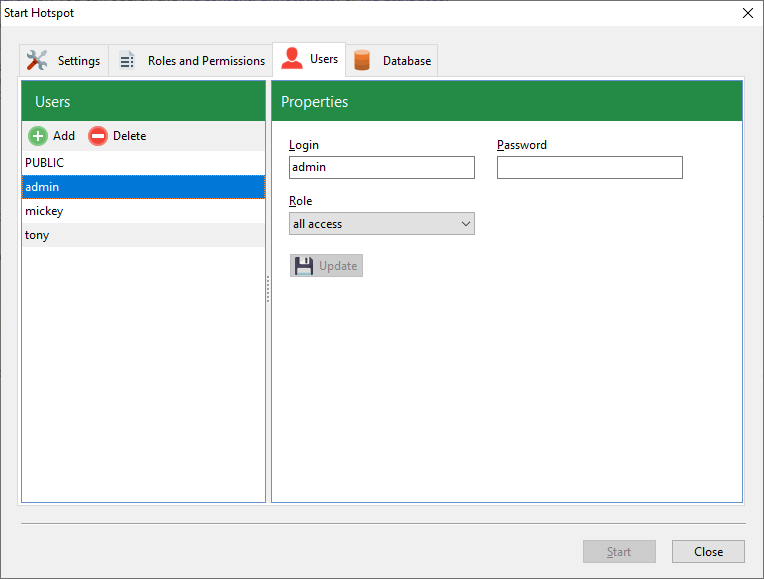
Starting the hotspot – Standard Edition
Similar to the Basic Edition, click on the Start hotspot button on the toolbar to open the hotspot settings window.
You can learn more about the various hotspot settings for the Standard Edition here.
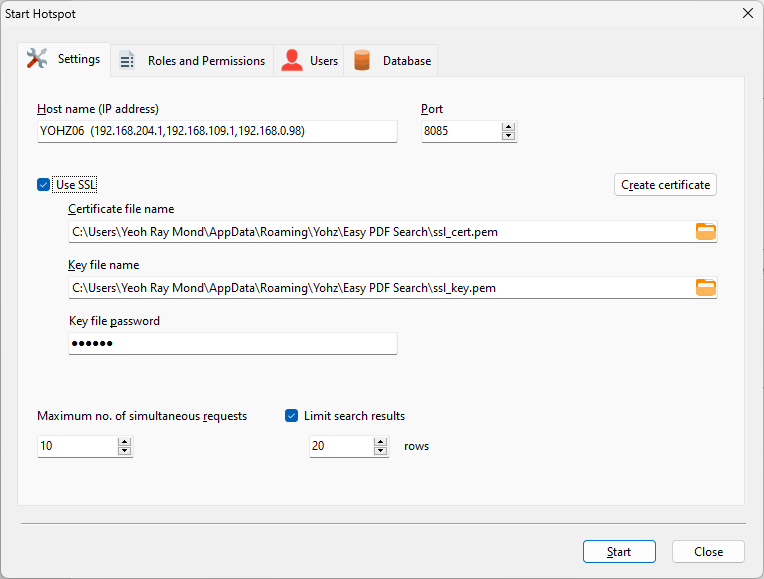
In short, you can support more users on the Standard Edition, and each user can be assigned roles that limit their access to your PDF libraries.
Connecting to a hotspot
In the Connect to Database window, select the Easy PDF Search Server item, and enter the IP address and port of the machine where the hotspot is active.
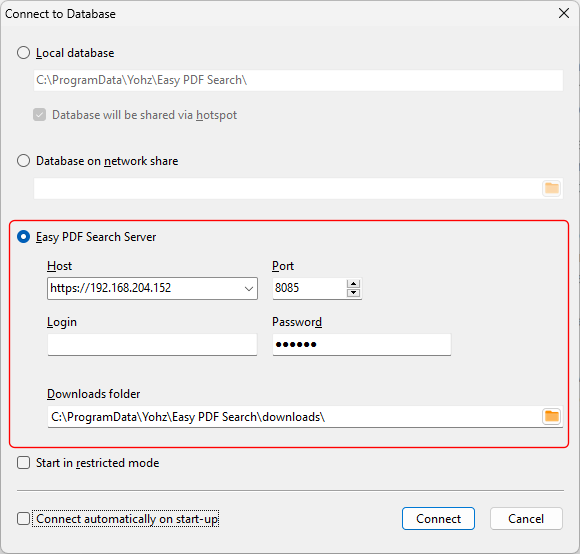
If you are connecting to a hotspot running the Basic Edition, leave the Login value empty. If you are connecting to a Standard Edition server, you need to enter the Login value.
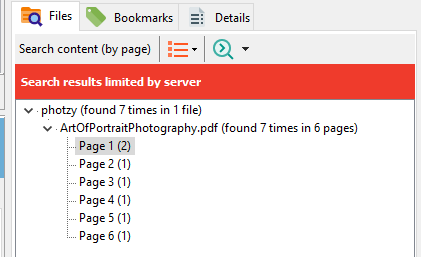
Click on the Connect button to connect to the hotspot-enabled database. You can now search the PDF files in that database.