Category Archives: Easy DICOM Viewer

How Easy DICOM Viewer is different

Easy DICOM Viewer is a DICOM imaging application co-developed by LISIT, Co., Ltd., a medical software company based in Tokyo, Japan and Yohz Software.

What sets Easy DICOM Viewer apart from the many other DICOM viewers out there?  In this post, we’ll describe the more interesting features and how it benefits you.

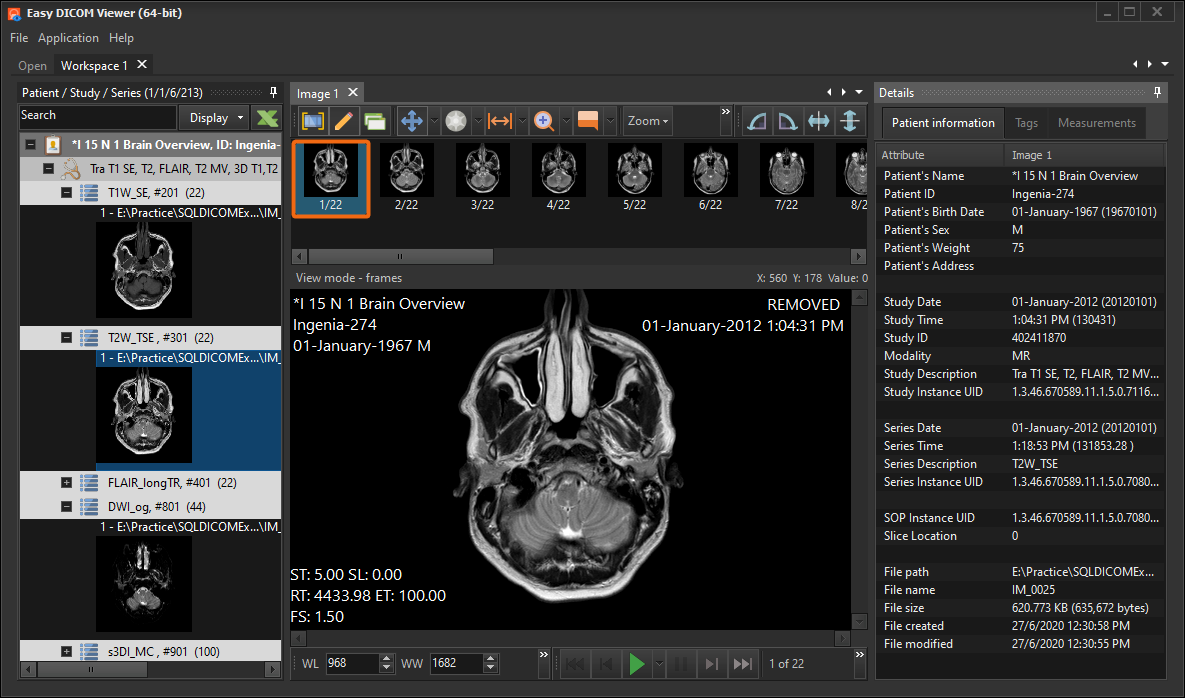
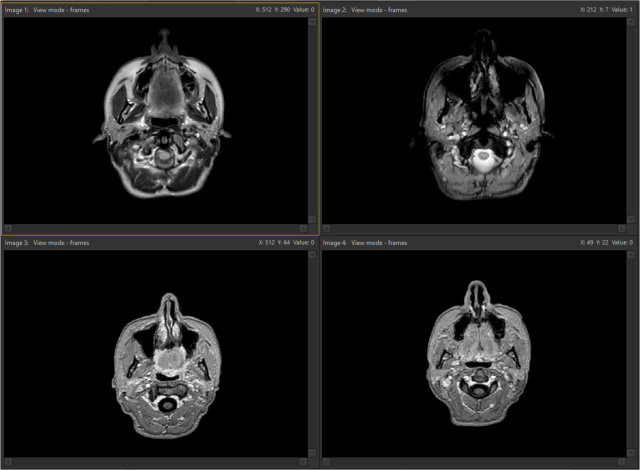
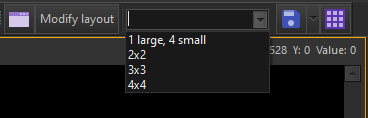
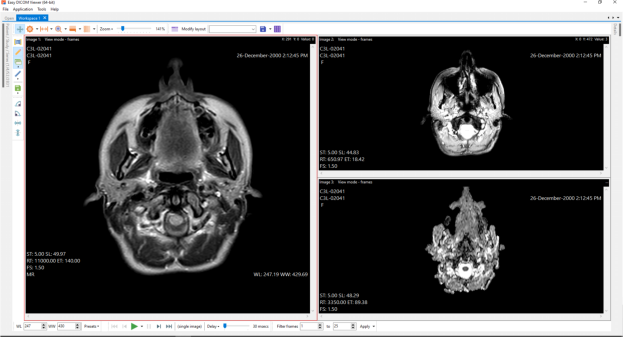
Customizable layouts

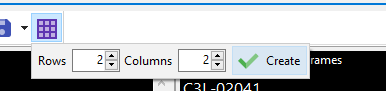
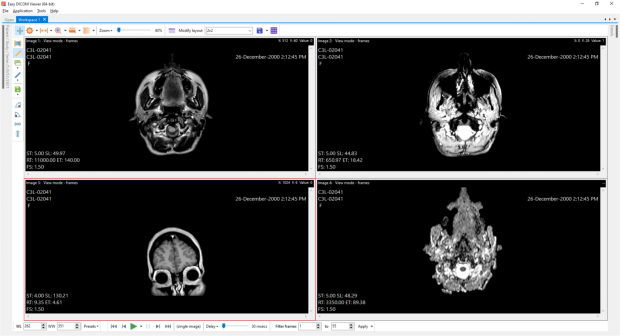
You can display your DICOM images in a grid with equal sized cells e.g. in a 2 x 2 grid

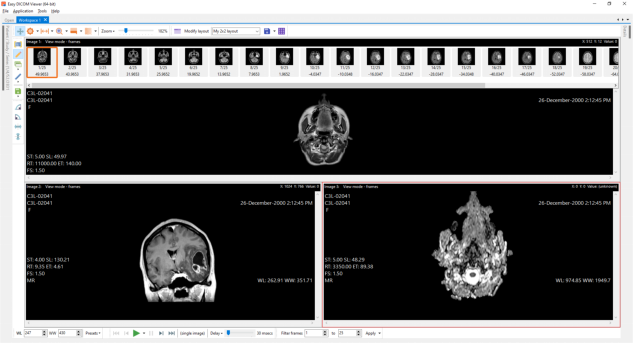
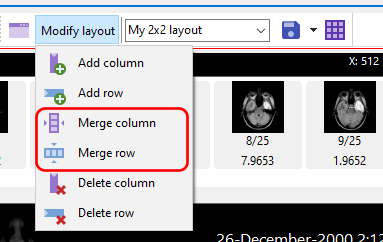
or in irregular sized cells e.g.

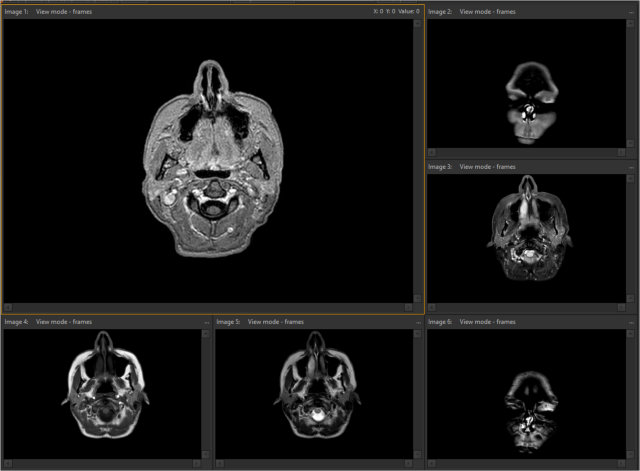
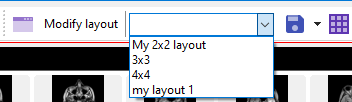
You can define your own layouts, save them, and recall them instantly when you need them.

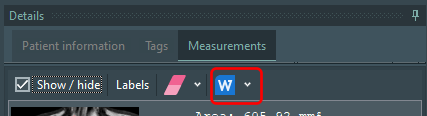
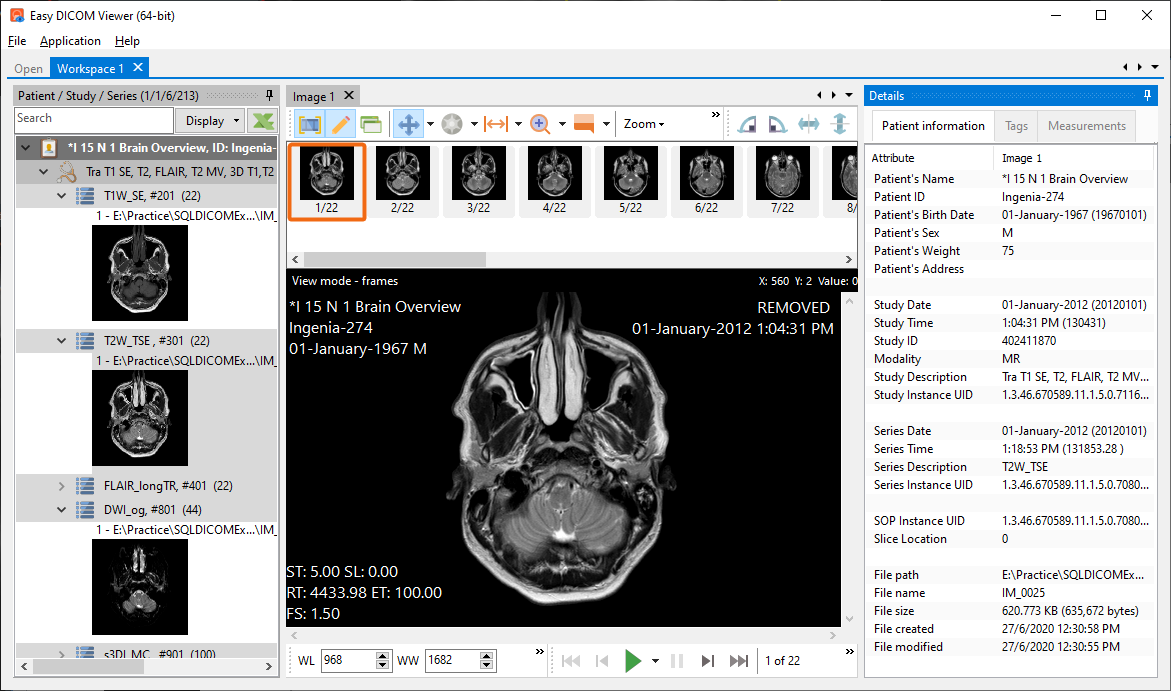
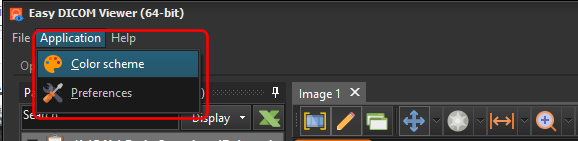
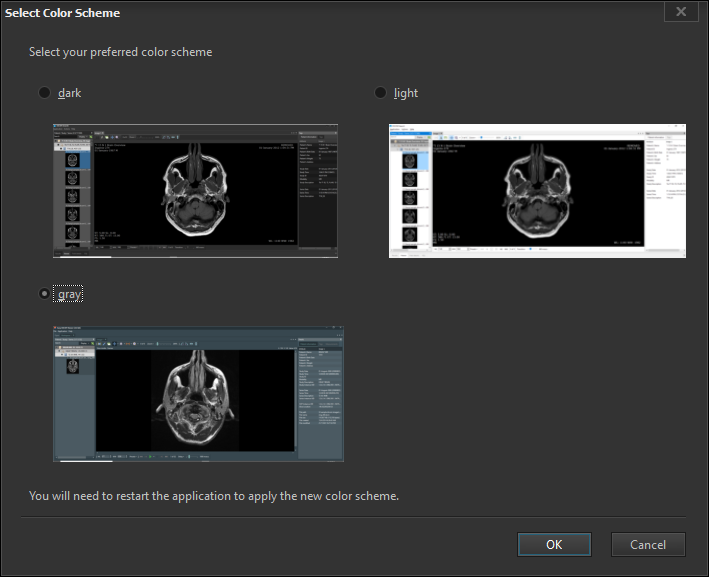
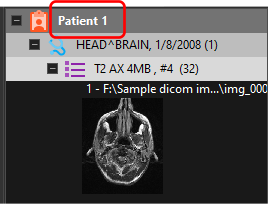
Custom defined DICOM details

Like most DICOM viewers, Easy DICOM Viewer can display the DICOM tag values embedded in your images.  Unlike most other viewers, you can define exactly which tags you want to display. 

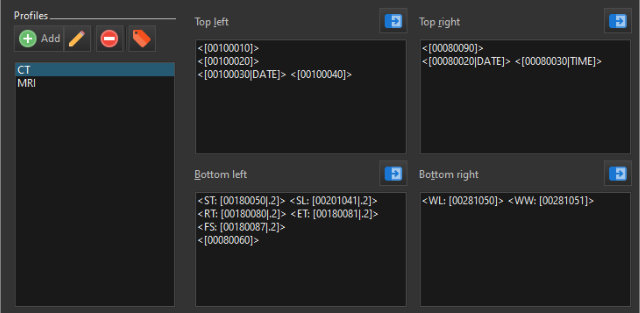
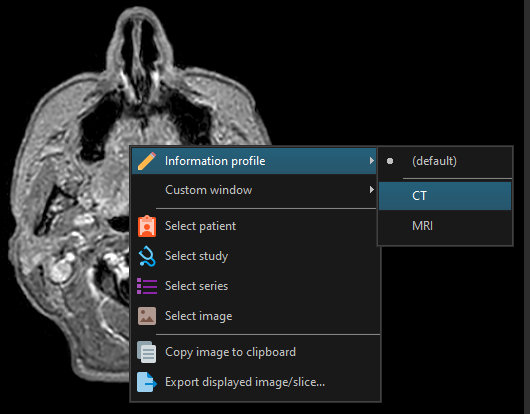
You can then save these tag ‘profiles’, and display them in your images depending on your needs.

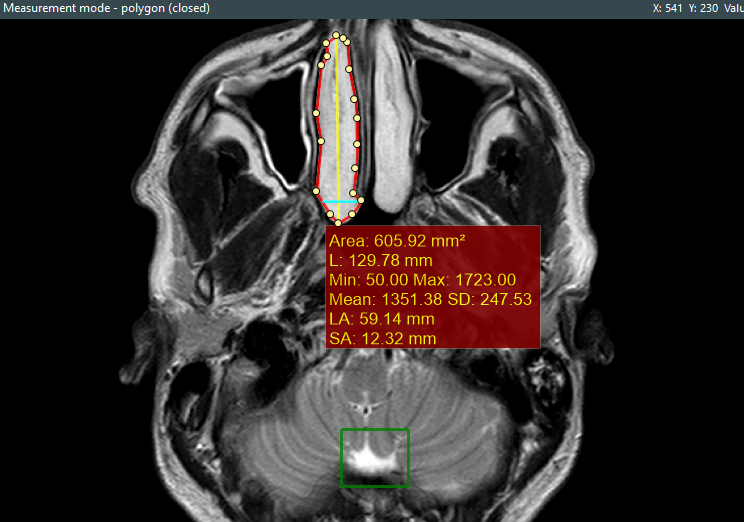
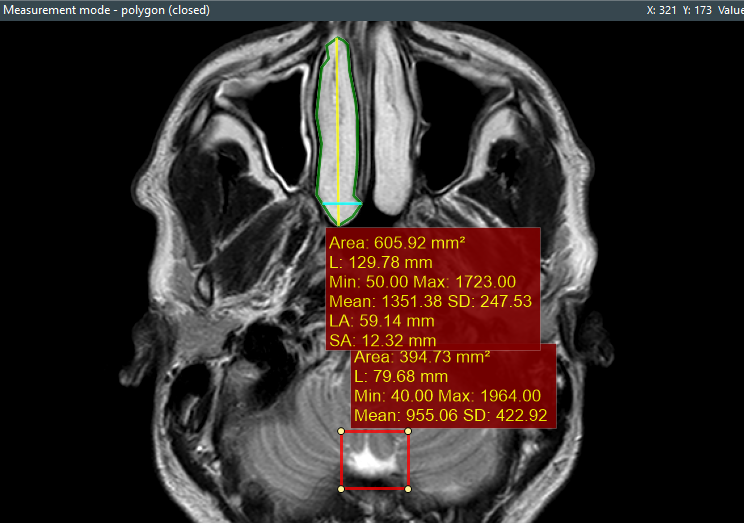
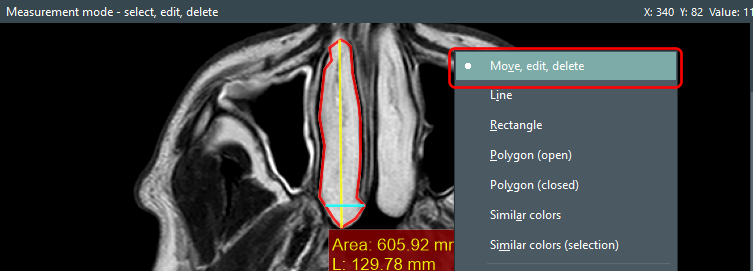
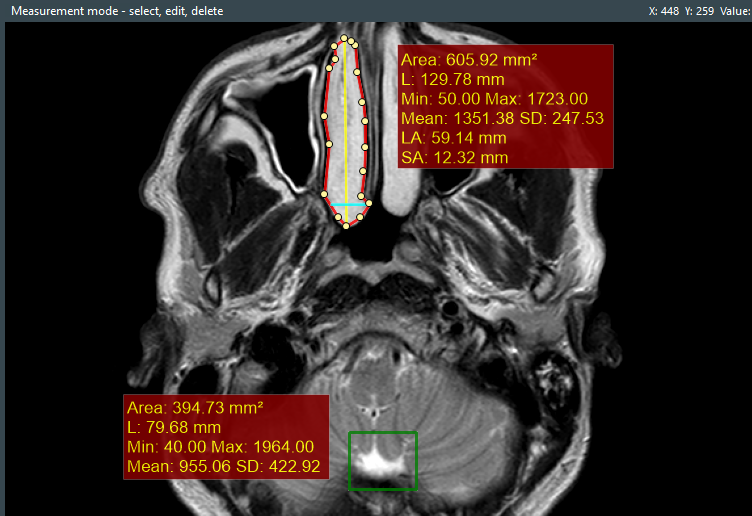
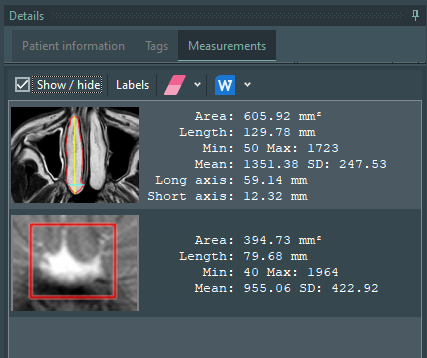
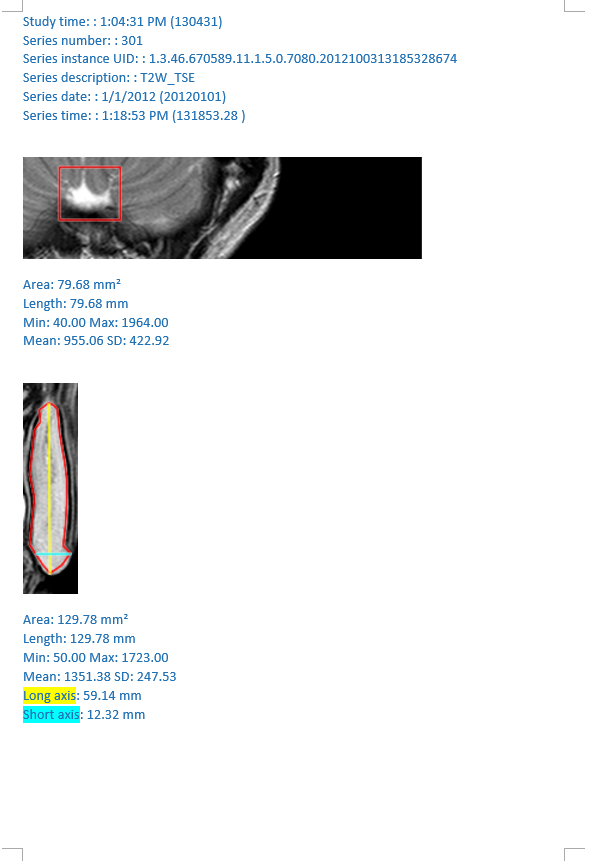
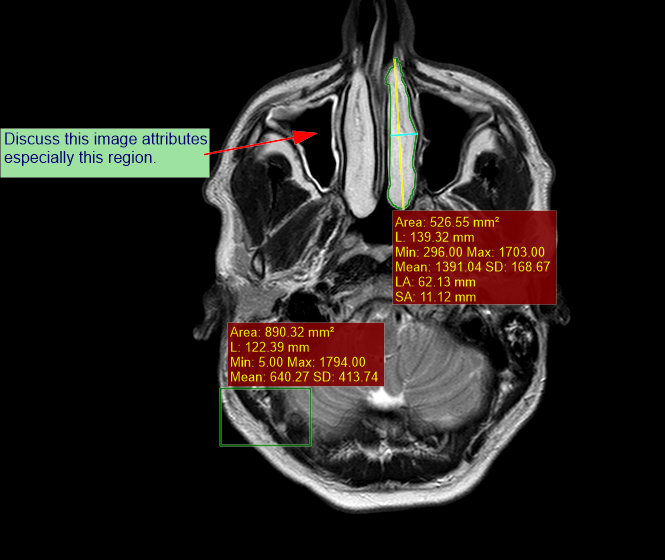
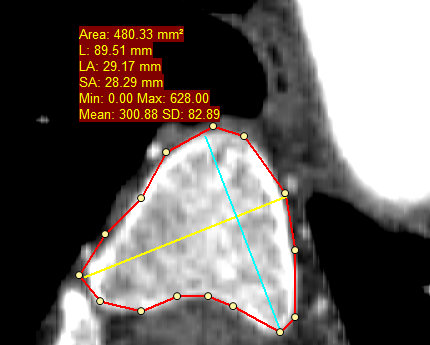
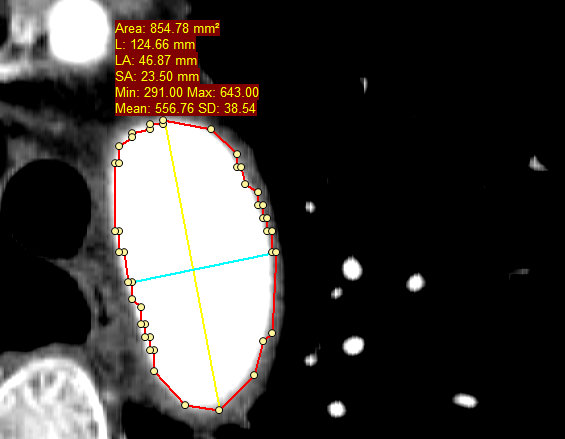
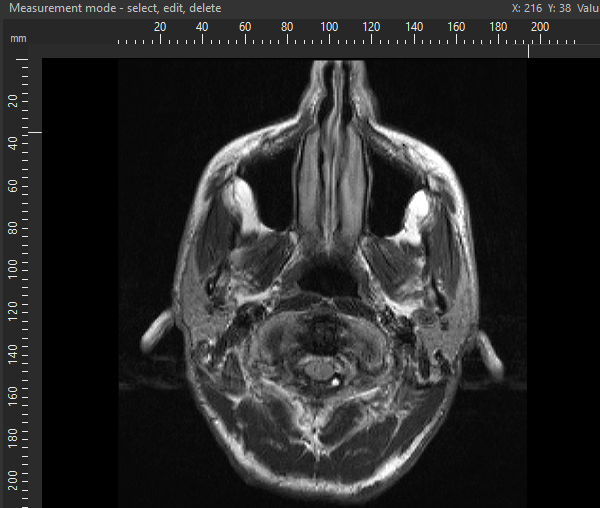
Orthogonal measurements

Polygonal measurements in Easy DICOM Viewer include the long axis and short axis values.  This provides you with extra measures to improve diagnosis.

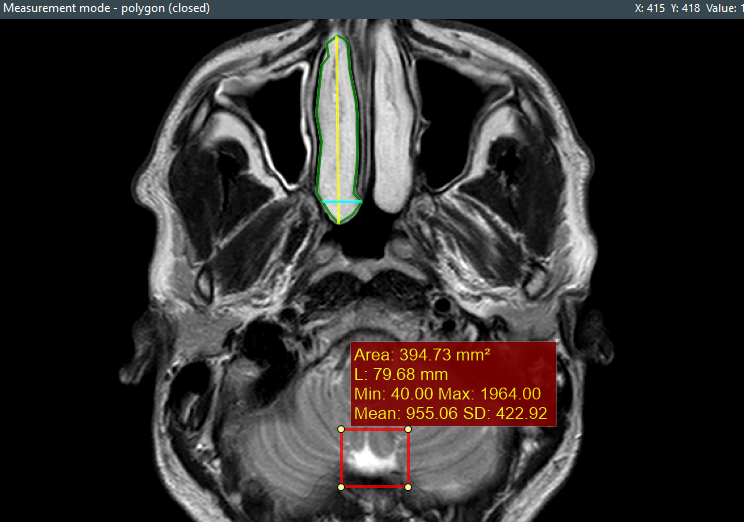
Measuring an area of similar color

This borrows a technique from image editors.  If you have an irregular shaped area that is of a similar color, you can easily measure that area by simply clicking in the center of that area.

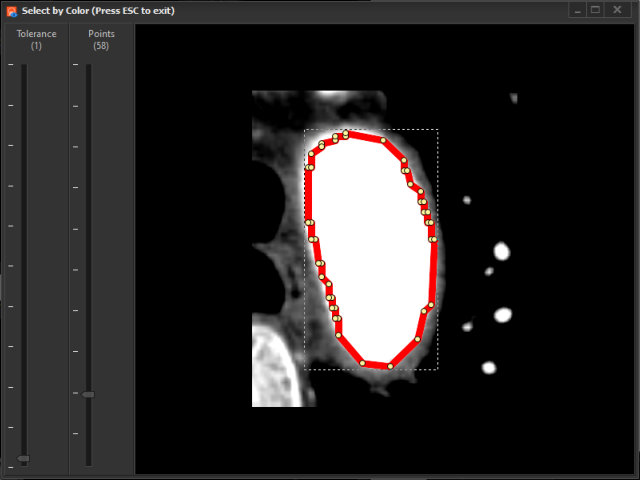
Easy DICOM Viewer will create a polygon of that area of interest for you, instead of you having to manually plot each time of the polygon.

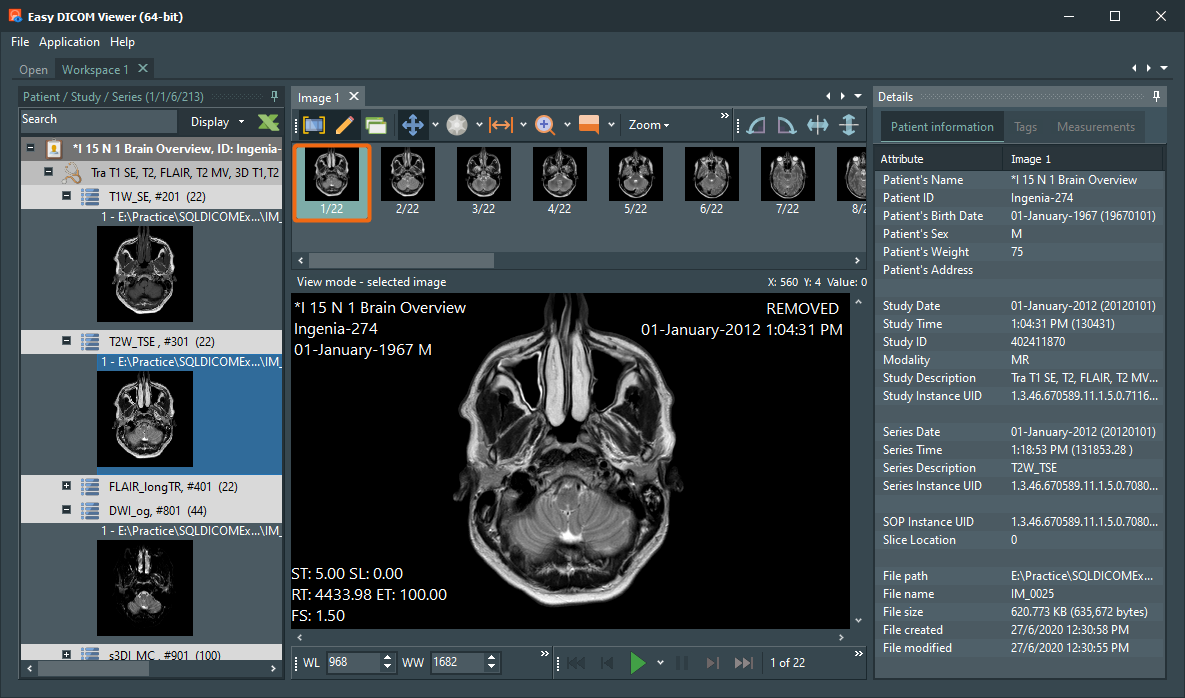
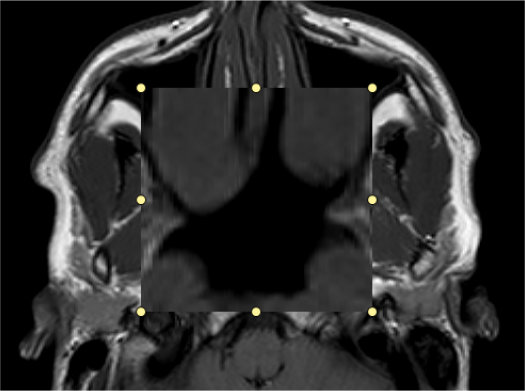
Magnifying an area of interest

Instead of enlarging the entire image, you can choose to magnify only the area of interest.  This lets you concentrate your diagnosis on a specific area while still retaining a context of the overall region.

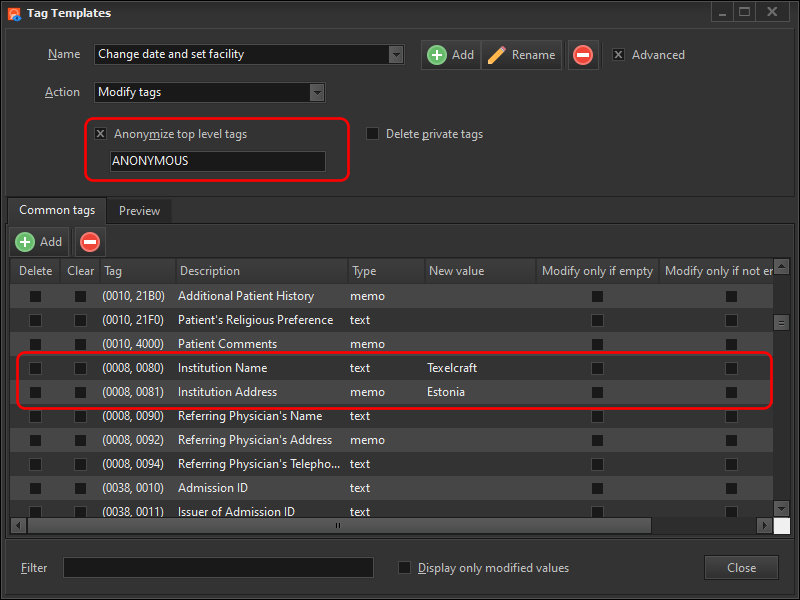
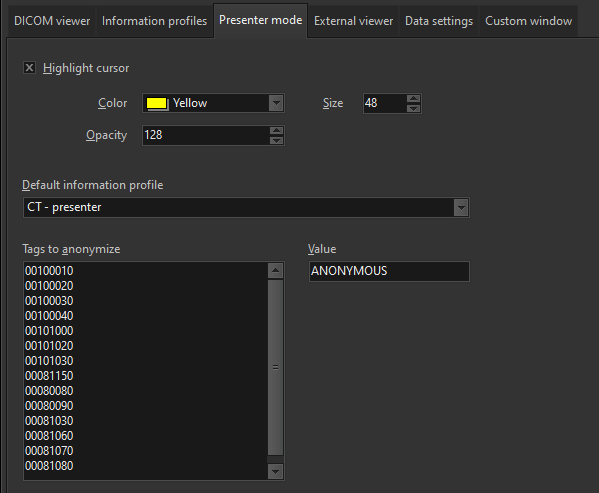
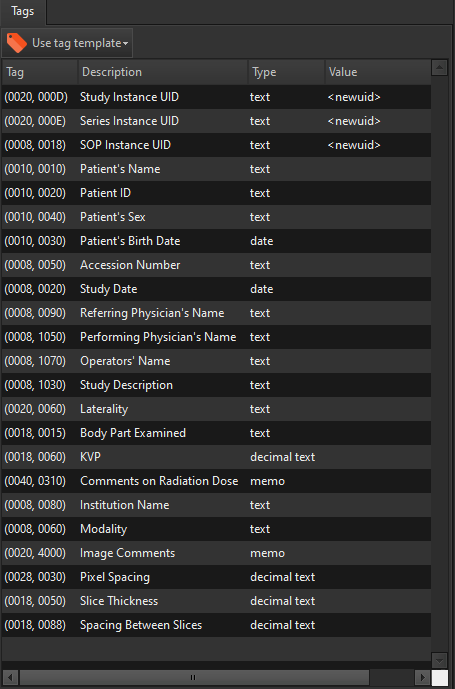
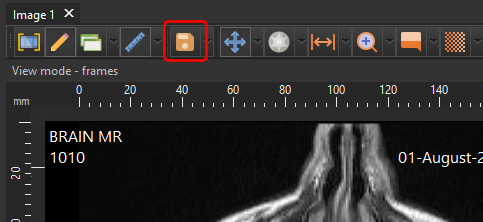
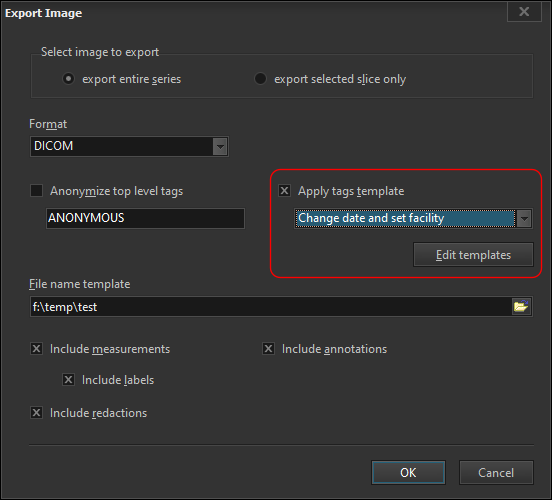
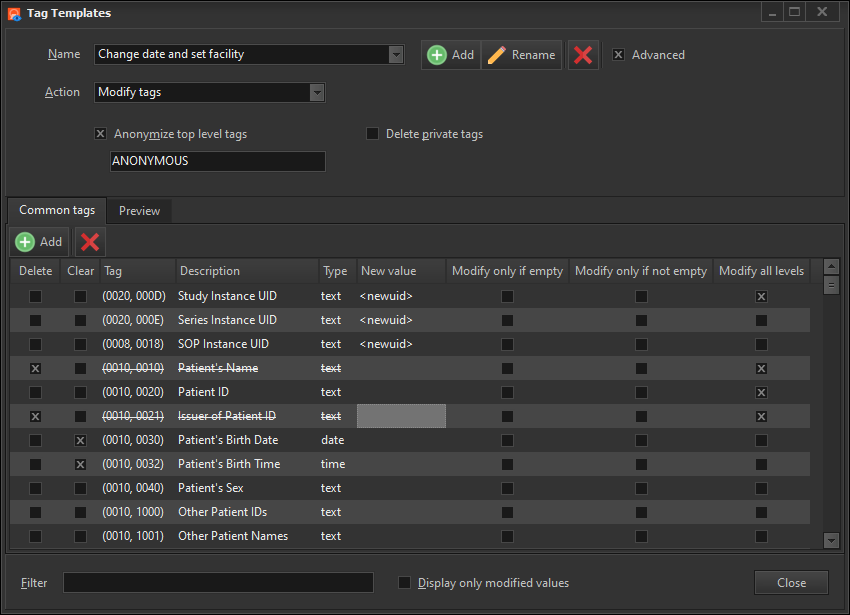
Anonymize/modify DICOM tag values

You can define tag templates to anonymize/erase/modify groups of DICOM tags, and apply these templates to easily modify the existing values in your DICOM images.  This saves you time from having to repeatedly enter the same values each time you want to modify the tags.
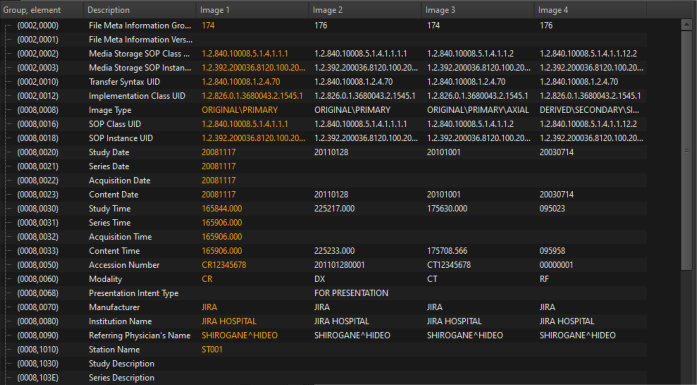
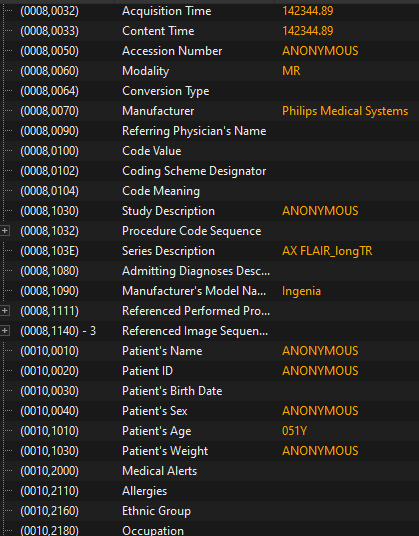
View DICOM tags

Easy DICOM Viewer displays the tag values for all opened images in a spreadsheet-like layout.  This allows you to compare the values of different images easily.

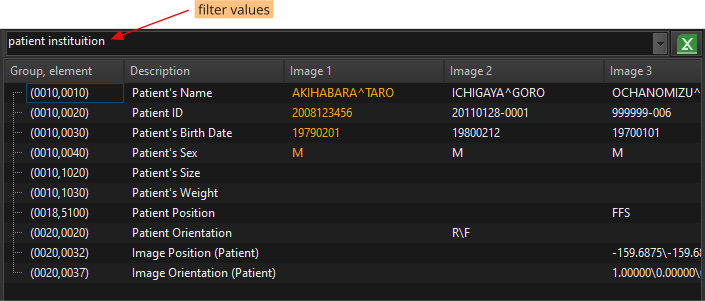
You can also filter the displayed values, helping you to view only the tags you are interested in.

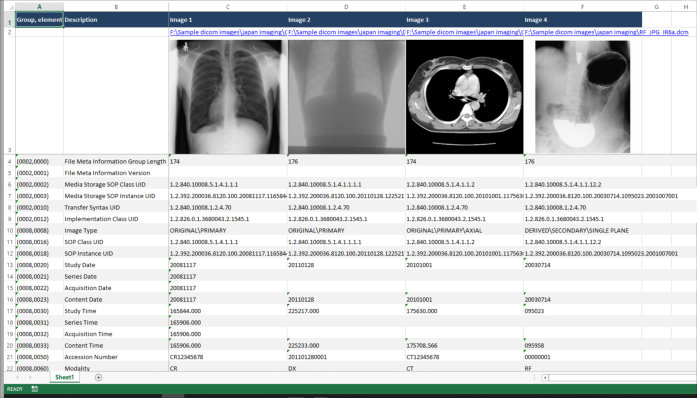
You can export the tag values to Excel when you need to share or work with the values in a different application.  This saves you time from having to copy the values manually, which is prone to errors.

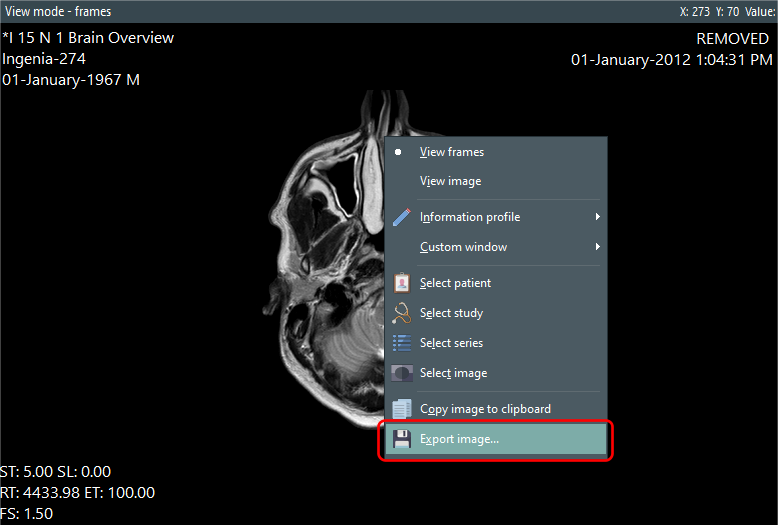
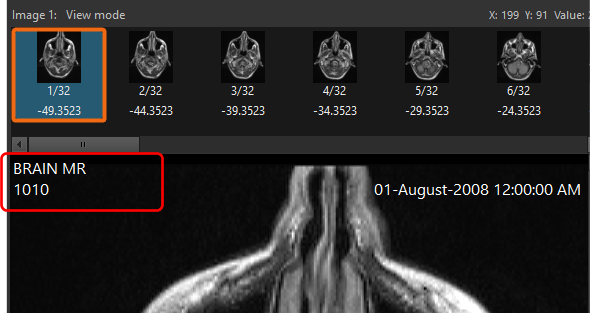
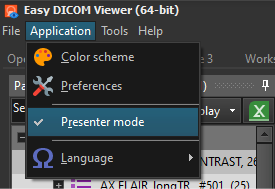
Presenter mode to easily share images

In presenter mode, you can open any of your images and Easy DICOM Viewer will automatically anonymize all sensitive tag values that are displayed in your images.   The DICOM tag values are not modified in any way.  It is only the displayed values that are changed.

This means you no longer need to manually anonymize your images first before using them in a presentation or online screen sharing session, saving you time.

Redact parts of your DICOM images

Easy DICOM Viewer includes a redaction function to black out areas of the image that may be confidential.  You can then export the images with the applied redaction to share with other users.

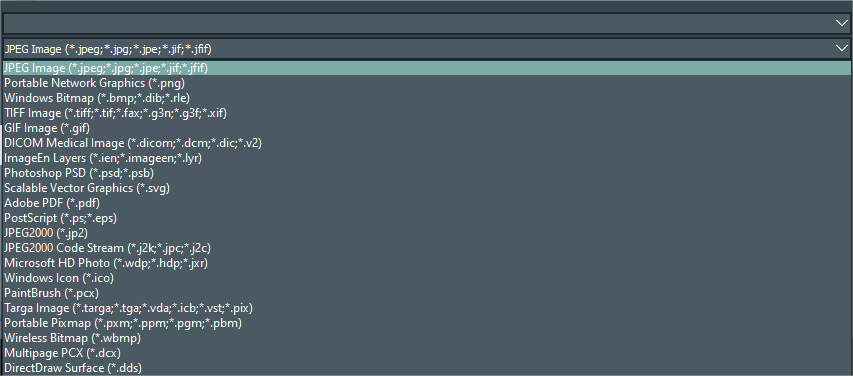
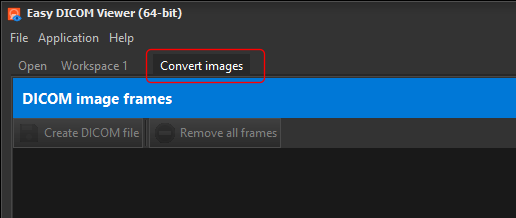
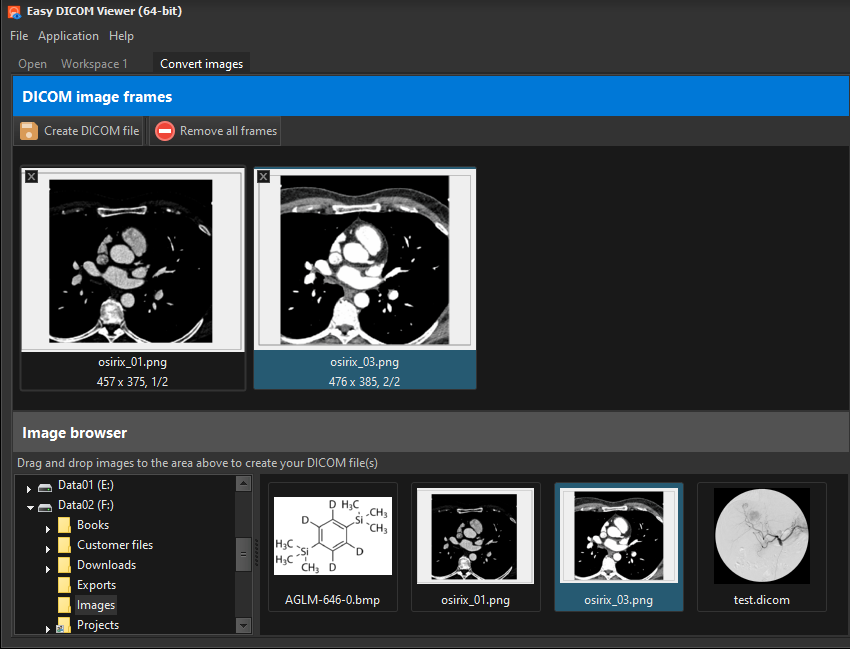
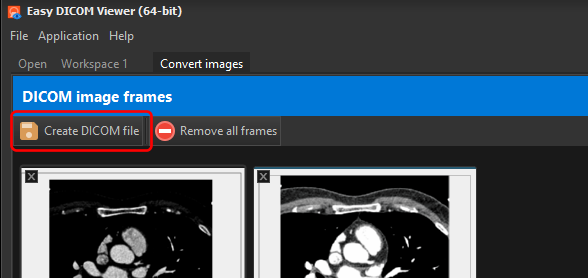
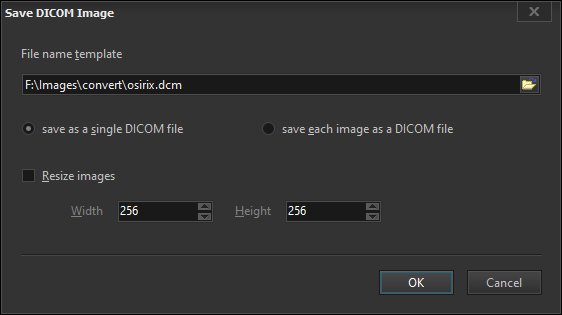
Convert images to DICOM images

You may sometimes receive medical images that are in a bitmap, jpeg, or png formats, and you need to convert them to DICOM images so that they can be archived in your PACS system.  Easy DICOM Viewer can perform the conversion for you, and at the same time use the tag templates described above to provide some basic values in the new DICOM images.

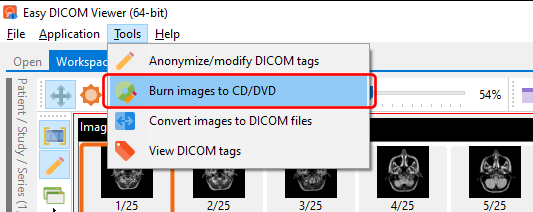
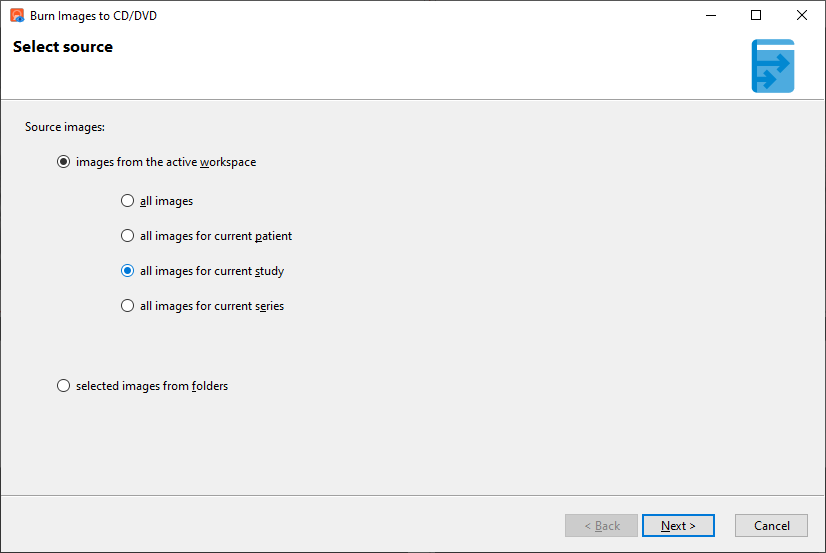
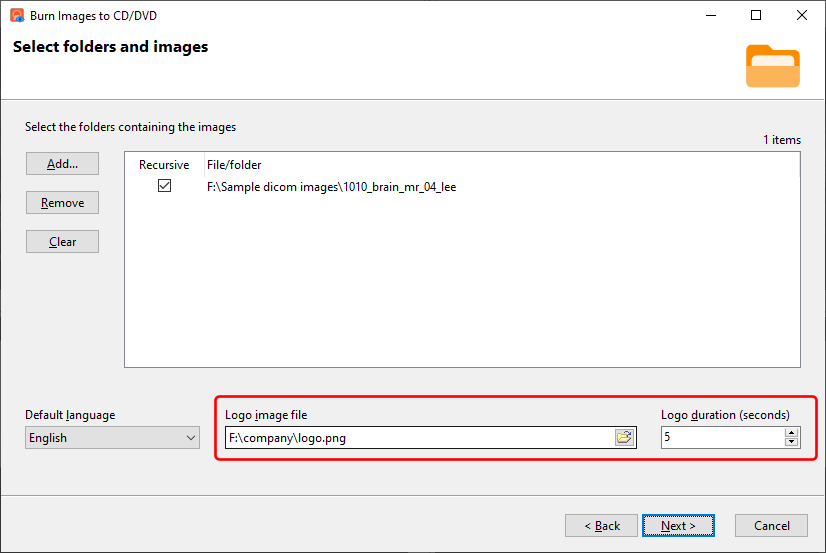
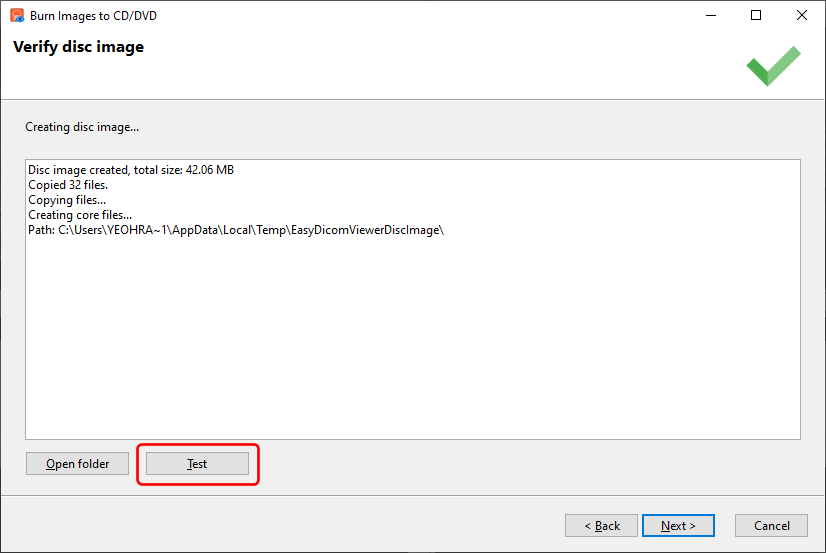
Burn images to CD/DVD

You can burn the images you are currently studying to a CD/DVD using Easy DICOM Viewer.  The CD/DVD will contain an integrated viewer so your patients can easily open the images themselves without having to download another viewer.  You can also display your company logo/branding within the viewer.

Download a 14-day trial of Easy DICOM Viewer now and experience how working with DICOM images is made easier.

Burning images to CD/DVD using Easy DICOM Viewer

Easy DICOM Viewer adds the ability to burn your DICOM images to a CD or DVD.  You access this function using the Tools menu item.

If you have a workspace opened, Easy DICOM Viewer gives you the option to use images from that workspace.  You can also just choose other images on your computer.

A lite version of Easy DICOM Viewer is included on the CD/DVD containing your DICOM images.  When started, this viewer will automatically load and display the images that are found on the CD/DVD.

You can choose to display your company logo/brand when the viewer starts up.  Simply select the image to display, and for how long the image should be displayed.

Easy DICOM Viewer then prepares the disc image.  Once prepared, you can then click on the Test button to simulate how the viewer will display your logo (if selected) and how it displays your images.

You can also add additional files into the disc image if required.  Click on the Open folder button to open the staging folder, and copy the required files into that folder and sub-folders.

Next, simply provide the media to write the disc image to, and you’re once.

Download Easy DICOM Viewer now and experience how you can easily create a CD/DVD containing your DICOM image files and also a viewer that can display your logo/branding.

Using layouts in Easy DICOM Viewer 4

Easy DICOM Viewer 4 uses a new grid-based layout which offers more flexibility when it comes to displaying your DICOM images.

You can now easily display your DICOM images in a grid using the number of rows and columns that you require:

The above example creates a grid containing 2 rows and 2 columns.

You can then save this layout simply by entering a name for it, and clicking on the Save button e.g.

You can then recall the layout in the future whenever you need to use it.

You can also create layouts with cells than span across multiple rows and columns e.g.

You merge columns and rows by clicking on the Modify layout button and selecting the Merge column and Merge row items.

You can then save these unique layouts and apply them whenever the need arises.

Download Easy DICOM Viewer now and experience how you can easily define your own layouts and easily and quickly apply them to analyze your DICOM images better.

Convert bitmaps to DICOM images

Using Easy DICOM Viewer, you can easily convert images (in bmp, jpg, png, gif, tif formats) to DICOM images.  To start the conversion, click on the Convert images tab in Easy DICOM Viewer.

Select your images from the file browser in the bottom pane, and drag and drop them into the upper pane.

You can reorder the frames in the DICOM image simply by dragging and dropping each image to their intended location.  To convert the images to DICOM images, click on the Create DICOM file button.

In the Save DICOM Image window, enter the DICOM image file name.  You can also choose to create a single DICOM file with multiple frames, or one DICOM file for each frame.

Click on the OK button to create the DICOM file.

You can also add DICOM tag values for the new DICOM files.

You can use the values from any tag templates you already have in Easy DICOM Viewer, to easily fill in the values.

Download a 14-day trial now of Easy DICOM Viewer and easily convert your images to DICOM files with the tag values you require.

Easy DICOM Viewer is a collaborative effort between LISIT, Co., Ltd. and Yohz Software.  To learn more about Easy DICOM Viewer or download a trial, please use this link.  If you are in Japan, please use this link instead.

Anonymizing and editing DICOM tags

You may sometimes want to modify the tag values in your DICOM images to maintain patient anonymity.  To do that in Easy DICOM Viewer, simply click on the Export series or images button

select the Anonymize top level tags option, and enter the value (ANONYMOUS by default) to replace the existing values.

The top level tags that are anonymized follows the recommendations outlined here (http://dicom.nema.org/dicom/2013/output/chtml/part15/chapter_E.html#table_E.1-1).

If you want more control over which tags are modified and with what values, you can use tag templates.  You can define one or more templates and use them whenever necessary.  The list of existing templates are listed in the drop down list when you select the Apply tags template option.

To create or edit templates, click on the Edit templates button.  In the Tag Templates window, you can define how the DICOM tags should be modified.  For more details, please see this link.

Among other actions, you can:

  • generate UUID-derived UID values for tags that require such values
  • reuse the same UID values for all images in the same series
  • use existing tag values as part of the new values
  • modify tags at all levels, not just at the top level
  • delete all private tags
  • delete all tags
  • view a preview of the values before and after applying your changes

Download a 14-day trial now of Easy DICOM Viewer and easily anonymize or modify your DICOM tag values.

Easy DICOM Viewer is a collaborative effort between LISIT, Co., Ltd. and Yohz Software.  To learn more about Easy DICOM Viewer or download a trial, please use this link.  If you are in Japan, please use this link instead.

Getting a sense of scale in your DICOM images

In Easy DICOM Viewer 3.1, we added the option to display a horizontal and vertical ruler in your DICOM images.  This helps to get a sense of scale when viewing the image, and also helps users make rough approximations.

To toggle the display of the ruler, click on the Show ruler button on the toolbar.

You can also choose to display the ruler in different units of measurement.  The active unit is displayed in the top left corner of the ruler.

You can also choose to display a grid overlay over the image together with the ruler.

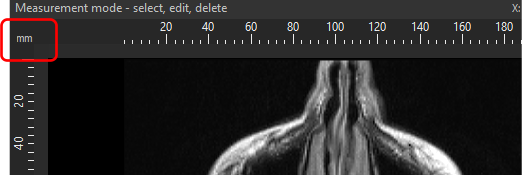
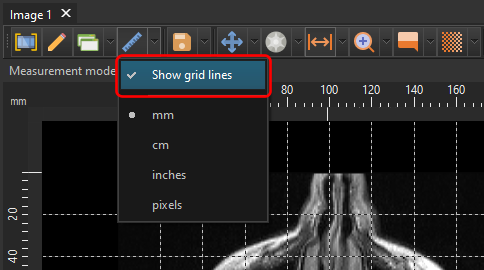
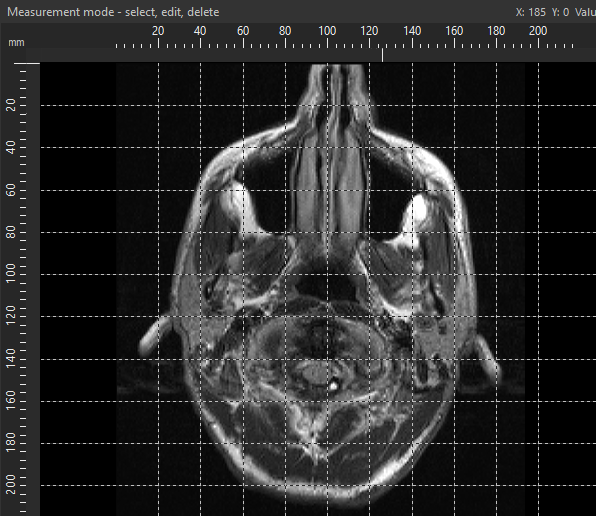
To display this grid overlay, select the Show grid lines option in the Show ruler drop down menu.

Download a 14-day trial now of Easy DICOM Viewer and see how easy it is to display a ruler and grid in your DICOM images to help you measure regions of interest.

Easy DICOM Viewer is a collaborative effort between LISIT, Co., Ltd. and Yohz Software.  To learn more about Easy DICOM Viewer or download a trial, please use this link.  If you are in Japan, please use this link instead.

Working with measurement labels in your DICOM images

In Easy DICOM Viewer, you can create multiple measurements in your DICOM image.  By default, only the label for the selected measurement is displayed, to make it obvious which measurement the label is referring to.

You can also choose to display all the measurement labels by selecting the Show all option on the Labels options.

However, in this example, our labels overlap each other.

To reposition a label, first select the Move, edit, delete item from the measurements context menu.

Then select the measurement area you want to reposition the label for.  Press CONTROL and click on the new label position.   Here, we have repositioned our 2 labels so that they no longer overlap when displayed simultaneously.

The measurements panel

All the measurements are also displayed on the measurements panel together with the measurement details.

You can also perform various actions like hiding all the measurements on the images, applying the various label options, or deleting one or more measurements.  You can also export details of your measurements to a Microsoft Word file.  Just click on the Export image and measurements to Word button and enter the file name.

The exported Word file is automatically opened by default.

Download a 14-day trial now of Easy DICOM Viewer and experience for yourself how easy it is to create, edit, and share measurements in your DICOM images.

Easy DICOM Viewer is a collaborative effort between LISIT, Co., Ltd. and Yohz Software.  To learn more about Easy DICOM Viewer or download a trial, please use this link.  If you are in Japan, please use this link instead.

Converting your DICOM images

Easy DICOM Viewer lets you convert your DICOM images to other image formats easily, and will include any measurements and annotations that you have created.

To export an image, click on the Export image… item on the context menu.

Enter the file name for the exported image.  The default image format is JPEG.  To change the image format, click on the Save as type drop-down list and select your format.

Easy DICOM Viewer supports most of the common image formats.  If you want to export to a format that’s currently not available, drop us a line at support@yohz.com.

If your image contained any measurements or annotations, they will also be visible in the exported image.

Download a 14-day trial now of Easy DICOM Viewer and convert your DICOM images in a few simple steps.

Easy DICOM Viewer is a collaborative effort between LISIT, Co., Ltd. and Yohz Software.  To learn more about Easy DICOM Viewer or download a trial, please use this link.  If you are in Japan, please use this link instead.

Color schemes in Easy DICOM Viewer

You can use Easy DICOM Viewer in 3 color schemes – light, dark, and gray, depending on your preferences.

To change the color scheme, select Application > Color scheme from the main menu.

Then select the color scheme you want to use.

In some cases, you may need to restart Easy DICOM Viewer to apply the new color scheme.

Easy DICOM Viewer is a collaborative effort between LISIT, Co., Ltd. and Yohz Software.  To learn more about Easy DICOM Viewer or download a trial, please use this link.  If you are in Japan, please use this link instead.

Measuring regions of a similar color in DICOM images

Easy DICOM Viewer  lets you measure regions of interest in your images using various options.  One such option is to measure the length and area of a region of similar color.

To use that option, first select the Similar colors item from the measurement sub-menu.

A new window is displayed where you first click on the point you want to measure.  You can zoom in and out of the image using the mouse wheel.

Let’s say we want to select the whitish region here.

We first click anywhere in that region.  A polygon area is automatically created for us.

This initial selection contains only the area which has identical values to the point we clicked on.  To expand the selection to similar values, we adjust the tolerance slider on the left.

You can also adjust how smooth the shape is by adjusting the number of points used to form the selection.

Once we have finalized our selection, press the ESCAPE key.  We then return to our viewing screen with our selection, and the measurements for area, length, minimum, maximum, mean and standard deviation of the HU values in the selected area are displayed, together with the length of the longest axis and the longest line perpendicular to the longest axis.

You can still adjust the selection area by dragging or deleting any of the existing points.  You can also add additional points to the shape.

What if we only want to select part of the area with similar colors?  Let’s say we only wanted to measure the right side of the above region.  We can either adjust the shape after selecting the entire area, or we could use the Similar colors (selection) option.

The steps to select the region is identical to the Similar colors option, but you first define the region of the image you want to select from.  You do this by clicking and dragging the mouse to form a selection rectangle on the image, then release the mouse.

When you then enter the selection window, only the selected area is displayed.

Now we just need to click inside the area, adjust the tolerance values, and we’re done.  The selected area will be constrained accordingly in the final measurement.

Download a 14-day trial now of Easy DICOM Viewer and experience for yourself how easy it is to measure regions of similar colors in your DICOM images.

Easy DICOM Viewer is a collaborative effort between LISIT, Co., Ltd. and Yohz Software.  To learn more about Easy DICOM Viewer or download a trial, please use this link.  If you are in Japan, please use this link instead.